by
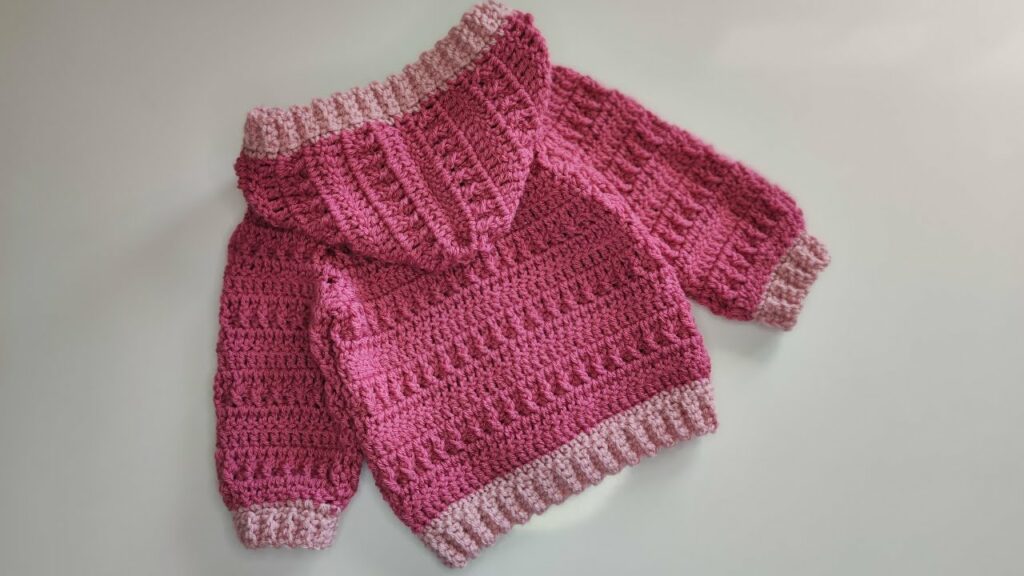
by A baby hoodie is a sweet and cozy project that makes a wonderful gift for a little one. With just basic crochet skills and soft baby yarn, you can create a charming and comfortable hoodie that will keep the baby warm and stylish.
🧶 Materials Needed
- Soft baby yarn (lightweight, acrylic or cotton blend)
- Crochet hook (size recommended on the yarn label, typically 4.0 mm – 5.0 mm)
- Yarn needle
- Buttons (optional for front closure)
- Scissors
- Stitch markers (optional)
📘 Abbreviations (US Terms)
- CH – Chain
- SC – Single Crochet
- HDC – Half Double Crochet
- DC – Double Crochet
- SL ST – Slip Stitch
- ST – Stitch
- INC – Increase (2 stitches in same stitch)
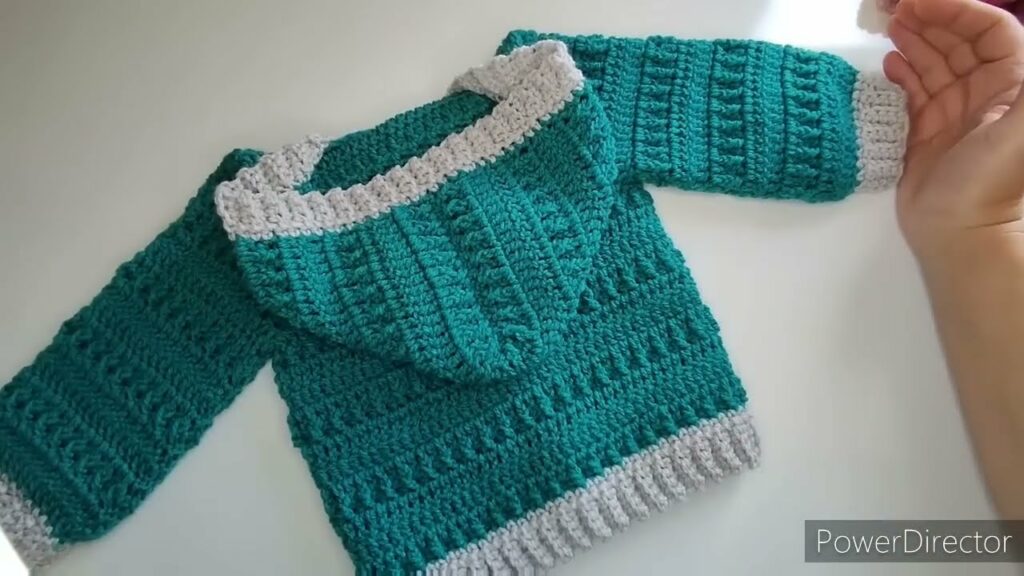
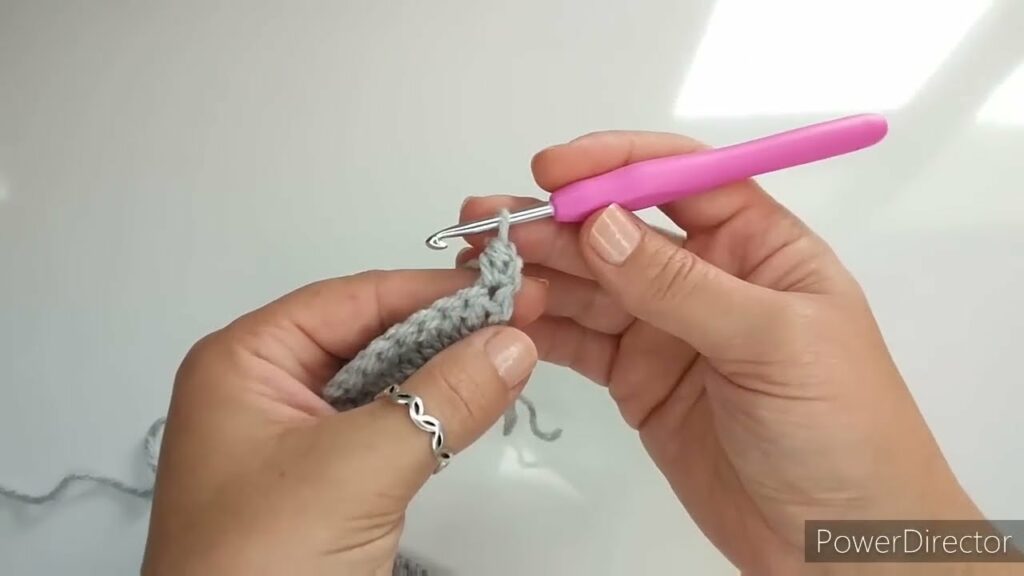
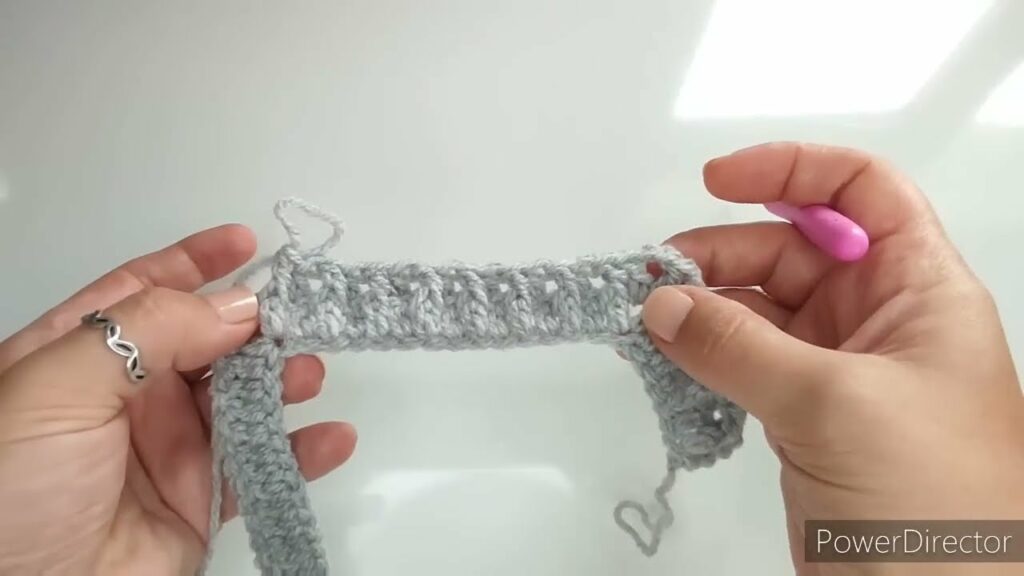
👶 Basic Construction
Most baby hoodies are worked in several parts: the body, sleeves, and hood, which are then sewn or crocheted together.
Step 1: Create the Back Panel
- CH to the desired width (based on baby’s chest size).
- HDC in 2nd CH from hook and across. CH 1, turn.
- Continue in HDC rows until reaching the desired height.
Step 2: Make the Front Panels (2)
- CH same as back panel width divided in half.
- Work in HDC rows, leaving a gap at the top for neck shaping.
Step 3: Sleeves
- CH width for sleeves.
- HDC across and continue until reaching sleeve length.
Step 4: Hood
- Attach yarn to neckline and CH across.
- Work HDC rows increasing slightly at each edge.
- Fold and seam the top when desired height is reached.
Step 5: Assembly
- Seam shoulders, attach sleeves, and seam underarms.
- Sew hood to neckline.
- Add optional border using SC or crab stitch.
🧵 Finishing Touches
- Add a button band to the front with SC rows.
- Add decorative buttons or animal-shaped appliqués.
- Optional drawstring or decorative edge around the hood.
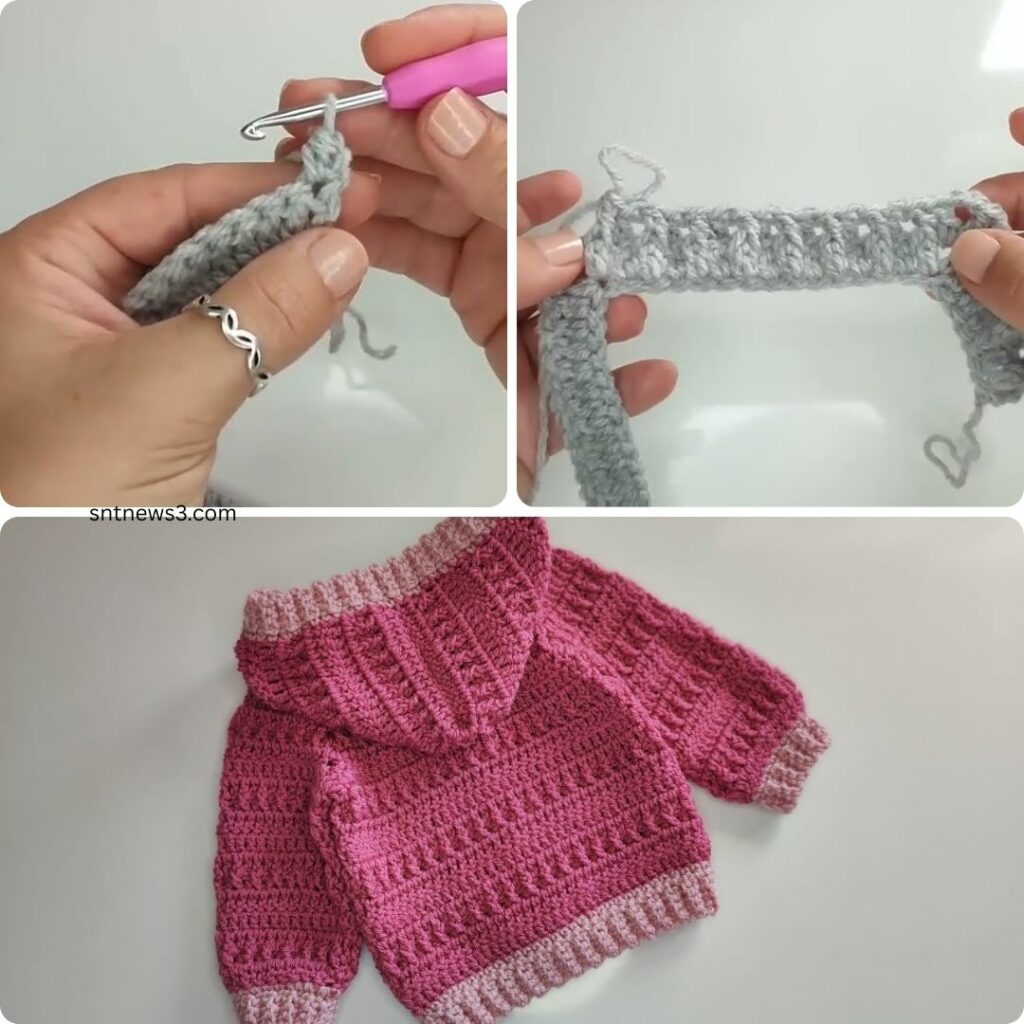
🌟 Conclusion
A crochet baby hoodie is a heartwarming project that’s practical and adorable. With endless ways to customize—from color choices to buttons and embellishments—you can make each hoodie uniquely yours. Great for gifting or crafting for your own little one.
Video tutorial:
Happy Crocheting! 🧶👶