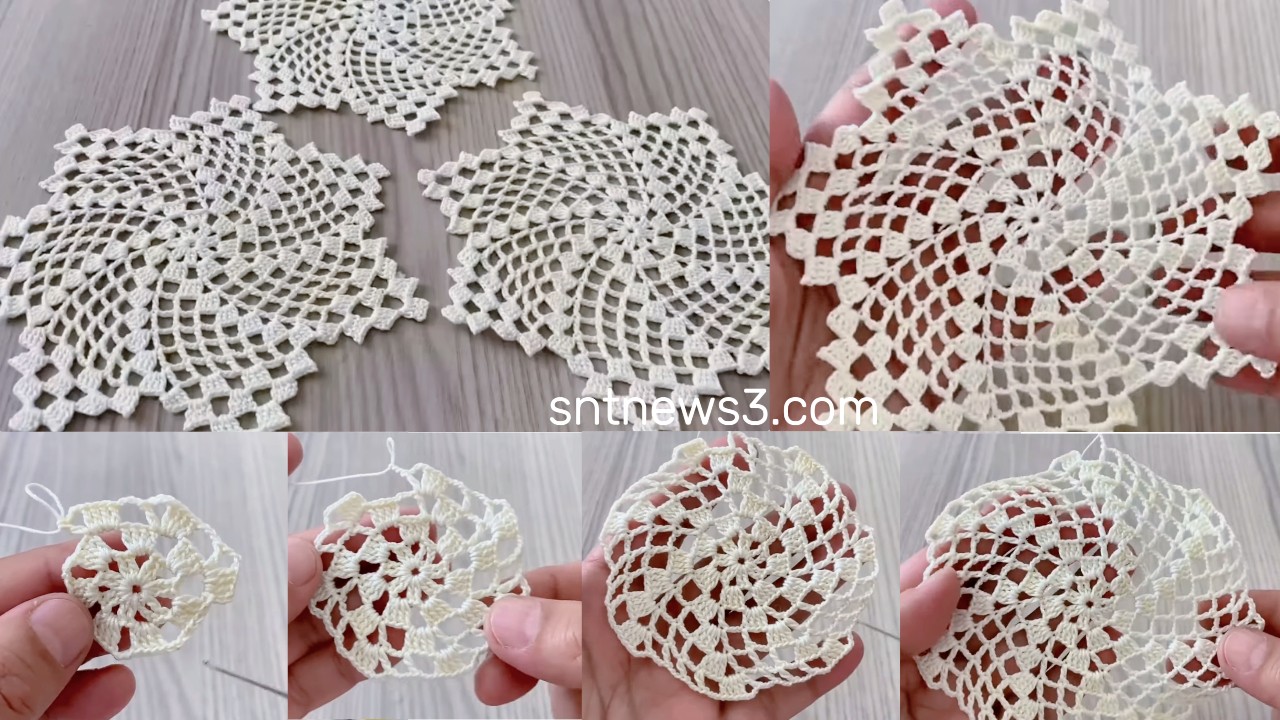
Nice! Here’s a clear, step-by-step text tutorial for a lacy, highly decorative motif. I wrote exact stitch counts so you can crochet the motif straight away and use it for garments, shawls, or home decor.
🌸 “Most Beautiful & Stylish” Crochet Motif — Step-by-Step
Finished size (approx.): 9–12 cm (3.5–4.7 in) depending on yarn/hook
Yarn: Sport / DK or cotton thread for lace look
Hook: 2.5–4.0 mm (adjust to get the finished size you want)
Notions: yarn needle, blocking pins, scissors
Abbreviations
- ch = chain
- sl st = slip stitch
- sc = single crochet (US)
- hdc = half double crochet (US)
- dc = double crochet (US)
- tr = treble crochet (US)
- pic = picot = ch 3, sl st into base
- st(s) = stitch(es)
- rep = repeat
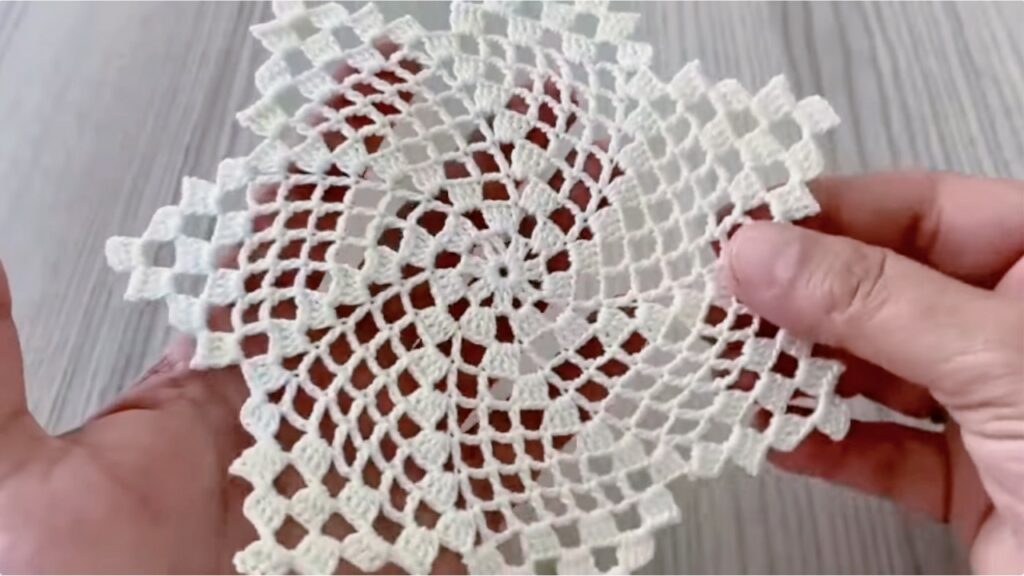
Pattern overview
This motif is worked in rounds from the center out:
- Tight, neat center (dc round)
- Chain loops as petal bases
- Puffy petals (cluster of dcs)
- Tidy sc round to level bases
- Lacy arches with tall posts (tr) to create the “stylish” negative space
- Decorative inner ribs inside each arch
- Square-ish outer shaping and picot scallop edge
I include exact stitch counts for every main round so you can check your work as you go.
Round-by-round pattern (exact counts)
Round 1 — center (make a magic ring)
- Make a magic ring.
- ch 3 (counts as first dc). Work 15 dc into the ring. (ch-3 + 15 dc = 16 dc total.)
- Pull ring closed tight. sl st to top of ch-3 to join. (16 dc)
Round 2 — chain loop foundation (creates 8 spaces)
- ch 4, skip next dc, sc in next dc — repeat * around.
- You will make 8 ch-4 loops and 8 sc stitches between loops.
- Join with sl st to the first sc. (8 ch-4 loops, 8 sc)
Round 3 — petal clusters (8 petals)
- Work into each ch-4 loop the following cluster: (sc, hdc, 7 dc, hdc, sc) — all into the same ch-4 loop.
- That is: sc (1), hdc (1), dc ×7 (7), hdc (1), sc (1) = 11 stitches worked into each loop (but all in same space).
- After completing the cluster, sl st into the next ch-4 space and repeat. Do this for all 8 loops so you end with 8 petals.
- Join with sl st to the base. Fasten off or continue. (8 petals)
Round 4 — base sc round (tidy & even)
- Rejoin at any base point between petals. Work sc evenly around the base of the petals to make the motif round and even. Aim for 10 sc per petal area distributed so the round stays flat (you’ll have ~80 sc total, but exact count will vary with spacing — count to check).
- Join with sl st.
Tip: If your round is too big or small, adjust sc count slightly so outer rounds lay flat.
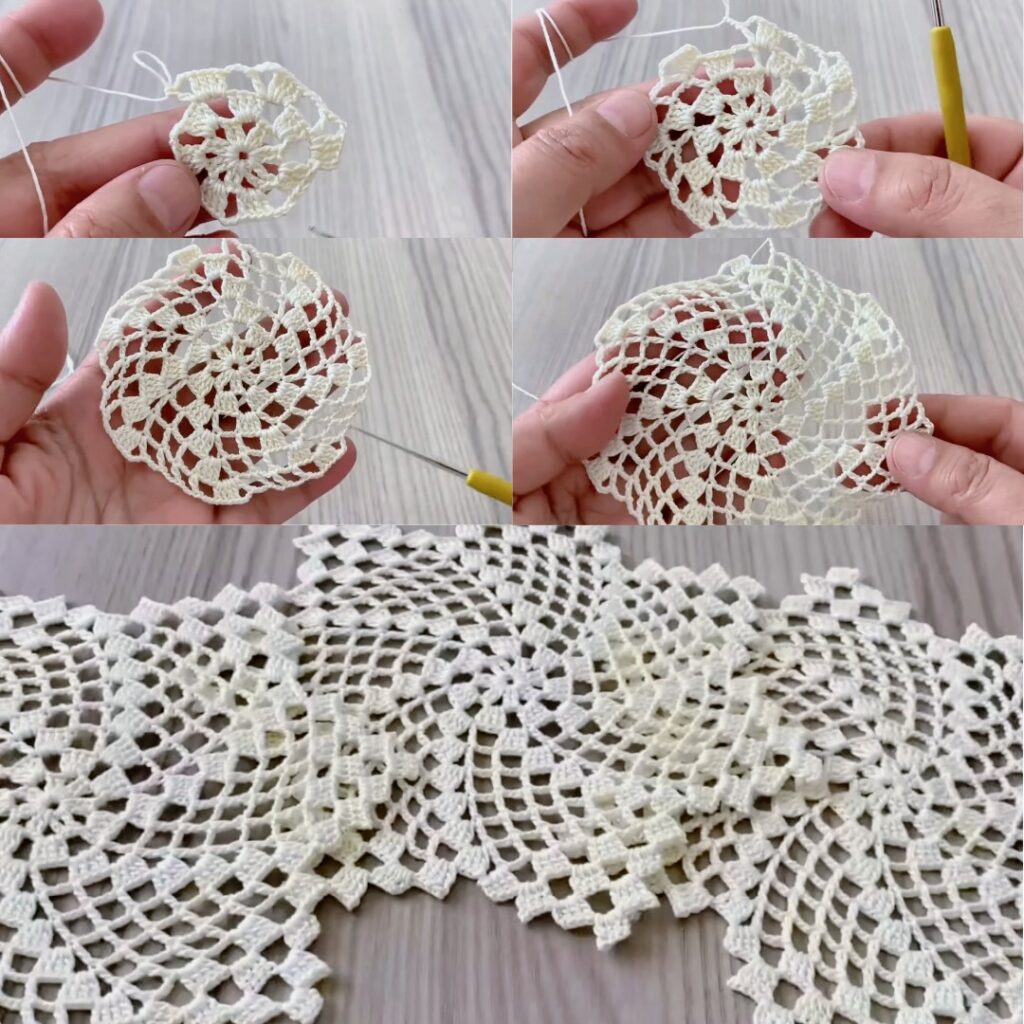
Round 5 — large arches with tall posts (lacy frame)
- sl st up to the top of a petal → ch 8 → anchor the arch into the sc round between the next two petals with (tr, ch 2, tr, ch 2, tr) worked into that sc or small space → sl st to the next petal top.
- Repeat across all petals so you create 8 big arches around the motif. (If ch-8 feels too long for your yarn/hook, use ch-7 or ch-9 — the visual spacing is what matters.)
Round 6 — decorative ribs inside arches
- Working into each big ch-8 arch: sl st into arch base → ch 3 → (dc in the top of the first tr of the anchor), ch 1 → dc in top of center tr, ch 1 → dc in top of last tr → ch 3 → sl st into arch base.
- This makes three small dc ribs inside each arch separated by tiny chain spaces. Repeat for all 8 arches and join.
(If you prefer a simpler look: in each arch work 3 dc separated by ch-1 instead.)
Round 7 — corner loops (create a square silhouette)
- We’ll convert the circular motif to a shape that joins neatly in grids. Mark four quarter points (every 2 petals).
- Starting at a quarter marker, ch 6 (creates corner loop), sc into next outer anchor area; then along the side between quarter points work (sc, ch 4, sc) repeated evenly until next corner.
- At corner make ch 6 again. Repeat for four sides to create four corner loops and side chain-loops. Join with sl st and fasten off.
Round 8 — outer scallop & picots (final decorative edge)
- Rejoin and work a pretty scallop edge: sc 3 across a small curve, (pic: ch 3, sl st into same sc), sc 4 across the next curve — adjust numbers so the edge sits flat.
- Place picots at regular intervals to reproduce the little bobble/dot effect. Join with sl st and fasten off. Weave in ends.
Blocking & finishing
- Block the motif: pin it to your desired final size and shape (pull corners outward to make the corner loops crisp). Spray lightly with water or steam and allow to dry completely. Blocking is crucial to reveal the lace and make joins fit well.
- Weave ends on the wrong side.
Joining motifs
Two easy options:
1) Join-As-You-Go (JAYG) — recommended
- Work motifs completely up through Round 7 on the first motif. For each new motif, when you work Round 8 (the outer scallop), at points that meet a finished motif instead of finishing the picot or sl st, sl st into the corresponding stitch of the adjacent finished motif. Continue the scallop — you’ll attach at corner loops and side loops. This gives a flat join with minimal sewing.
2) Sew-after
- Make and block all motifs. Align them in the desired layout. Use a tapestry needle and matching yarn to mattress stitch through the outer sc round (Round 4/5 area) or through the side chain loops. This gives a slightly stretchier seam.
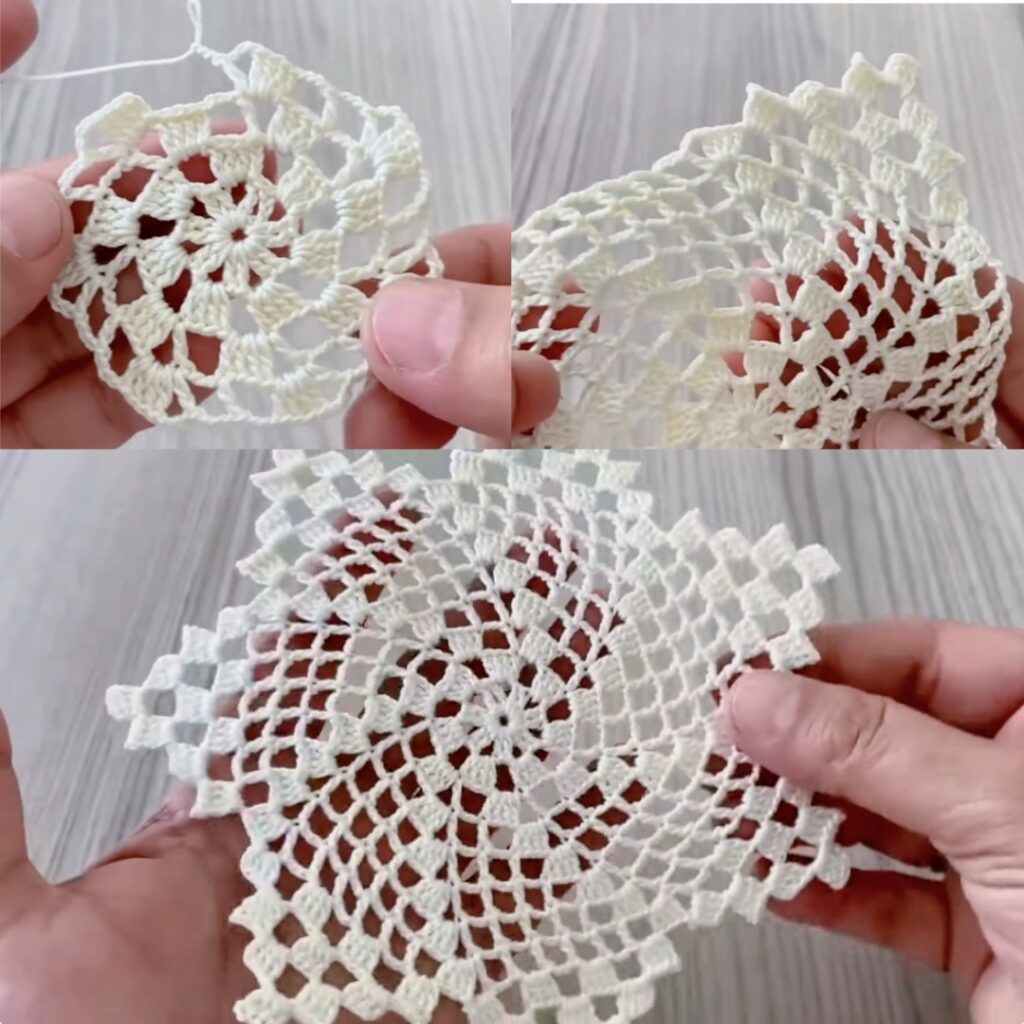
Variations & ideas
- Two-color motif: Change color at the end of Round 3 (after petals) so petals contrast with the lacy frame.
- Larger motif: Use thicker yarn or increase the petal dc (use 9 dc instead of 7) and lengthen arch chains.
- Smaller motif: Use finer yarn and a smaller hook or reduce dc in petals (5 dc instead of 7).
- Blanket / shawl / blouse: Join motifs in a grid for a blouse or rectangular shawl, or join in expanding rows for a triangular shawl.
Troubleshooting
- Motif cups upward: try a larger hook or loosen tension on the petal rounds.
- Motif ripples/waves: reduce ch length in arches or remove 1–2 sc from the base round to reduce extra fabric.
- Joints gaping: add one extra join slip-stitch at each join point or block motifs more firmly before joining.
VIDEO:
