 by
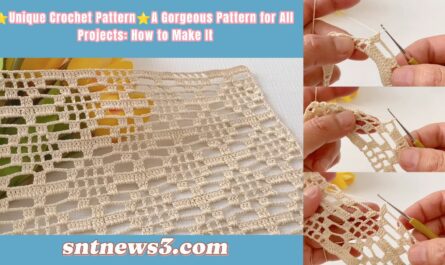
by Perfect for beginners — this is a very short, repeatable two-row lace that makes a lovely lightweight fabric for blouses, scarves, shawls or borders. You work one decorative row, then a simple return row — repeat those two rows to build the piece. US terms.
Materials & finished sample
- Yarn: fingering → DK (cotton for crisp summer pieces; soft blend for drapey wearables)
- Hook: 3.0–4.5 mm depending on yarn (use larger for airier drape)
- Notions: tapestry needle, blocking pins/towel, scissors
- Sample gauge idea: 10 repeats ≈ 10–12 cm wide (varies with yarn/hook) — make a 6–10 repeat swatch and block to confirm.
Abbreviations (US)
- ch = chain
- sc = single crochet
- hdc = half double crochet
- dc = double crochet
- tr = treble crochet
- sl st = slip stitch
- pic = picot (ch 3, sl st into base)
- sk = skip
- rep = repeat
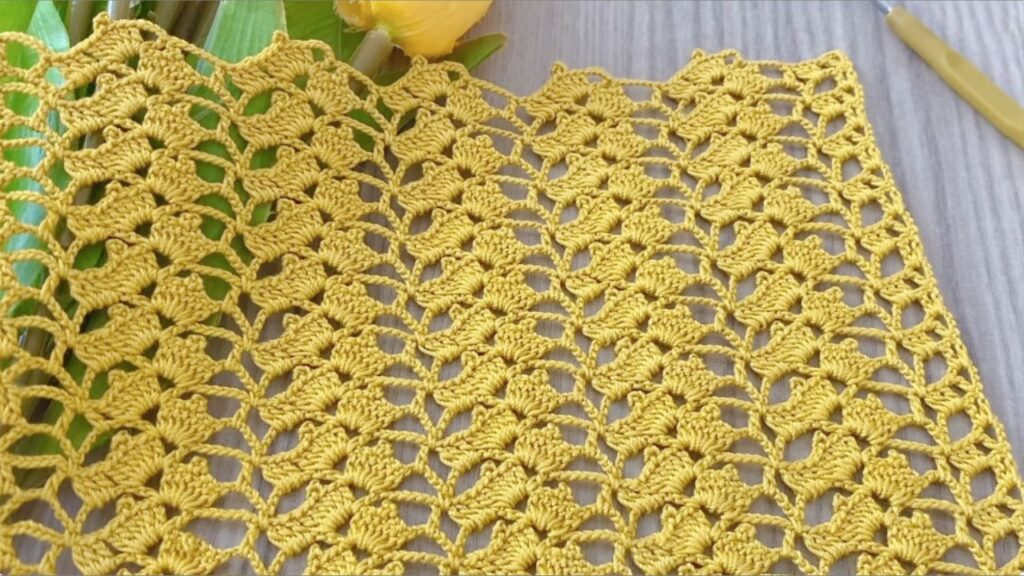
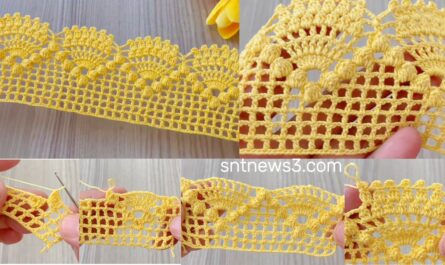
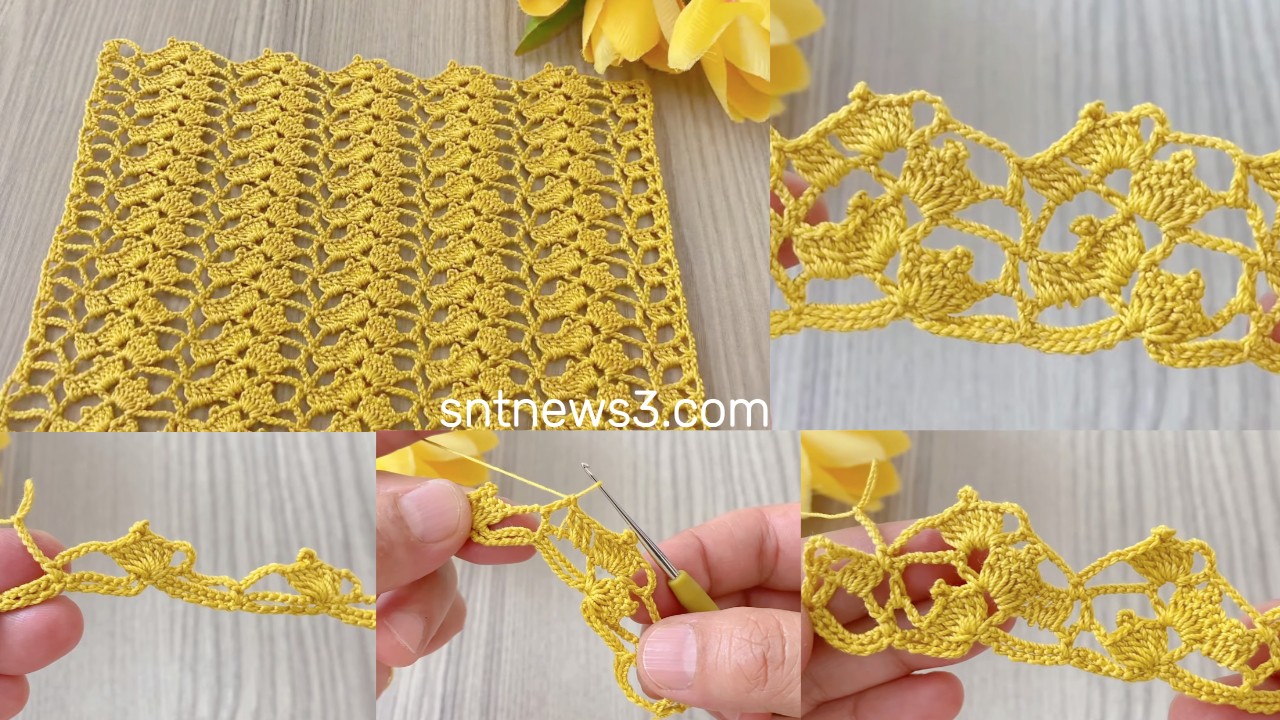
Pattern concept (very short)
Row A = decorative “scape” row with pointed scallops/leaf clusters.
Row B = simple anchoring/return row (sc or sc + ch) to prepare for the next Row A.
Repeat: Row A, Row B, Row A, Row B, … until desired length.
Repeat multiple (foundation): 6 + 2 (but the pattern tolerates other small offsets — see notes).
Foundation
Ch a multiple of 6 + 2 (example ch 38). Row 0: sc in 2nd ch from hook and across (creates a tidy base row). Turn.
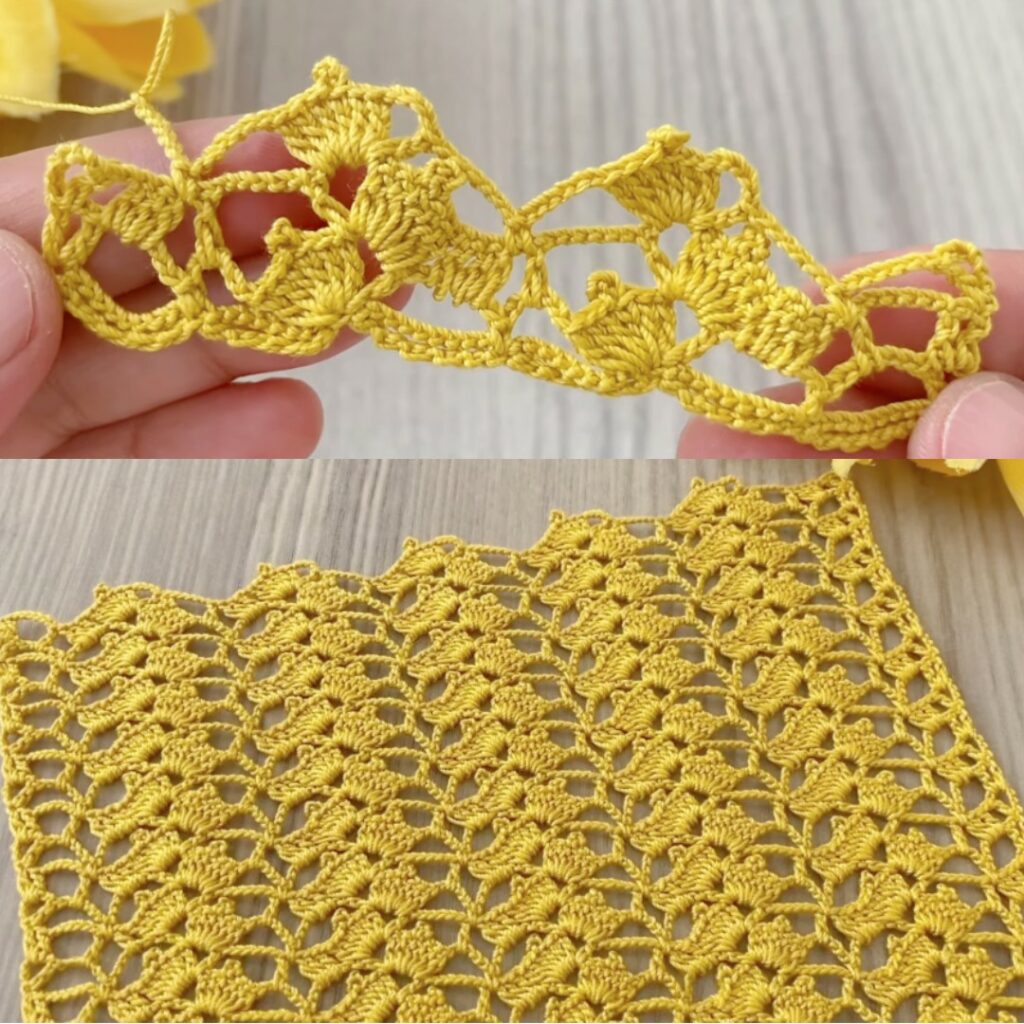
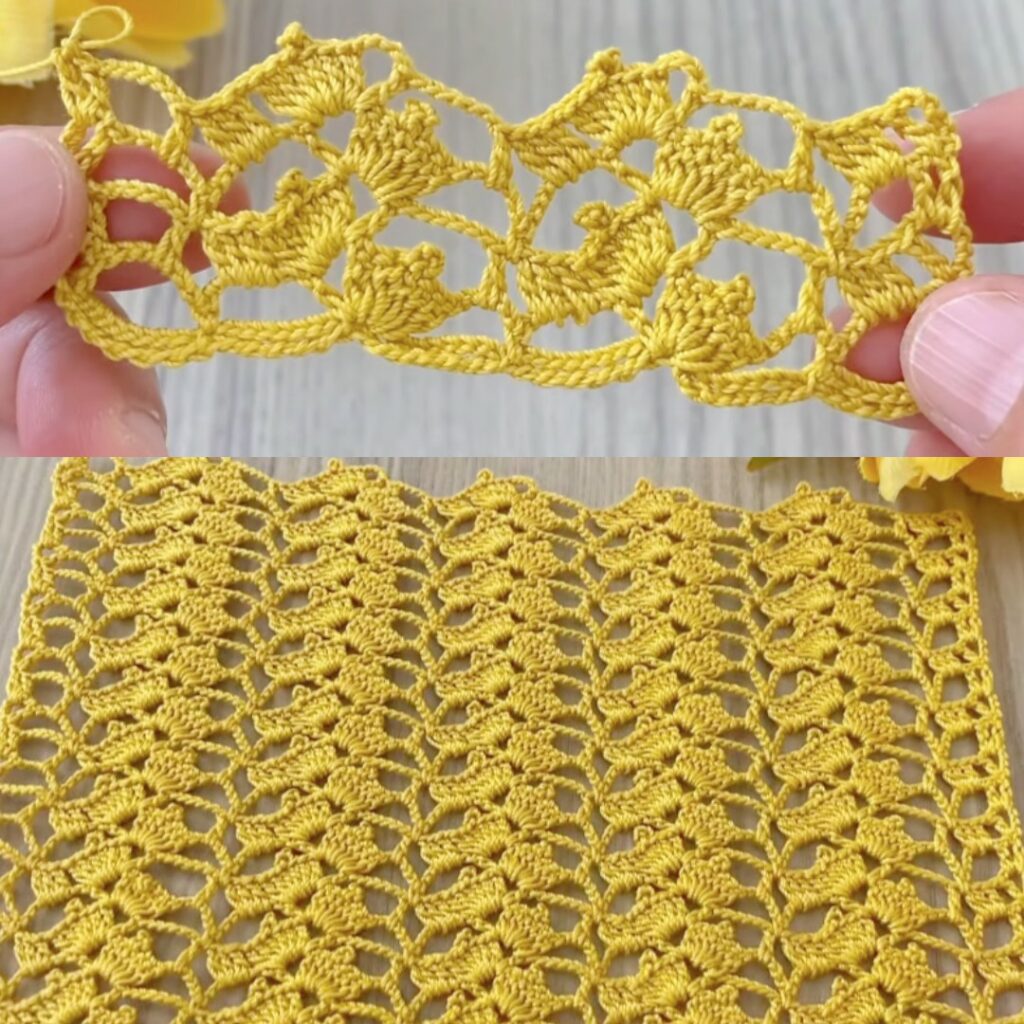
Row A — Decorative row (the “one pretty row”)
Work into the base sc row across:
Begin: sc in first sc to stabilize.
Repeat across:sc in next 2 sc, (sc, hdc, 3 dc, tr, 3 dc, hdc, sc) all into next base sc or ch-space, sl st into next base sc to anchor, sc in next 2 sc, ch 3, sk 2 sc.
End: finish with sc in final 1–2 sts so edge is neat. Turn.
What this makes: a row of pointed scallops (leaf/arch clusters) with picotable tips.
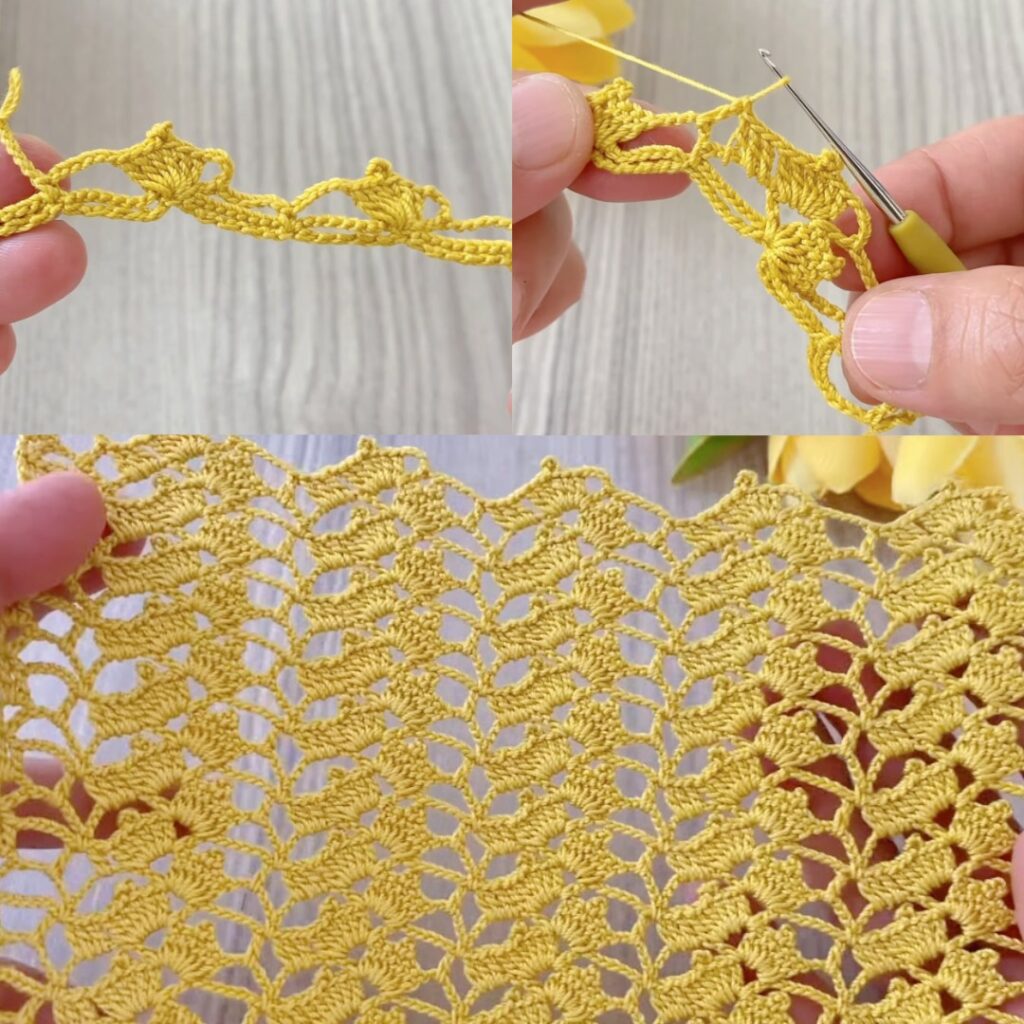
Row B — Return / anchor row (simple)
Work back across to rebuild the base for the next decorative row:
Option 1 (simplest & stable): sc in each stitch across, slipping into picots where present so you keep alignment. Turn.
Option 2 (slightly open return): sc 2, ch 3, sk 3 repeating across — this keeps more openness and lines up the ch3 hinge for the next decorative row. Turn.
Both work — use Option 1 for structure (blouse), Option 2 for drapier shawls.
Optional finishing on the decorative tip (picot dot)
If you like a dotted look, when you reach the tr top during Row A, you can do a tiny picot: after working the tr at the point, ch 3, sl st into the same tr (or work the picot on a finishing round). This creates a pretty beaded dot on each scallop.
Corners & turning a rectangle
At corners (if working as a border strip): after last full scallop, ch 6 for a corner loop (or ch 4 for a sharper corner). Anchor the next scallop into that corner loop so the pattern turns smoothly around a 90° corner.
Blocking & finishing
- Pin gently to shape scallops, stretch corners if needed and lightly mist to dry. Blocking evens the stitches and opens the lace.
- For a soft blouse: don’t starch. For a runner/trim: light spray starch gives crisp points.
Uses & build ideas
- Blouse: work horizontal bands (Row A + Row B) stacked to desired length, seam sides or work full panels and join. Pick up around neck/armholes and do 2 rounds sc as finishing.
- Shawl/Scarf: work long strips, repeat the two rows until desired length. For triangular shawl, increase repeats at one end or join strips at angles.
- Edge / Trim: work along raw edge attached to fabric (work Row 1 as attachment base then Row A).
Quick troubleshooting
- Scallops look flat: increase tr to dtr or use a larger hook for Row A; block more strongly.
- Scallops curl up (cupping): shorten the center tr (use dc instead of tr) or switch to slightly smaller hook on Row A.
- Rows don’t line up: make sure you use the same anchoring method on Row B (Option 1 or 2) consistently so ch3 hinges line up under the leaf points.
- Edge uneven: add/remove 1 sc at the beginning/end of rows to square the edge before blocking.
Variations (fast)
- Petite: change
3 dc→2 dc,tr→dcfor smaller scallops. - Bold:
3 dc→5 dc,ch3→ch4for dramatic leaves. - Two-color: alternate colors every N rows or change color on Row B for a banded look.
- Beaded: slide tiny seed beads onto yarn and work one bead onto the tr of each scallop before finishing the row.
VIDEO: