 by
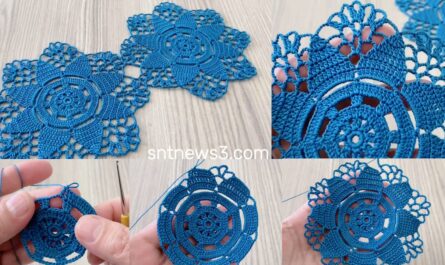
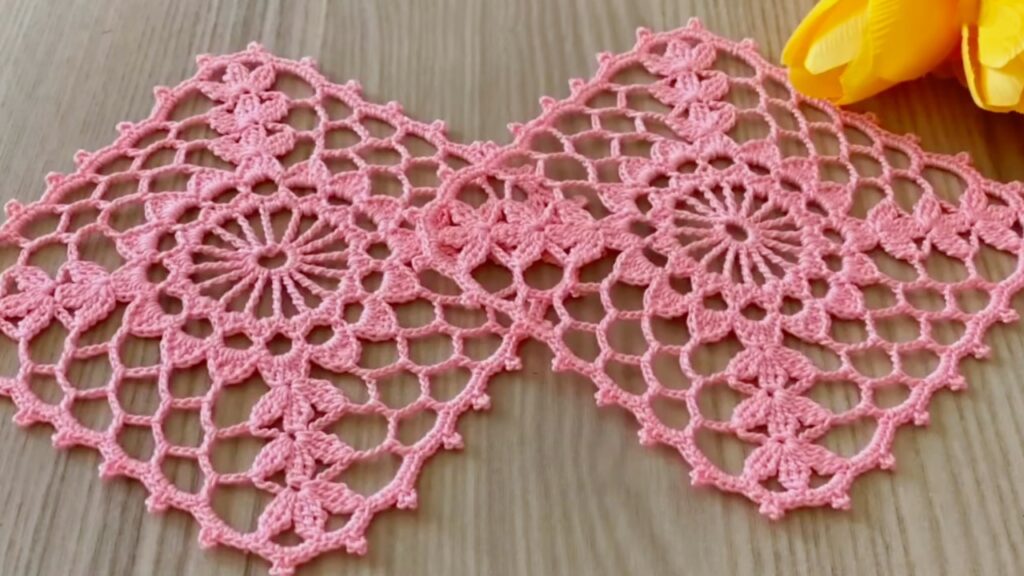
by This square motif is beautiful, neat, and easy to remember.
You can use it for blankets, shawls, blouses, tunics, table runners, pillow covers, and more.
🧶 MATERIALS (BEGINNER FRIENDLY)
Please use light-colored yarn if possible.
- Yarn:
- Sport (No.2) or DK (No.3)
- Cotton or cotton blend is best for clear stitches
- Hook: 3.0 – 4.0 mm
- Scissors
- Yarn needle
📘 CROCHET ABBREVIATIONS (US TERMS)
Please read carefully before starting:
- ch = chain
- sl st = slip stitch
- sc = single crochet
- hdc = half double crochet
- dc = double crochet
- sp = space
- corner sp = corner space
📏 FINISHED SIZE
- About 9–12 cm (3.5–4.5 inches) after blocking
- Size depends on yarn and hook
🟢 VERY IMPORTANT NOTES FOR BEGINNERS
- Always count your stitches
- Corners are made with chain spaces
- Work slowly, do not rush
- If your square curls, use a bigger hook
- If your square waves, use a smaller hook
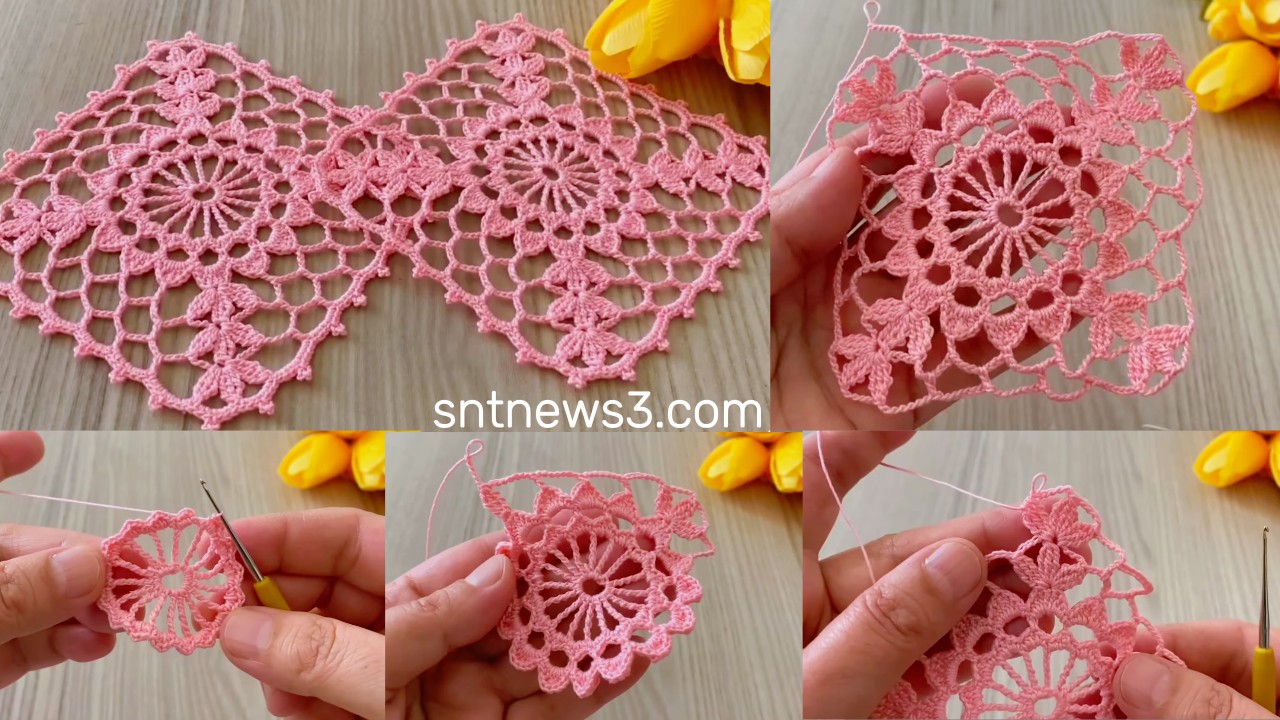
🟡 ROUND 1 – MAKE THE CENTER
This round creates the middle of the square.
- Make a magic ring
(Or ch 4 and sl st into the first chain to form a ring) - Ch 3 (this counts as your first dc)
- Work 11 dc into the ring
- Pull the ring closed
- Sl st into the top of ch 3 to join
✅ You now have 12 double crochets in a circle
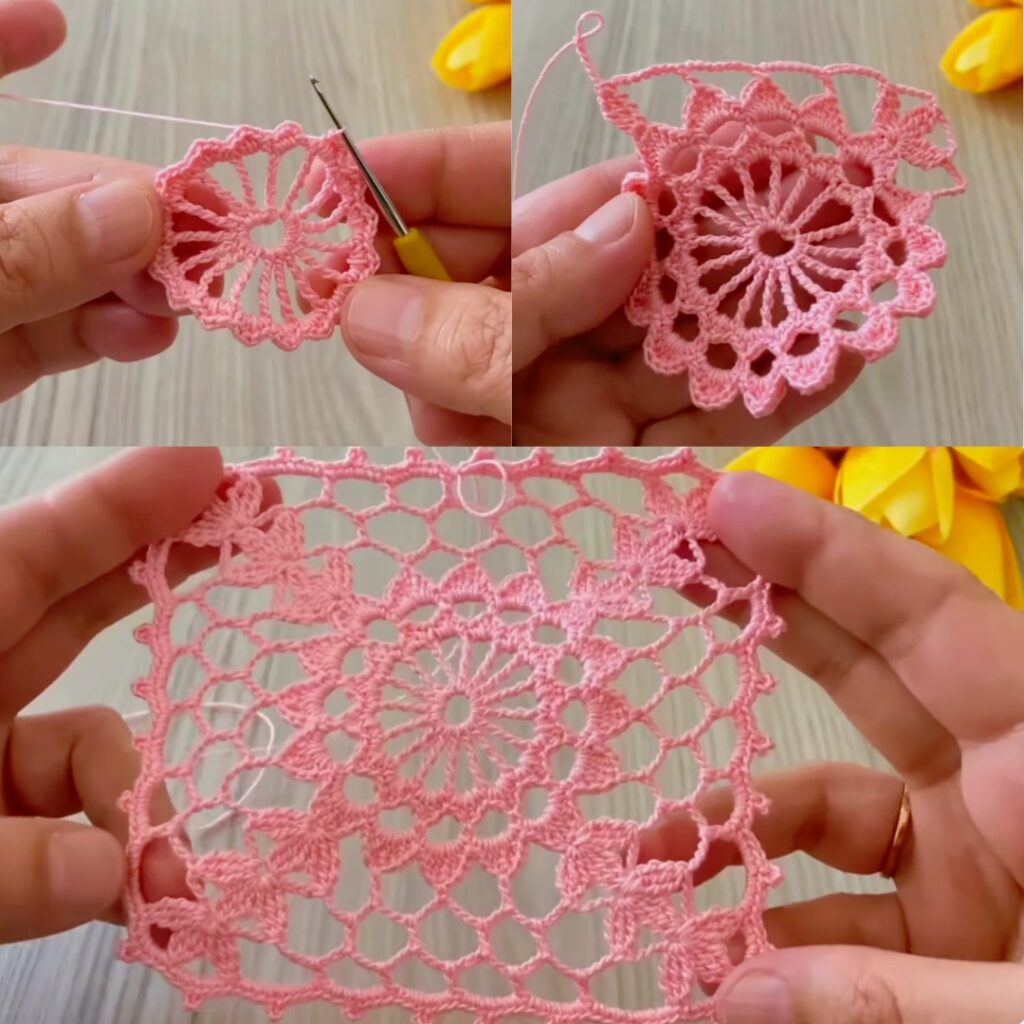
🟡 ROUND 2 – CREATE 4 CORNERS
This round turns the circle into a square.
- Ch 3 (counts as first dc)
- Dc in the same stitch
- Ch 2 (this is a corner)
- 2 dc in next stitch, ch 2
- Repeat * to * around
- Sl st into top of ch 3
✅ You should now have:
- 4 groups of 2 dc
- 4 chain-2 corner spaces
🟡 ROUND 3 – BUILD THE SQUARE SHAPE
This round makes the square clearly visible.
- Sl st into the first corner space
- Ch 3 (counts as dc)
- Dc, ch 2, 2 dc in same corner space
👉 This makes a corner - *Dc in next 2 dc
- In next corner space: (2 dc, ch 2, 2 dc)*
- Repeat * to * around
- Sl st into top of ch 3
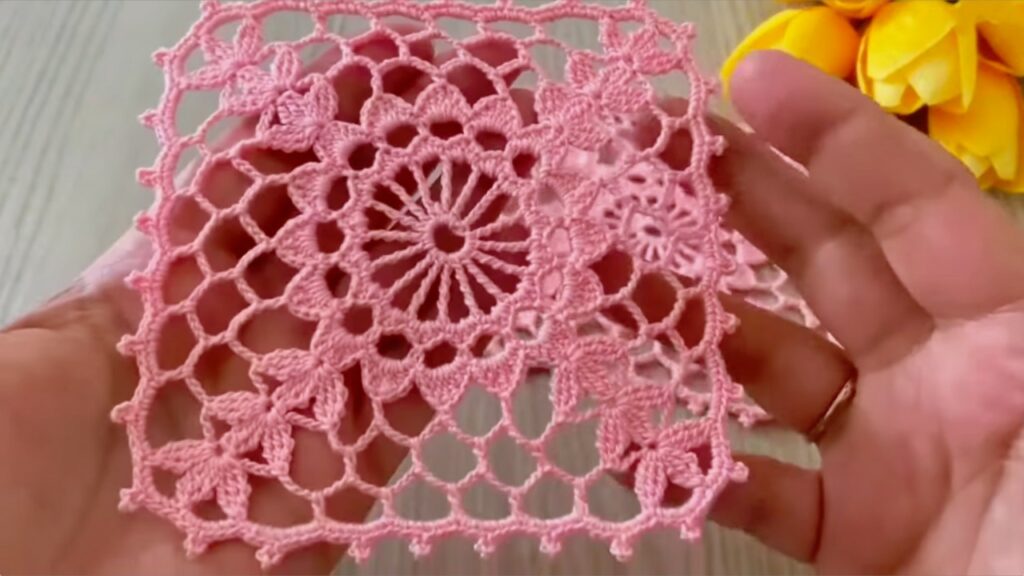
✅ Your square shape is now clear and flat
🟡 ROUND 4 – DECORATIVE ROUND (BEGINNER SAFE)
This round adds beauty and neatness.
- Sl st into corner space
- Ch 3
- Dc, ch 2, 2 dc in same corner
- *Dc in each stitch across side
- In corner: (2 dc, ch 2, 2 dc)*
- Repeat * to * around
- Sl st to finish
✅ Square is now balanced and elegant

🟡 ROUND 5 – SIMPLE EDGE (OPTIONAL BUT RECOMMENDED)
This round makes joining easier later.
- Ch 1
- Sc in every dc around
- In each corner space: (sc, ch 1, sc)
- Sl st to finish
✅ Your square now has a clean border
✨ OPTIONAL DECORATIVE EDGE (PICOT)
If you want a fancy edge:
- Sc, ch 3, sl st into same stitch
- Repeat around
This makes tiny decorative points 🌼
🧵 BLOCKING (VERY IMPORTANT)
Blocking makes your square look perfect.
- Lightly wet or steam the square
- Gently stretch into a perfect square
- Pin corners if possible
- Let dry completely
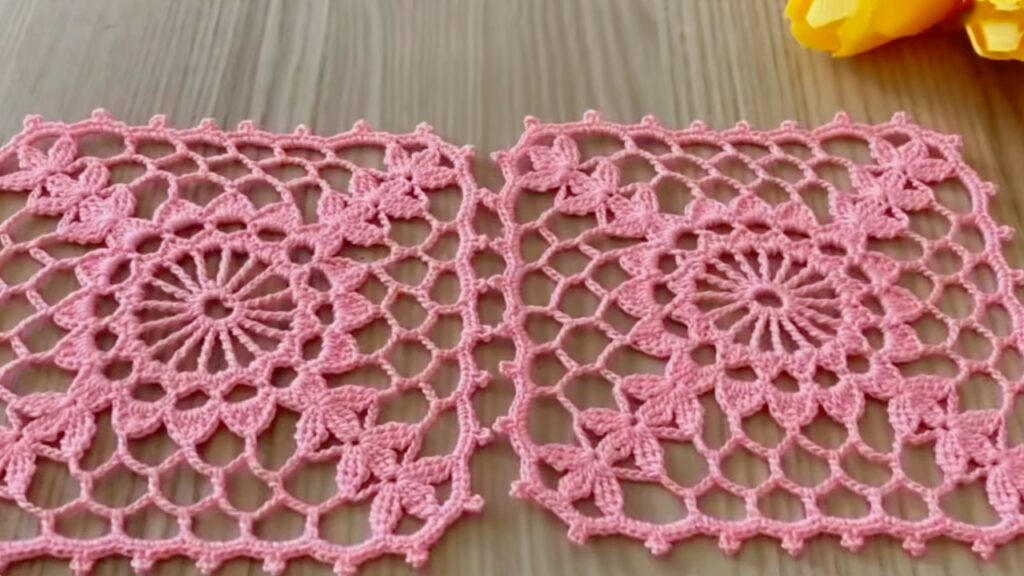
🪡 HOW TO JOIN SQUARES
✔ Join-As-You-Go (Easy & Neat)
- Join squares during the final round using slip stitches
✔ Sewing Method
- Whip stitch or mattress stitch with yarn needle
👗 PROJECT IDEAS
✔ Blanket
✔ Shawl
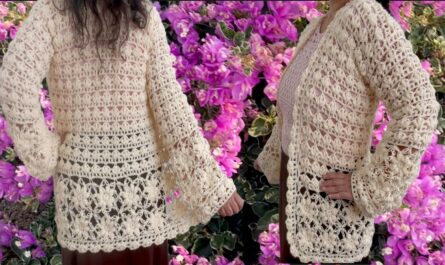
✔ Blouse
✔ Tunic
✔ Cushion cover
✔ Table runner
🌸 BEGINNER TIPS (PLEASE READ)
- Use stitch markers for corners
- Count stitches every round
- Practice with one square before making many
- Light yarn colors help see stitches clearly
- Don’t worry if first square is not perfect 💛
🌈 EASY VARIATIONS
- Bigger square → add more rounds
- Lacy look → add chain spaces
- Thicker square → use hdc instead of dc
- Color change → change yarn every round
❤️ YOU CAN DO THIS
Even if you are a complete beginner, this square is perfect to practice:
- Chains
- Double crochet
- Corners
- Joining motifs
VIDEO: