 by
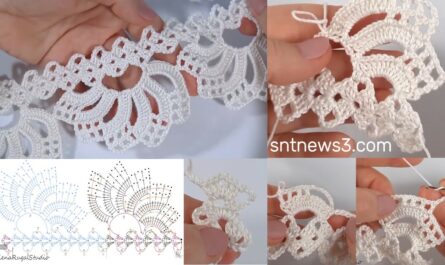
by This pattern is a flower garden motif made with layered petals and open spaces.
🧶 Materials
- Medium cotton yarn (2–3 colors recommended like in video)
- Crochet hook (approx. 3–4 mm)
- Scissors
- Yarn needle
✨ Pattern Overview
- Start with center ring
- Build round petals
- Add decorative outer layer (flower garden effect)
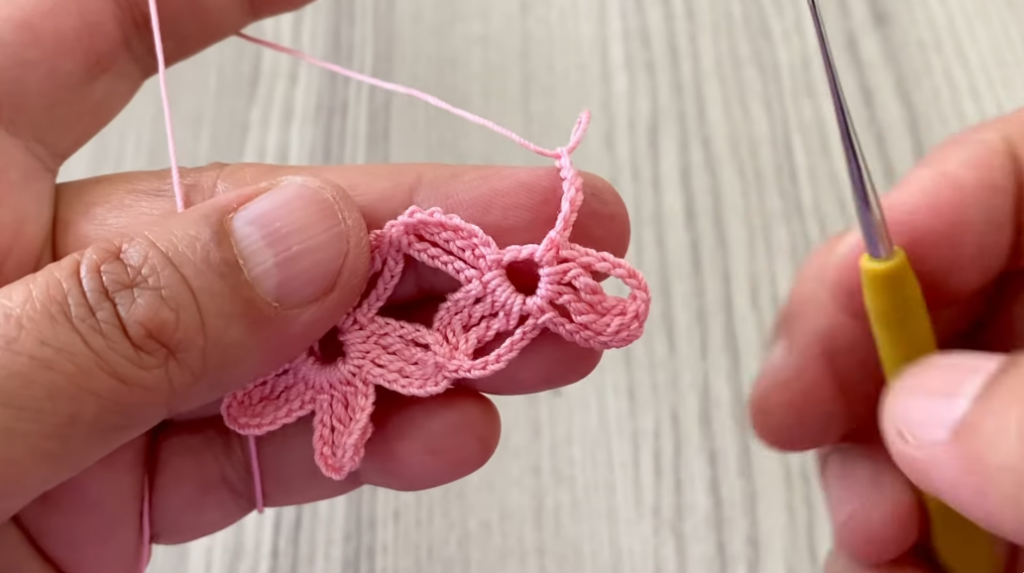
🌼 STEP 1: Make the Center Ring
- Make a magic ring (or ch 4 and join).
- Ch 1.
- Work 12 single crochet (sc) into the ring.
- Pull tight and join with slip stitch.
👉 You now have a tight circular center.
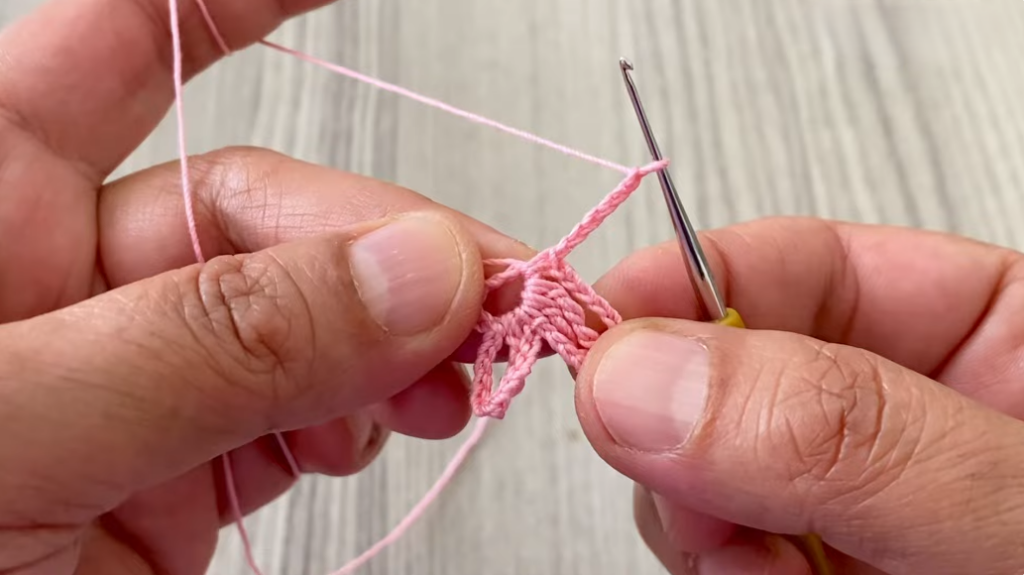
🌸 STEP 2: Create First Petal Base (Loops)
- Ch 3.
- Skip 1 stitch, slip stitch into next stitch.
- Repeat around.
✔ You will have 6 small loops around the circle.
🌷 STEP 3: Build First Layer of Petals
Into each loop:
- (sc, hdc, 3 dc, hdc, sc)
Repeat in every loop.
👉 This forms rounded petals.
Join with slip stitch.
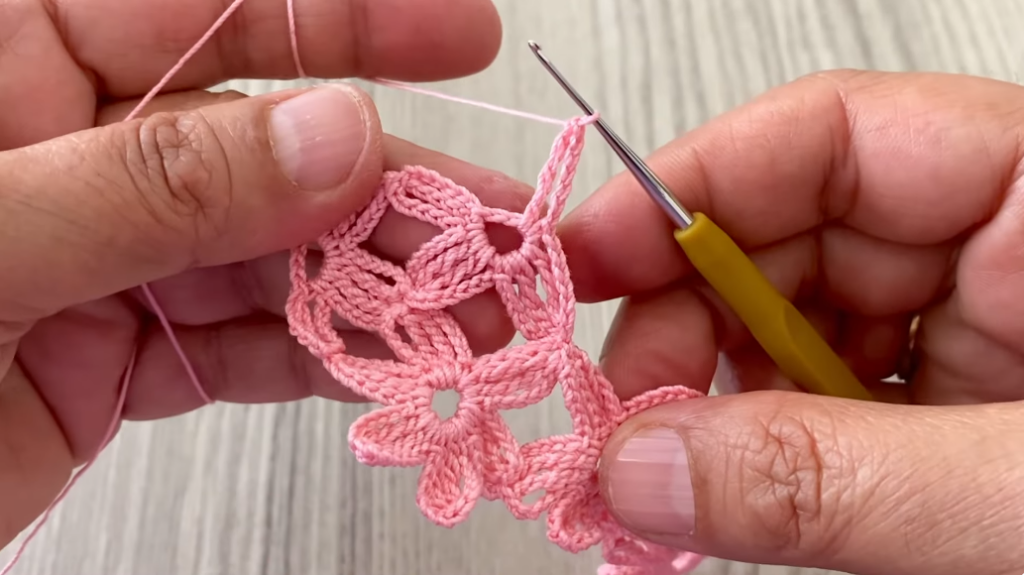
🌺 STEP 4: Create Second Layer Base (Behind Petals)
Now work behind the petals:
- Insert hook behind petals.
- Ch 4.
- Skip 1 stitch, slip stitch into next stitch (behind work).
- Repeat around.
✔ You create a second round of loops (hidden base).
🌼 STEP 5: Second Layer Petals (Bigger Flower Look)
Into each back loop:
- (sc, hdc, 5 dc, hdc, sc)
👉 These petals are bigger and fuller.
Join with slip stitch.

🌻 STEP 6: Add Decorative Flower Garden Edges
Now the pattern becomes more decorative:
In each space:
- Ch 3
- Work:
- 2 dc
- ch 2
- 3 dc (same space)
- Skip next stitch, repeat
👉 This creates square/flower frame effect
🌿 STEP 7: Final Round (Optional Border)
- Add:
- sc in each stitch
- (sc, ch 2, sc) in corners
This makes the motif:
✔ Flat
✔ Clean edges
✔ Ready to join
✂️ STEP 8: Finish
- Cut yarn
- Pull through
- Weave in ends
💡 Important Tips (from video style)
- Keep stitches loose, not tight
- Always work behind petals carefully
- Count stitches each round
- Use contrasting colors for best result
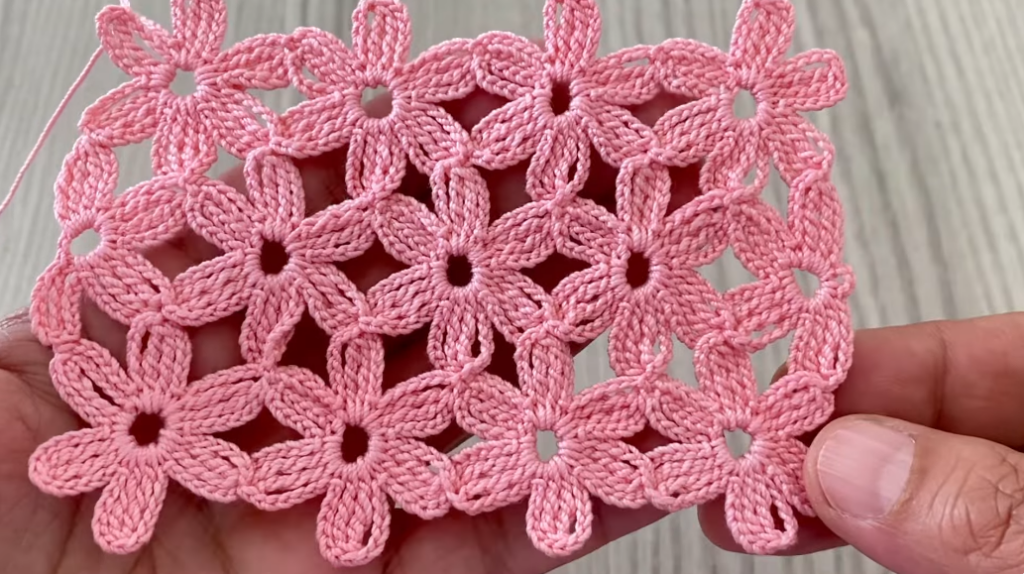
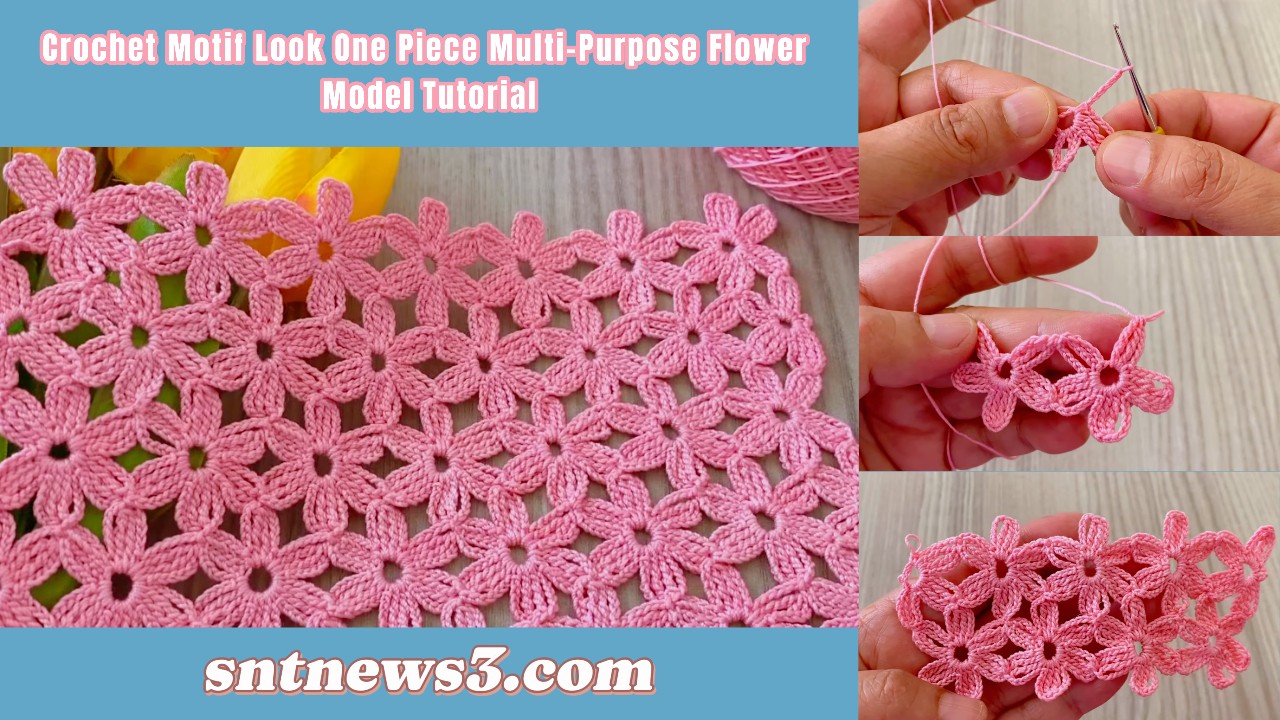
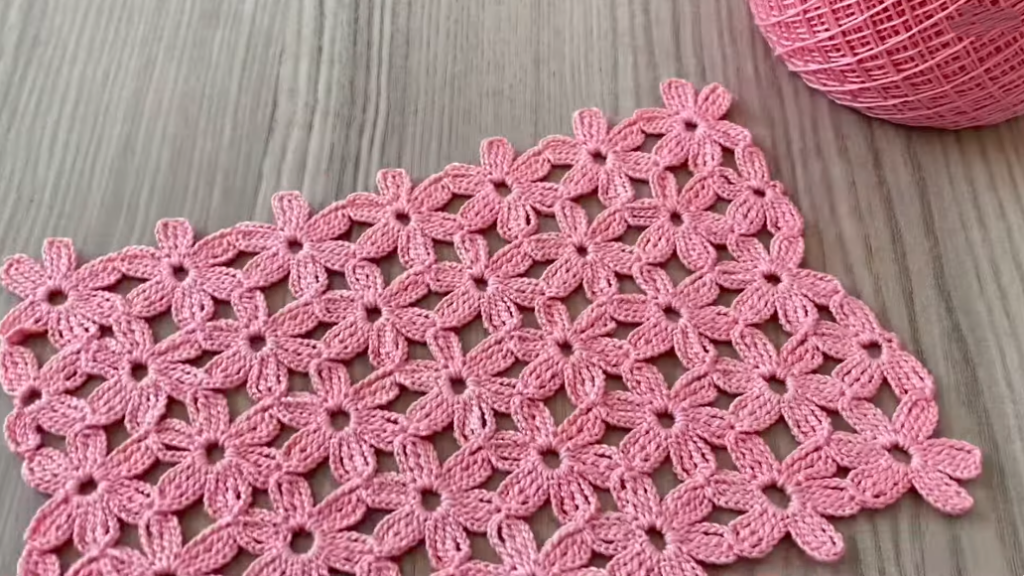
🌟 Final Result
You get a layered flower motif that looks like:
- 🌸 3D flower
- 🌼 Garden-style pattern
- 🧩 Perfect for blankets, shawls, bags
VIDEO: