 by
by Nothing beats the satisfaction of creating your own cozy, stylish accessories, and a crochet simple hat is the perfect project for beginners and seasoned crocheters alike.
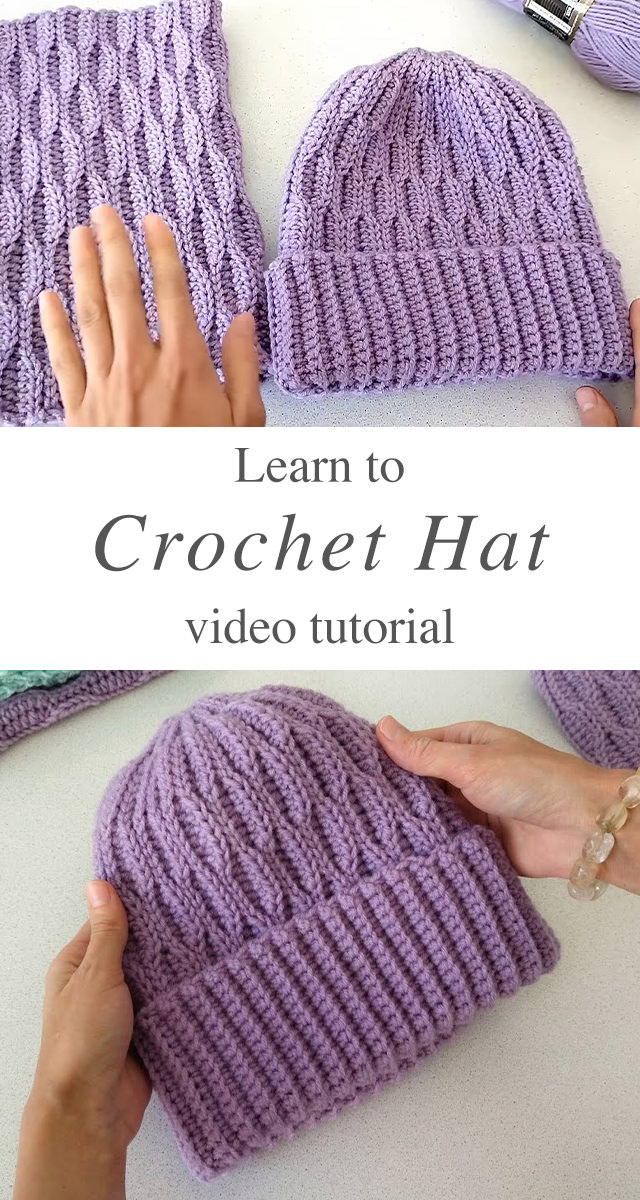
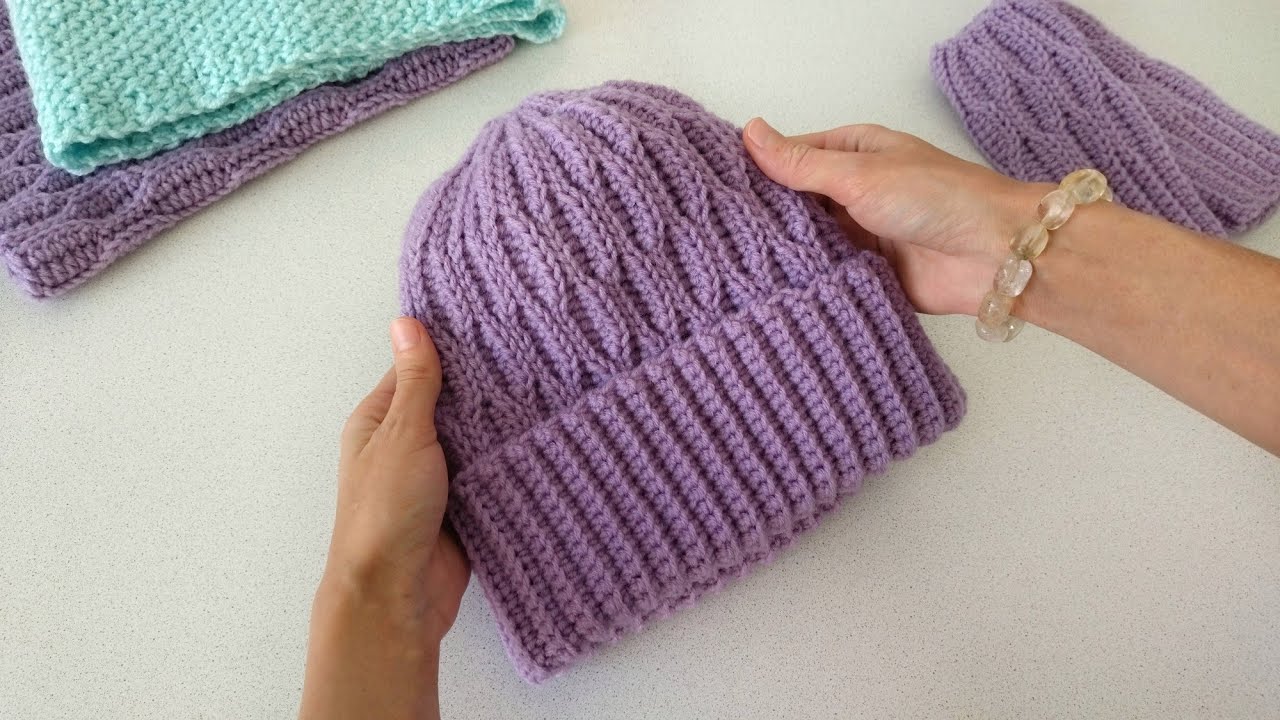
The Crochet Simple Hat
Whether you’re looking to craft a beanie for yourself, a loved one, or even to sell, this easy-to-follow guide will walk you through every step. A handmade crochet hat is more than just a functional piece of clothing—it’s a work of art. Here’s why you should consider making one: Beginner-Friendly – Simple stitch patterns make it accessible for all skill levels. Quick to Make – You can complete a basic hat in just a few hours. Customizable – Choose colors, yarn textures, and embellishments to suit your style. Great for Gifts – Handmade gifts always carry a personal touch. Perfect for All Seasons – Use lightweight yarn for summer or chunky wool for winter warmth.
Grab your favorite yarn, a trusty crochet hook, and let’s get started!
Materials
To create a crochet simple hat, gather these materials: Medium-weight (worsted) yarn is ideal for beginners. 5mm crochet hook or the size recommended for your yarn. You’ll need scissors for trimming excess yarn, tapestry needle to weave in ends and secure stitches, measuring tape to ensure the perfect fit.

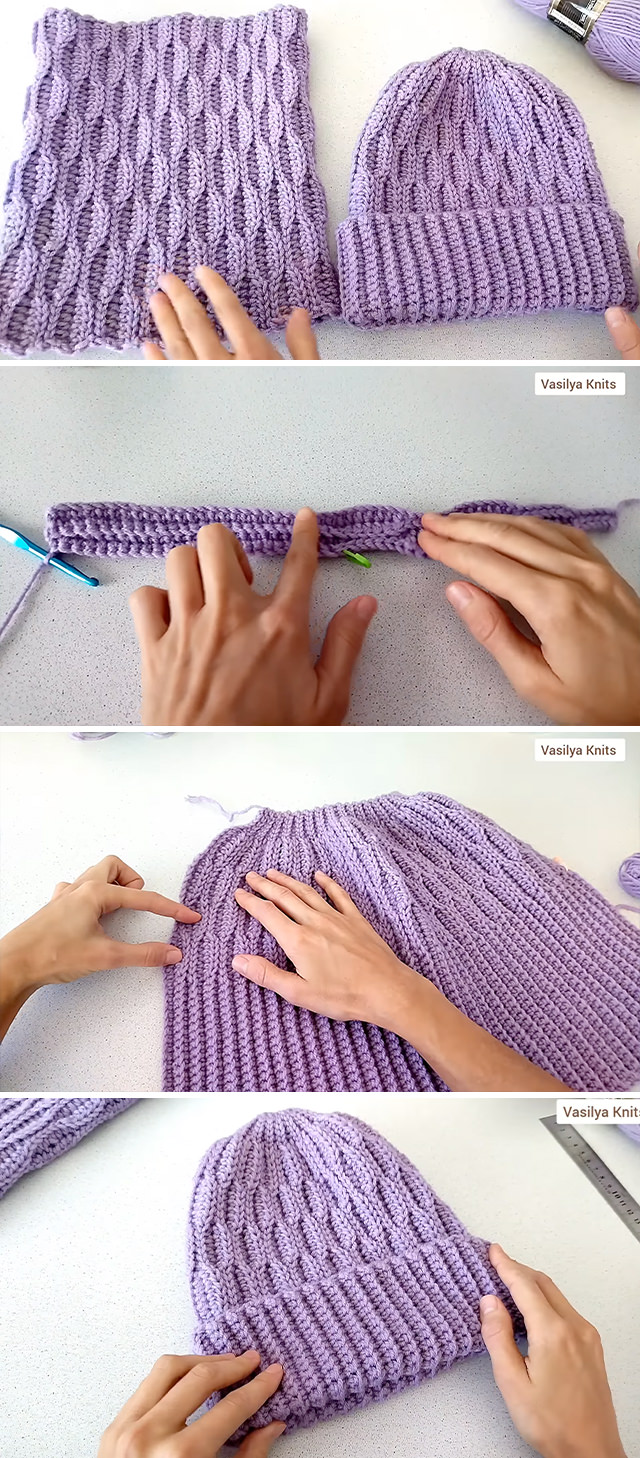
Step-by-Step Crochet Simple Hat Tutorial
Follow this beginner-friendly guide to craft your cozy hat:
Step 1: Creating the Foundation Chain
Start by making a slip knot and chaining 40-50 stitches (or as many as needed to match the circumference of your head). Make sure your chain isn’t too tight or too loose to ensure flexibility.
Step 2: Forming the Base
Join the last chain to the first with a slip stitch to form a ring. Be careful not to twist the chain. This will be the base of your hat.
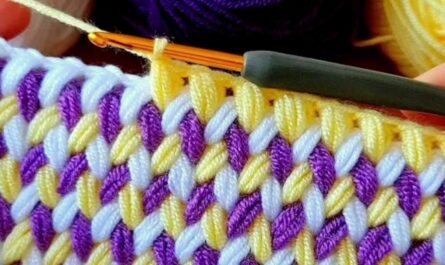
Step 3: Working the Body with Simple Stitches
For a classic ribbed texture, alternate between half double crochet (HDC) and single crochet (SC) stitches. Continue working in rounds until your hat reaches the desired height—typically 7-9 inches for adults.
To create a more intricate design, try variations like:
- Front and back post double crochet for a ribbed look.
- Shell stitches for a decorative touch.
- Simple color changes to add contrast.
Step 4: Shaping the Crown
Once the hat’s body is complete, it’s time to decrease stitches for a snug fit. Here’s how:
- Start decreasing every few stitches by working HDC2TOG (half double crochet two together).
- Continue decreasing until you have a small opening at the top.
- Cut the yarn, leaving a long tail, and use a tapestry needle to weave through the remaining stitches. Pull tight to close the gap.
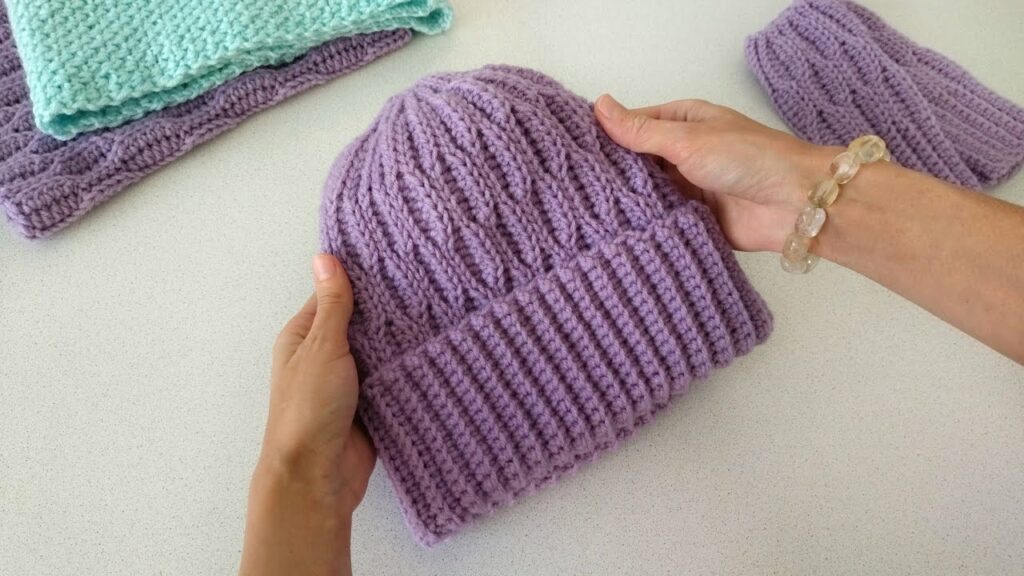
Step 5: Finishing Touches
- Weave in loose ends with a tapestry needle to secure your work.
- Add a pom-pom or tassel for a playful look.
- Fold the brim to create a stylish, double-layered edge.
Troubleshooting Common Mistakes
Even the best crocheters encounter bumps along the way. Here’s how to fix common problems:
❌ Hat is too tight or loose? Adjust your stitch count or try a different hook size.
❌ Uneven edges? Ensure you’re using consistent tension throughout.
❌ Visible seam? Use an invisible join or seamless method for a neater look.
Customisations for Your Crochet Simple Hat
Want to take your crochet simple hat to the next level? Try these ideas:
- Add a Faux Fur Pom-Pom – A trendy touch that’s perfect for winter.
- Try Color Blocking – Change yarn colors every few rows for a stylish effect.
- Attach Buttons or Patches – Personalize your hat with embellishments.
- Make a Slouchy Version – Extend the length for a relaxed, modern vibe.
Caring for Your Crochet Simple Hat
To keep your hat looking fresh and cozy:
✔ Hand wash in cold water with mild detergent.
✔ Lay flat to dry to maintain its shape.
✔ Avoid high heat when drying to prevent stretching.
✔ Store properly in a dry place to prevent fuzz and tangles.
A crochet simple hat is a rewarding project that blends creativity with functionality. Whether you’re crocheting for yourself, as a thoughtful gift, or even to sell, mastering this basic pattern will open the door to endless design possibilities. So pick up your hook, choose your favorite yarn, and start stitching today!
Tutorial and photos of this crochet simple hat by: Vasilya Knits – Crochet.