 by
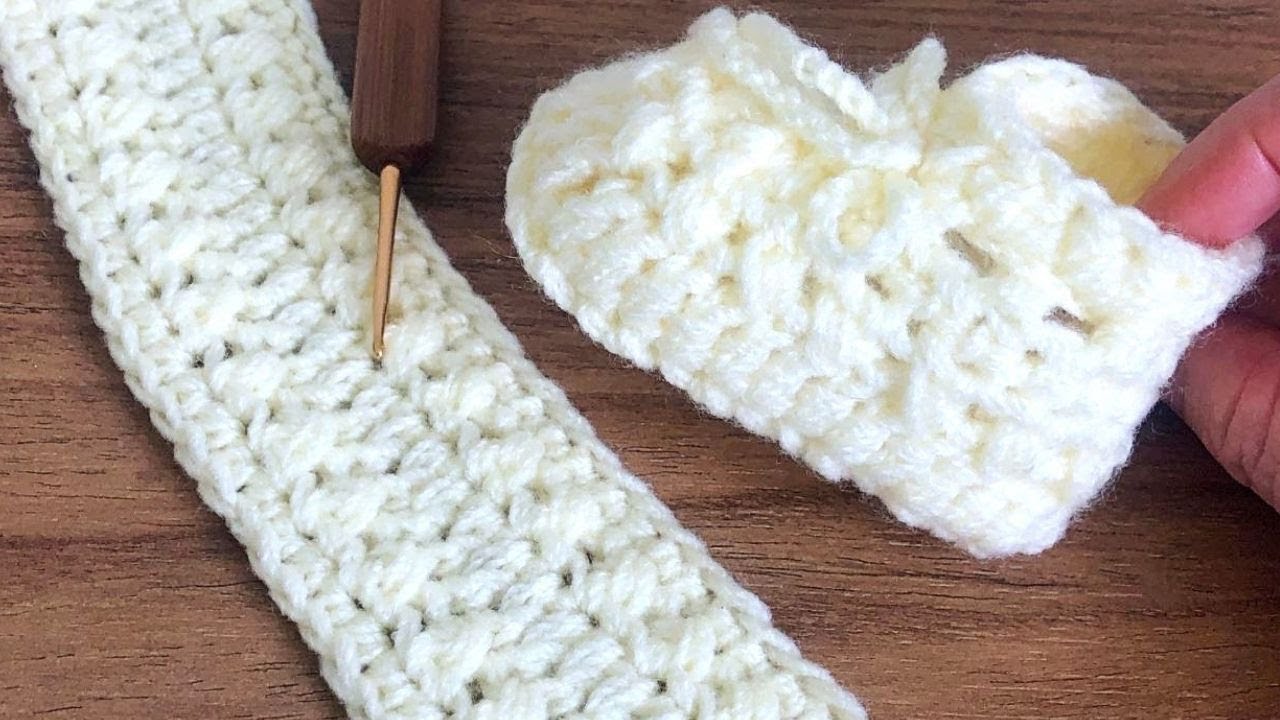
by Crochet shoes are among the most satisfying and functional projects you can create with just a hook and yarn. Whether you’re a complete beginner or a casual crocheter looking for a quick win, this step-by-step guide uses super easy techniques to create stylish and cozy crochet shoes. With clear instructions and beginner-friendly stitches, you’ll be slipping your feet into handmade comfort in no time!
Why This Crochet Shoe Pattern Is So Easy
This project is intentionally designed with simplicity in mind:
- Uses only basic stitches (single crochet, half double crochet, slip stitch)
- Constructed in one piece—no complex shaping or sewing
- Works flat and then in the round, eliminating confusing joins
- Ideal for all yarn types and adjustable sizes
Let’s dive into the details!
Materials Needed
- Worsted weight yarn (Acrylic or cotton blend is ideal)
- Crochet hook size H/5.0 mm
- Yarn needle
- Scissors
- Stitch marker (optional but helpful)
Stitches and Abbreviations
- Ch – Chain
- Sc – Single Crochet
- Hdc – Half Double Crochet
- Sl st – Slip Stitch
- St(s) – Stitch(es)
- Inc – Increase (2 stitches in one stitch)
- Dec – Decrease (single crochet 2 stitches together)
Step-by-Step Crochet Shoe Pattern (Adult Small/Medium)
You can easily adjust the size by adding or subtracting stitches and rows at the sole and upper section.
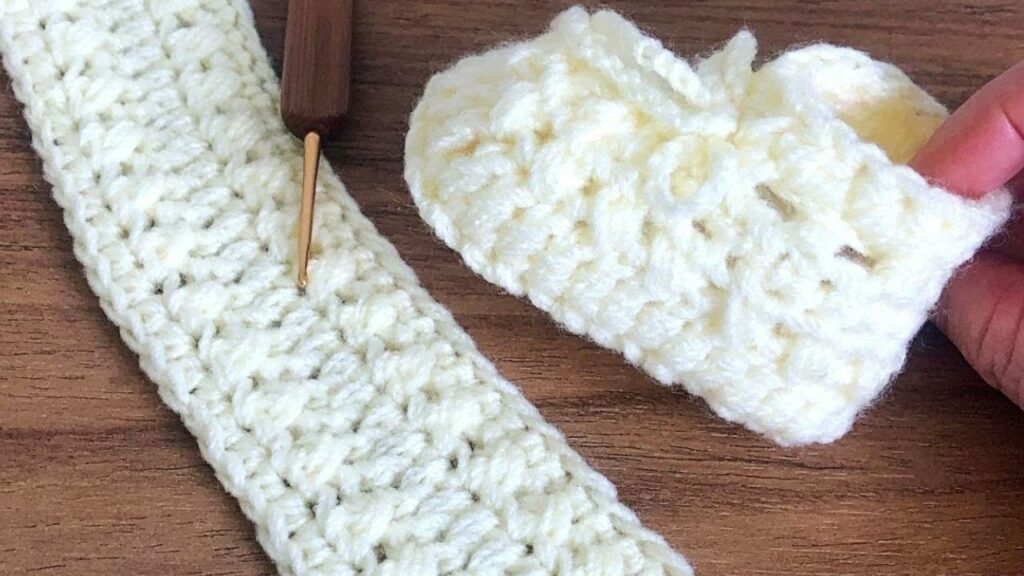
Step 1: Create the Sole
- Ch 16.
- Row 1: Sc in 2nd ch from hook, sc in next 13 sts, 4 sc in last st. Turn to work on opposite side of chain.
- Continue: Sc in next 13 sts, 3 sc in last st. Join with sl st to first sc. (34 sts)
- Round 2: Ch 1, 2 sc in first st, sc in next 13, 2 sc in next 4 sts, sc in next 13, 2 sc in last 3 sts. Join. (44 sts)
- Round 3: Ch 1, sc in each stitch around. Join. (44 sts)
✅ This forms a soft, oval sole. You can now begin working upward.
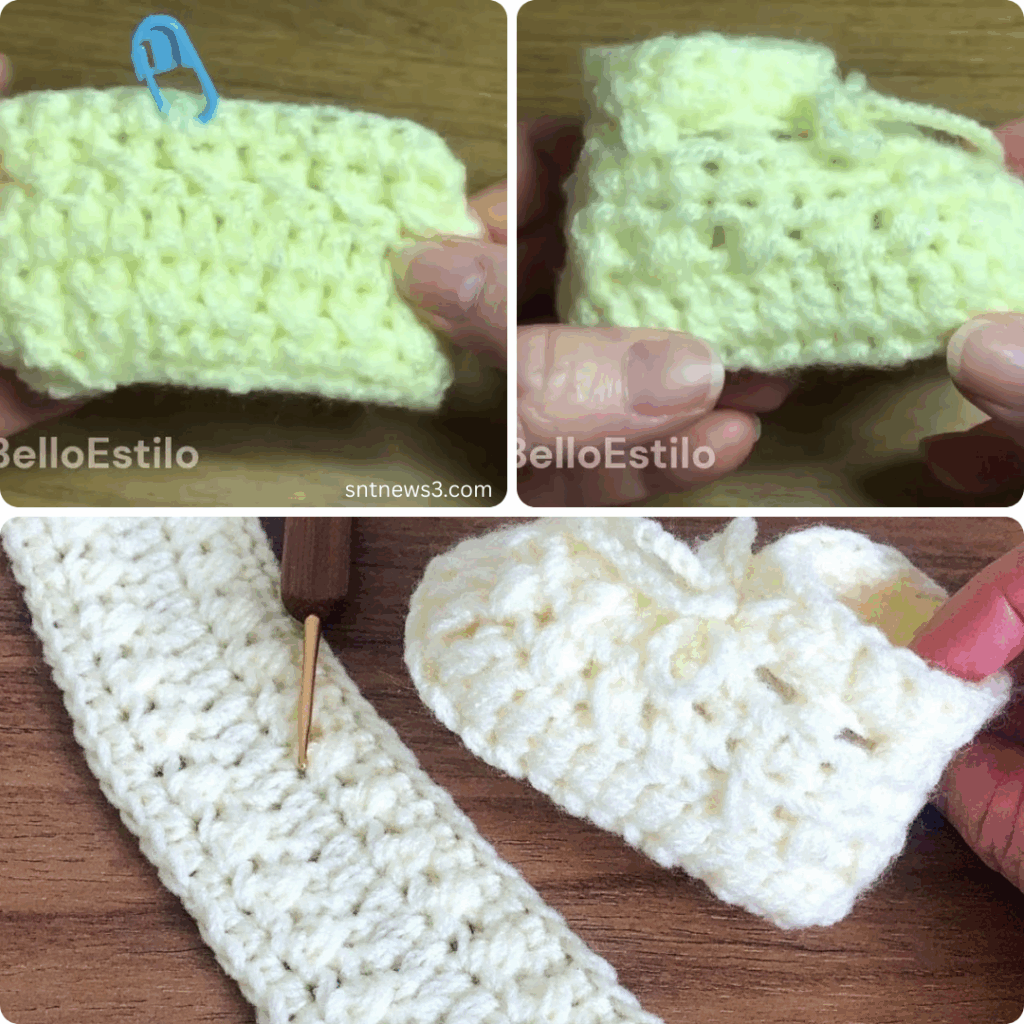
Step 2: Build the Upper Shoe
- Round 4: Ch 1, working in back loops only, sc in each stitch around. Join. (This gives the shoe its edge.)
- Round 5-7: Ch 1, sc in each st around. Join. (3 rounds of height for the shoe body.)
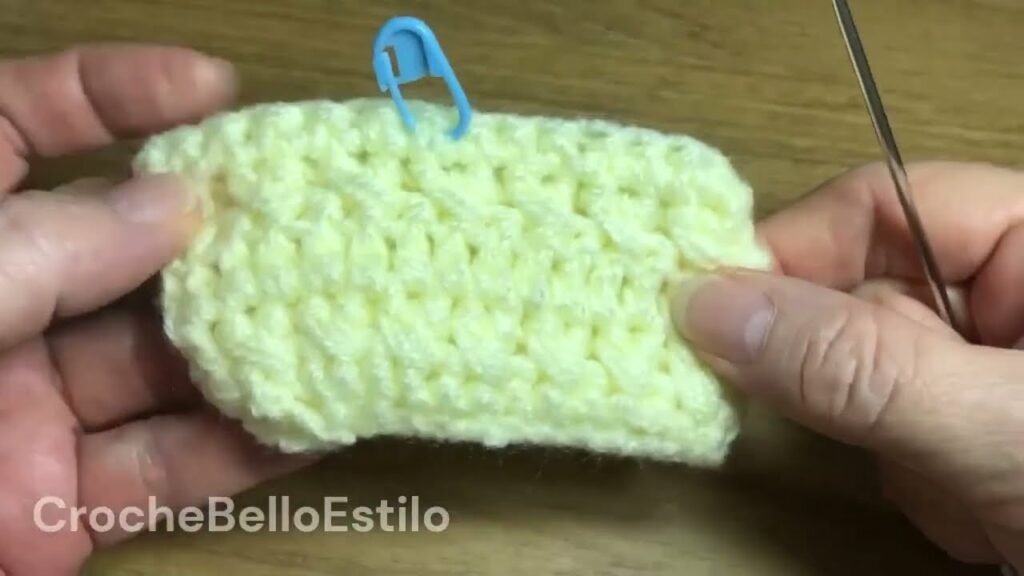
Step 3: Shape the Toe
- Round 8: Ch 1, sc in next 15, (sc2tog) x 7, sc in last 15. Join. (37 sts)
- Round 9: Ch 1, sc in next 13, (sc2tog) x 6, sc in last 12. Join. (31 sts)
- Round 10: Ch 1, sc in each stitch around. Join. (Optional: Repeat for more coverage.)
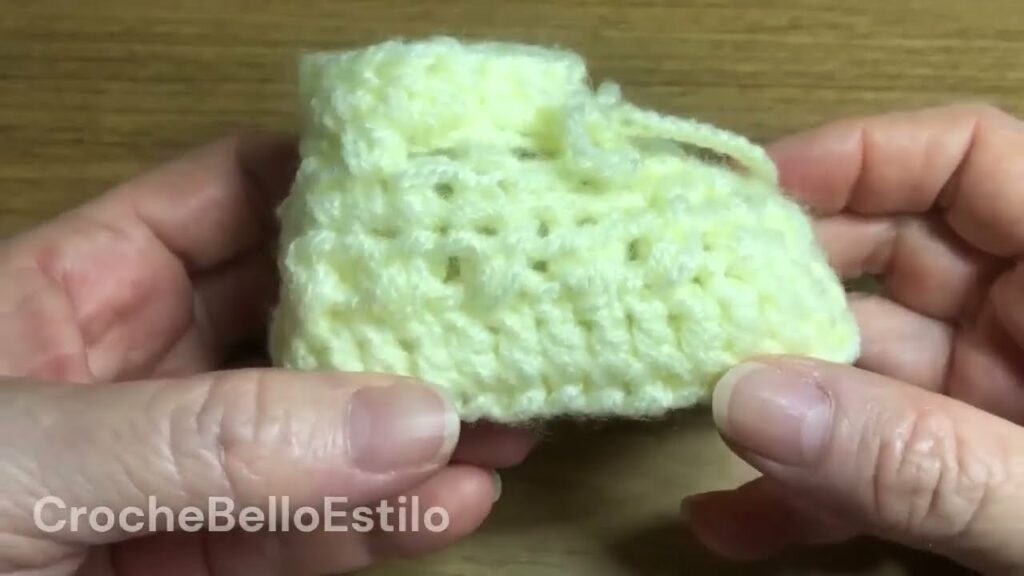
Step 4: Finishing
- Round 11: Sl st loosely around for a clean edge.
- Fasten off, weave in ends.
✅ Your shoe is complete! Repeat the pattern for the second shoe.
Tips to Customize
- Want slippers instead? Use soft chenille or velvet yarn for added comfort.
- Need larger sizes? Start with a longer chain and increase the number of stitches proportionally.
- Add flair: Stitch on buttons, flowers, bows, or use two-tone yarn for a stylish look.
Care Instructions
To keep your crochet shoes in great shape:
- Hand-wash or machine wash on gentle cycle
- Air dry only (no dryer)
- Avoid harsh detergents
Why This Technique Is Perfect for Beginners
- No seaming: The one-piece design means no complicated joining.
- No counting headaches: Minimal shaping and repetition keeps it simple.
- Quick results: Can be completed in under 2 hours.
- Skill-building: Reinforces foundational stitches and teaches basic shaping.
Video tutorial:
Conclusion
With this super easy crochet shoe technique, even beginners can craft a wearable, cozy, and stylish pair of shoes. It’s the perfect project for relaxing evenings, thoughtful gifts, or even starting your own small handmade shop. Once you’ve mastered this basic version, you’ll have a template to explore more advanced designs with confidence.