by
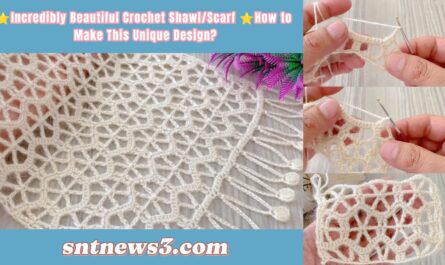
by A crochet summer hat is the perfect blend of style and sun protection. Lightweight, breathable, and effortlessly chic, these hats are ideal for beach trips, garden days, or casual walks under the sun. Whether you’re a beginner or a seasoned crocheter, this tutorial will walk you through the steps to make your own handmade summer hat.
🧶 What You’ll Need
Gather the following supplies before you begin:
- Yarn: Lightweight cotton or raffia yarn (recommended: DK or sport weight cotton)
- Crochet hook: 3.5 mm – 4.0 mm (check yarn label)
- Scissors
- Tapestry needle
- Stitch markers (optional but helpful)
- Measuring tape
✅ Cotton yarn is ideal for summer hats because it’s breathable and holds shape well.
🧵 Basic Stitches Used
This pattern uses simple stitches. Here’s a quick glossary:
- ch – chain
- sl st – slip stitch
- sc – single crochet
- dc – double crochet
- inc – increase (2 stitches in same stitch)

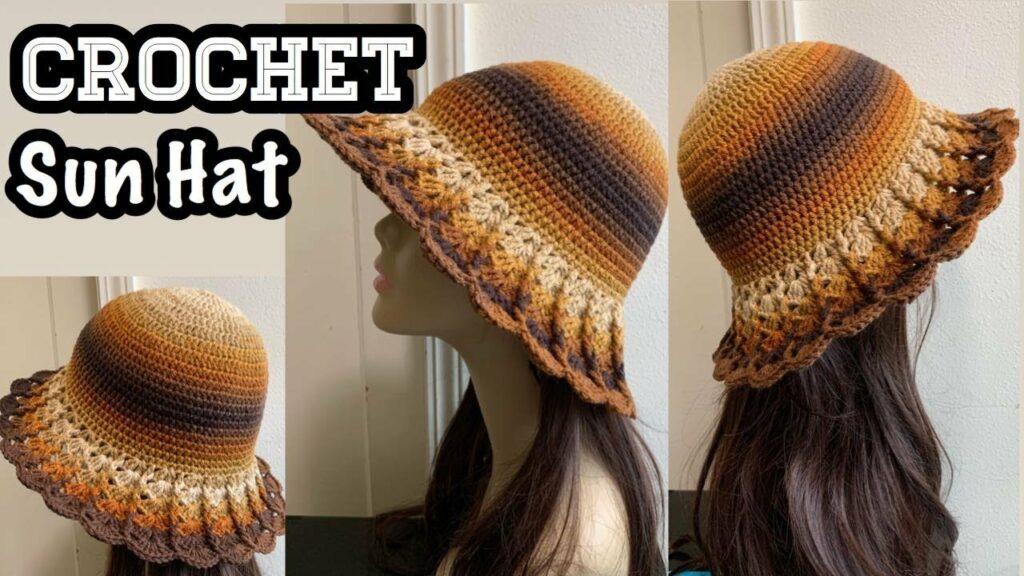
👒 Pattern Overview
This pattern is for a basic adult-sized summer hat (approximately 21–23” head circumference). The structure is made in three parts:
- Crown (top of the head)
- Body (sides of the hat)
- Brim (sun-blocking edge)
🪡 Step-by-Step Instructions
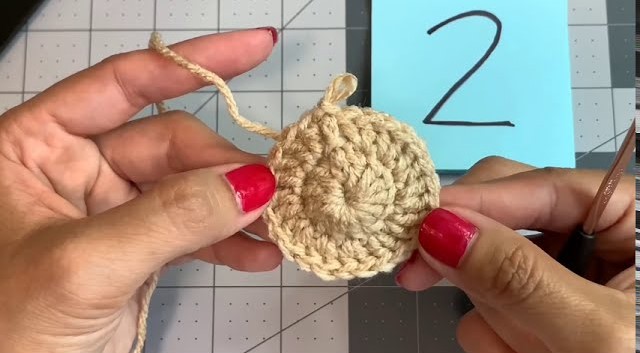
🔸 Part 1: Crown (Top of Hat)
Start with a magic ring or ch 4 and sl st to form a ring.
Round 1: ch 2 (counts as dc), 11 dc into ring. Sl st to top of ch-2. (12 sts)
Round 2: ch 2, *dc in same st, 2 dc in next st*, repeat around. Sl st. (24 sts)
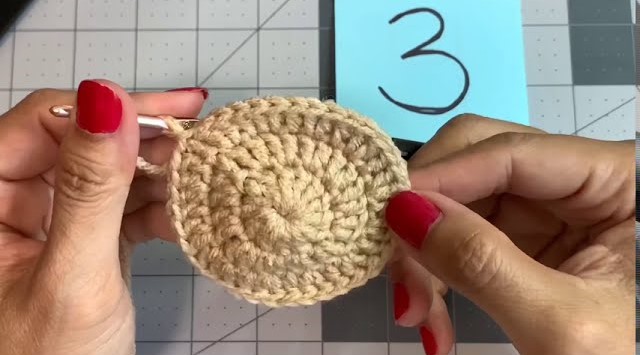
Round 3: ch 2, *dc in next, 2 dc in next*, repeat. Sl st. (36 sts)
Round 4: ch 2, *dc in next 2, 2 dc in next*, repeat. Sl st. (48 sts)
Round 5: ch 2, *dc in next 3, 2 dc in next*, repeat. Sl st. (60 sts)
➡️ Continue increasing like this until the crown reaches about 6.5 inches in diameter (for adult size).
🔸 Part 2: Hat Body (Sides)
Now that the crown is wide enough, you’ll stop increasing and start building the body.
Round 1: ch 2, dc in each stitch around. Sl st. (No increases)
Repeat for 7–10 more rounds depending on how tall you want the hat body.
➡️ This forms the cylindrical sides that shape your hat. Measure about 4–5 inches from top to bottom for an average fit.
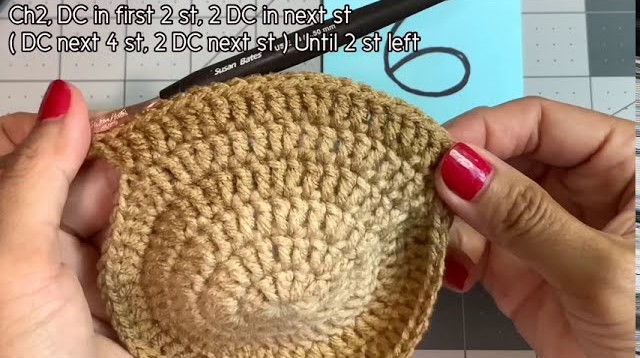
🔸 Part 3: Brim (The Sun Shield!)
Begin increasing again to create the outward-sloping brim.
Round 1: ch 2, *dc in next 4 sts, 2 dc in next*, repeat around. Sl st.
Round 2: ch 2, *dc in next 5 sts, 2 dc in next*, repeat. Sl st.
Round 3: ch 2, dc in each stitch around.
Round 4: ch 1, sc in each stitch around for a firm edge. Sl st.
➡️ To make the brim wider, continue adding increase rounds by spacing the increases farther apart.
🎀 Optional Edging & Style Additions
- Rope or ribbon band around the base of the crown
- Shell stitch or picot edging on the brim
- Crochet flower or bow as embellishment
- Wire or fishing line around brim edge for extra structure
📏 Sizing Tips
- Adjust hook size up or down for a looser or tighter hat.
- Add or reduce rounds in the crown to modify overall head size.
- Cotton yarn may stretch slightly with wear, so a snug fit is okay.
🧼 Care Instructions
To keep your summer hat looking fresh:
- Hand wash gently in cold water
- Lay flat to dry, reshape while damp
- Avoid direct sunlight while drying to prevent fading
- Do not machine dry or iron
🧶 Final Thoughts
Crocheting a summer hat is not only fun but also practical! You’ll have a handmade piece to match your wardrobe while staying cool and protected from the sun. With this easy tutorial, you can customize the size, color, and brim to your style.
Video tutorial: