by
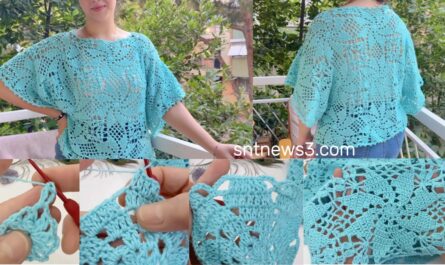
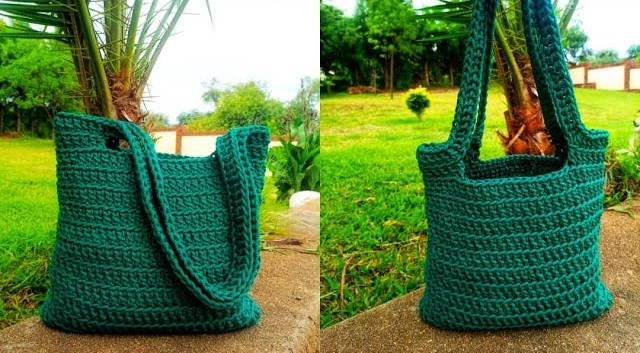
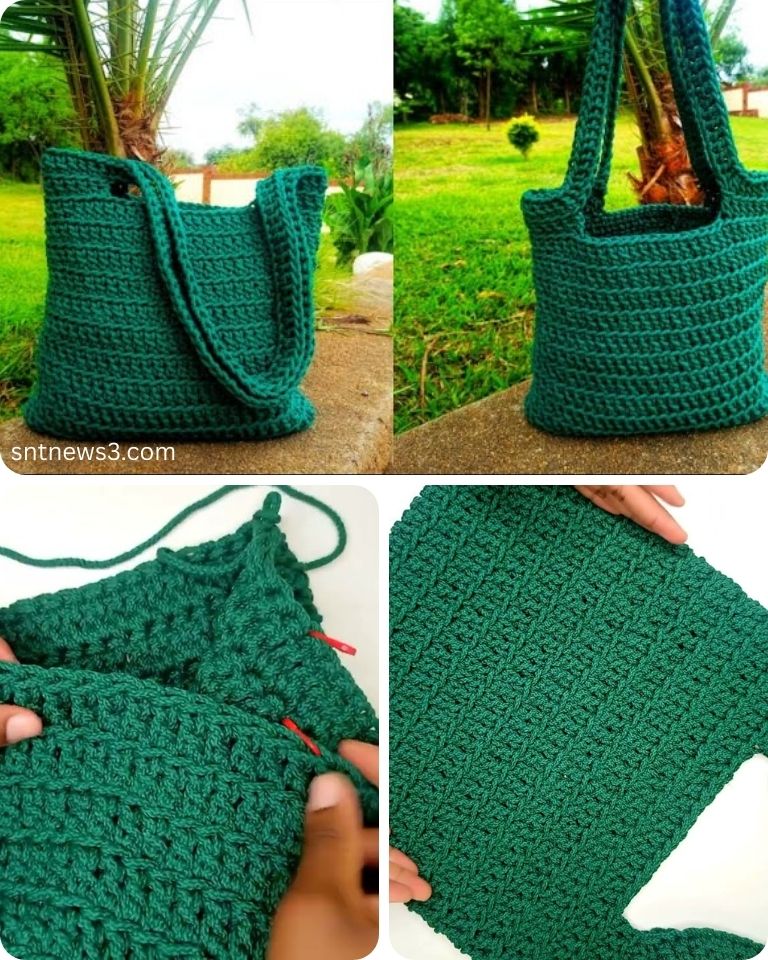
by Crochet tote bags are practical, stylish, and surprisingly easy to make—perfect for beginners looking to create a useful project. Whether you want a casual everyday bag, a beach tote, or a market shopper, this tutorial will guide you step-by-step through making your very own crochet tote bag with simple stitches and clear instructions.
Why Crochet a Tote Bag?
- Simple and quick: Great beginner project using basic stitches.
- Customizable: Choose your favorite yarn color, size, and embellishments.
- Eco-friendly: Replace plastic bags with a reusable, handmade option.
- Versatile: Perfect for groceries, books, beach gear, or crafts.
Materials You’ll Need
- Yarn: Choose a sturdy, medium-weight cotton yarn or cotton blend. Cotton is durable and holds shape well.
- Crochet hook: Size 5.0 mm (H) is a good match for medium worsted yarn.
- Scissors
- Yarn needle for weaving in ends
- Measuring tape
- Optional: Lining fabric and sewing supplies if you want to add an inside lining for extra durability.
Basic Crochet Stitches You’ll Use
- Chain (ch)
- Single crochet (sc)
- Slip stitch (sl st)
- Optional: Half double crochet (hdc) or double crochet (dc) for texture
Step-by-Step Crochet Tote Bag Tutorial
Step 1: Make the Base of the Bag
The base is usually a rectangle or oval shape.
- Chain foundation: Chain 30 (or desired width).
- Row 1: Sc in 2nd chain from hook and across. Turn.
- Row 2–10: Sc in each stitch across, turn at end. Adjust number of rows for desired base length.
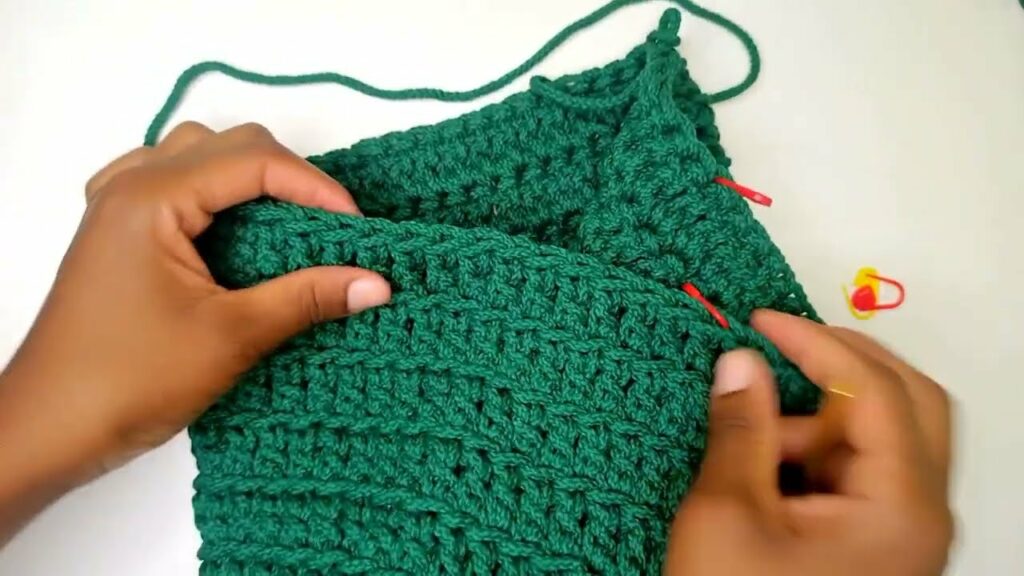
Step 2: Crochet the Sides
You’ll now work rounds around the base to build the sides of the bag.
- Without turning, work sc evenly along the edges of the base, working multiple sc into corner stitches to keep shape.
- Join with a sl st to the first sc to form a round.
- For each round, sc in each stitch around. Repeat until the bag reaches desired height (about 12–14 rows).
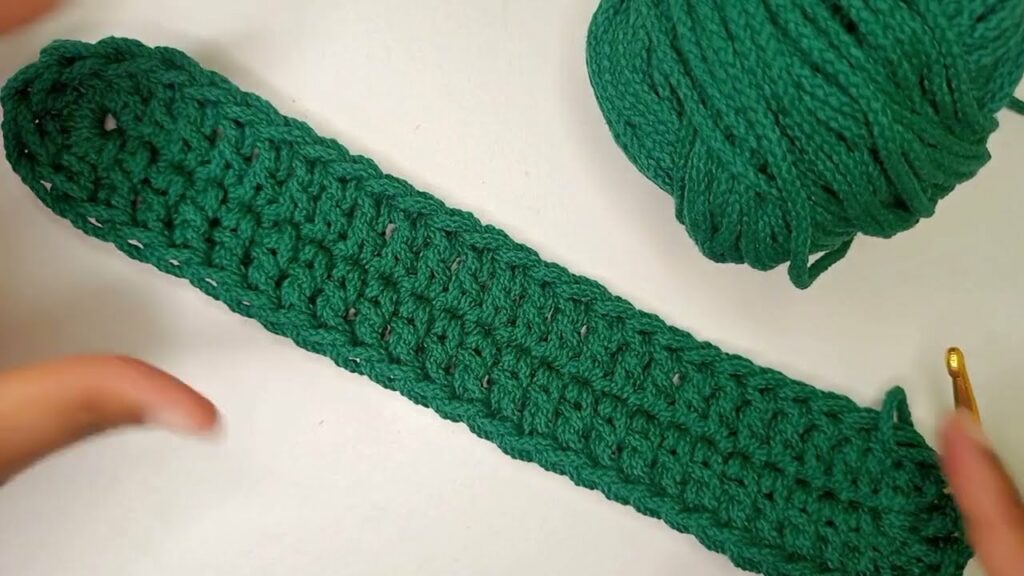
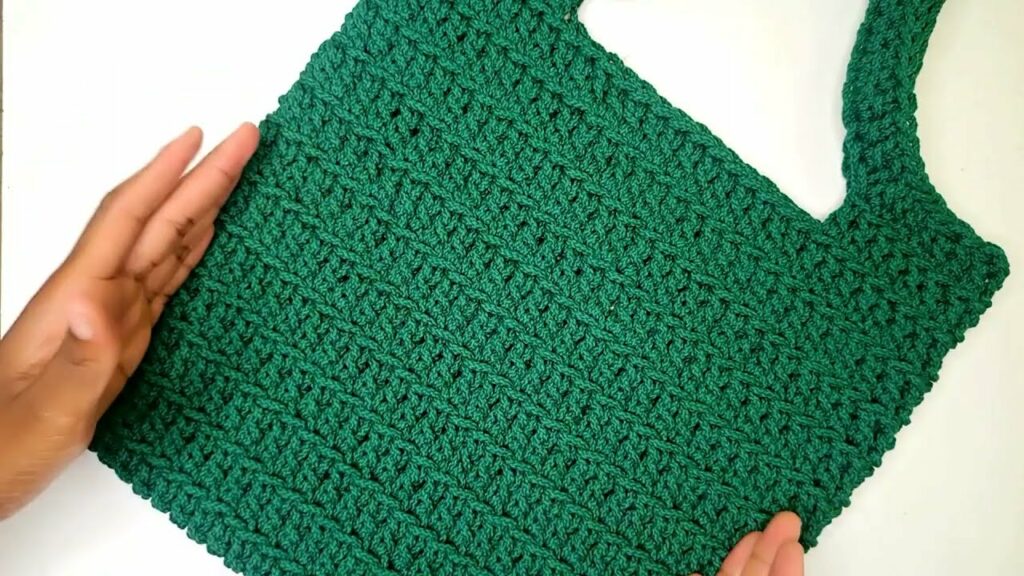
Step 3: Make the Handles
You can crochet handles directly onto the bag or make separate straps to sew on.
Simple handles:
- Decide handle placement and stitch counts.
- Chain the length you want for one handle (e.g., 40 chains).
- Attach the chain to the opposite side of the bag with a slip stitch.
- Sc across the chain for strength.
- Repeat for the second handle.
Step 4: Finishing Touches
- Weave in all yarn ends securely with a yarn needle.
- Add a lining if desired, by sewing a fabric liner and attaching inside.
- Add embellishments like buttons, patches, or crochet flowers for decoration.
Tips for Beginners
- Keep your tension even for a uniform look.
- Use stitch markers to mark where you join rounds.
- Practice your basic stitches before starting the project.
- Choose cotton yarn—it’s easier to work with and durable for bags.
Variations to Try
- Use a mesh stitch (like chain and sc repeats) for a beachy, breathable bag.
- Add stripes with different yarn colors.
- Use a thicker yarn or double up yarn strands for a sturdier bag.
- Experiment with different shapes: square, round, or trapezoidal.
Video tutorial:
Summary
Crocheting a tote bag is an excellent project for beginners to build skills while making something functional and fun. With just a few basic stitches and some patience, you’ll have a unique bag to carry your essentials or give as a thoughtful gift.