 by
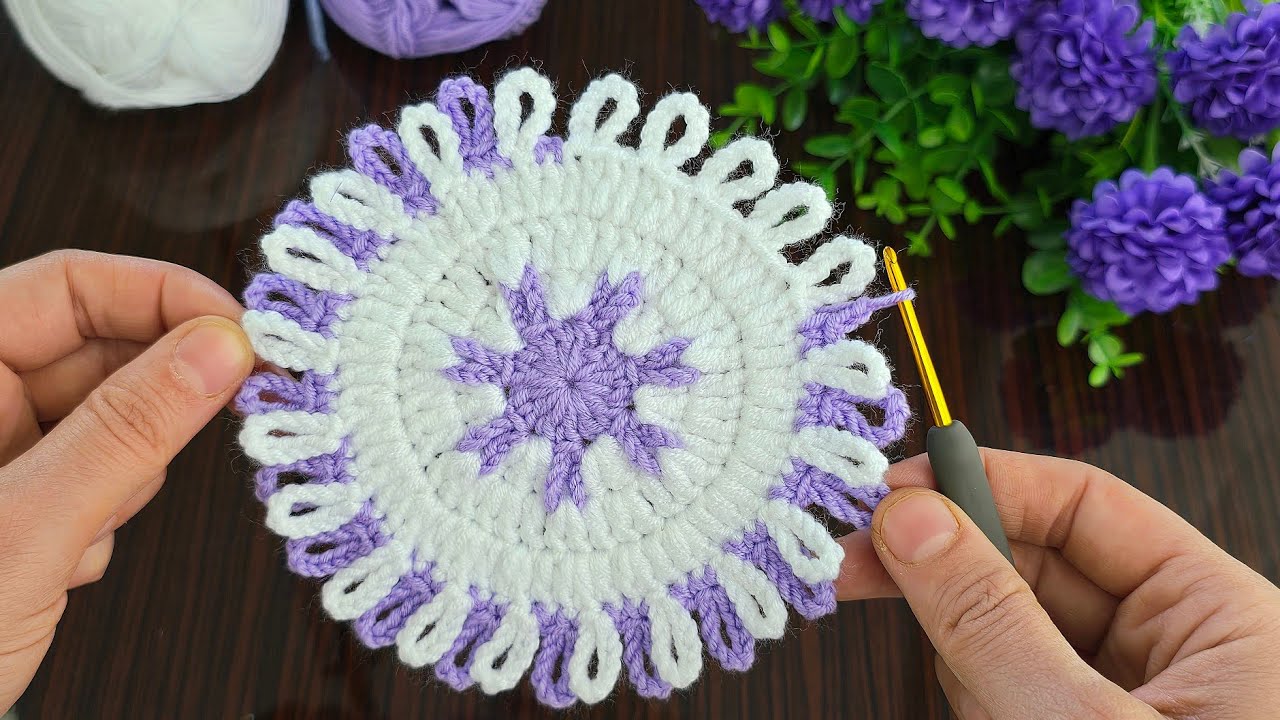
by Crocheting your own home decor is one of the most satisfying ways to add charm and personality to your space. One delightful and practical project to try is a crochet coaster—especially one in a stunning purple hue. Whether you’re sipping tea, hosting guests, or just want a pop of handmade color on your table, this purple crochet coaster is quick, customizable, and beautiful.
In this tutorial, you’ll learn how to crochet a round coaster using basic stitches, enhanced with optional decorative touches. It’s perfect for beginners and experienced crocheters alike.

🧶 Why Make a Crochet Coaster?
- Quick project – Takes less than an hour
- Minimal materials – Great for using up scrap yarn
- Gifting potential – Perfect for housewarming, holiday, or hostess gifts
- Skill practice – Practice working in the round and increasing evenly
- Stylish and functional – Protects your surfaces while adding beauty
🟣 Choosing the Perfect Purple Yarn
Purple comes in many gorgeous shades: lavender, lilac, plum, amethyst, and deep royal tones. Choose a color that fits your decor or mood. For best results:
- Use cotton yarn – It’s absorbent, durable, and holds shape well (e.g., Lily Sugar’n Cream).
- Choose worsted weight (medium #4) yarn for structure.
- If desired, add a metallic thread or variegated yarn for shimmer or texture.
✂️ Materials You’ll Need
- Worsted weight cotton yarn in purple (approx. 15–20 yards)
- Crochet hook size H/8 (5.0 mm)
- Yarn needle
- Scissors
- Stitch marker (optional)
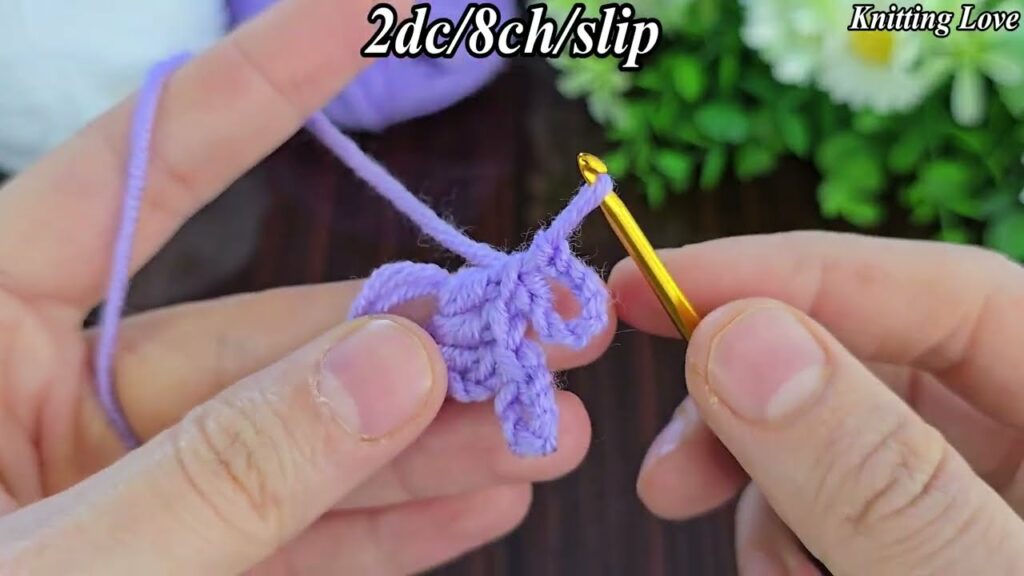
🔁 Stitches Used
This pattern uses basic and decorative stitches:
- Chain (ch)
- Slip Stitch (sl st)
- Single Crochet (sc)
- Double Crochet (dc)
- Magic Ring (or Magic Circle) – Optional but cleaner center
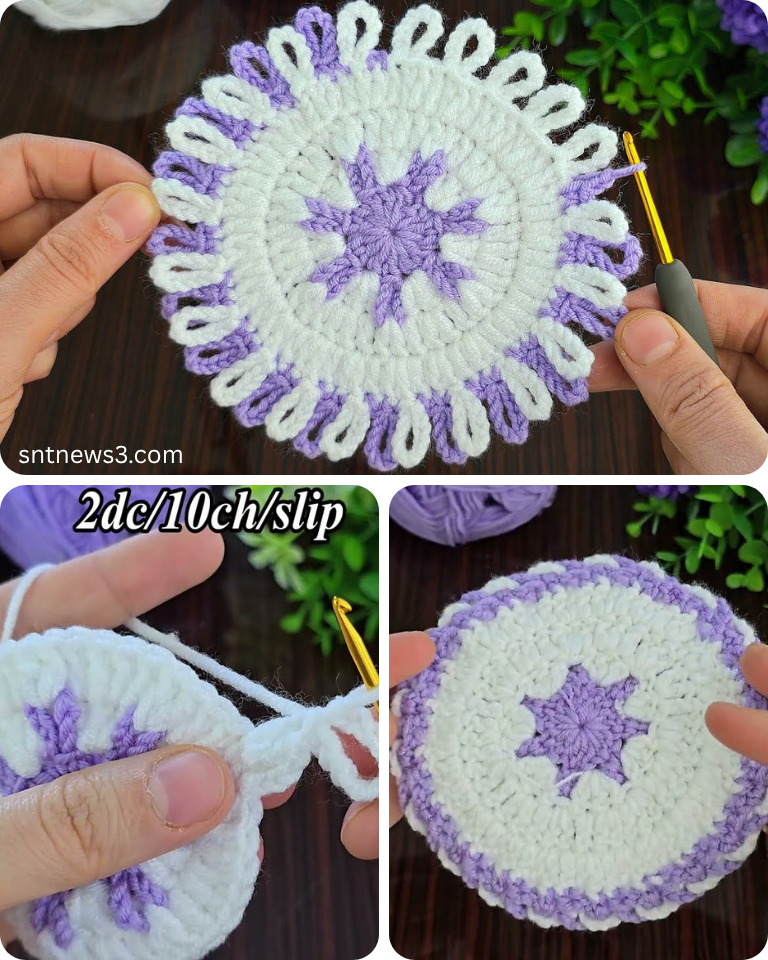
🌸 Crochet Purple Coaster Pattern (Round Design)
✅ Step 1: Create the Center
Start with a magic ring
Or chain 4 and slip stitch to form a ring.
Round 1:
Ch 2 (counts as dc), work 11 dc into ring. Join with sl st to top of ch-2.
[12 dc total]
✅ Step 2: Increase the Circle
Round 2:
Ch 2, 2 dc in each stitch around. Join.
[24 dc]
Round 3:
Ch 2, 1 dc in next stitch, 2 dc in next stitch; repeat around. Join.
[36 dc]
Round 4:
Ch 2, 1 dc in next 2 stitches, 2 dc in next stitch; repeat around. Join.
[48 dc]
➡️ At this point, your circle should measure around 4–5 inches across.

✅ Step 3: Add a Decorative Edge
You can stop here for a simple round coaster, or add a pretty shell or picot edge for flair.
Optional Round 5: Picot Edge
Ch 1, sc in next stitch, ch 3, sl st into first ch (picot made), skip next stitch; repeat around. Join and fasten off.
Or Try: Simple Shell Edge
Skip 1 stitch, 5 dc in next stitch (shell), skip 1 stitch, sl st in next stitch; repeat around.
🔒 Finishing Touches
- Fasten off and weave in the yarn tail with your yarn needle.
- Gently steam or block the coaster flat if needed.
- Make a set of 4–6 for a complete table decor collection.
🎨 Customization Ideas
- Color blending: Use ombré purple yarn or alternate colors each round.
- Texture play: Combine dc and puff stitches for a boho look.
- Add embellishments: Sew a button in the center or attach small crochet flowers.
- Personalize: Stitch initials or small motifs using surface crochet.
💡 Tips for Perfect Coasters
- Use cotton yarn – Acrylic is less absorbent and may not sit flat.
- Check your tension – If your coaster ripples or curls, adjust hook size.
- Block your coasters – It helps even out stitches and shape.
🧺 Care Instructions
Handmade coasters are easy to maintain:
- Machine washable (gentle cycle)
- Lay flat to dry
- Avoid high heat to preserve shape
Video tutorial:
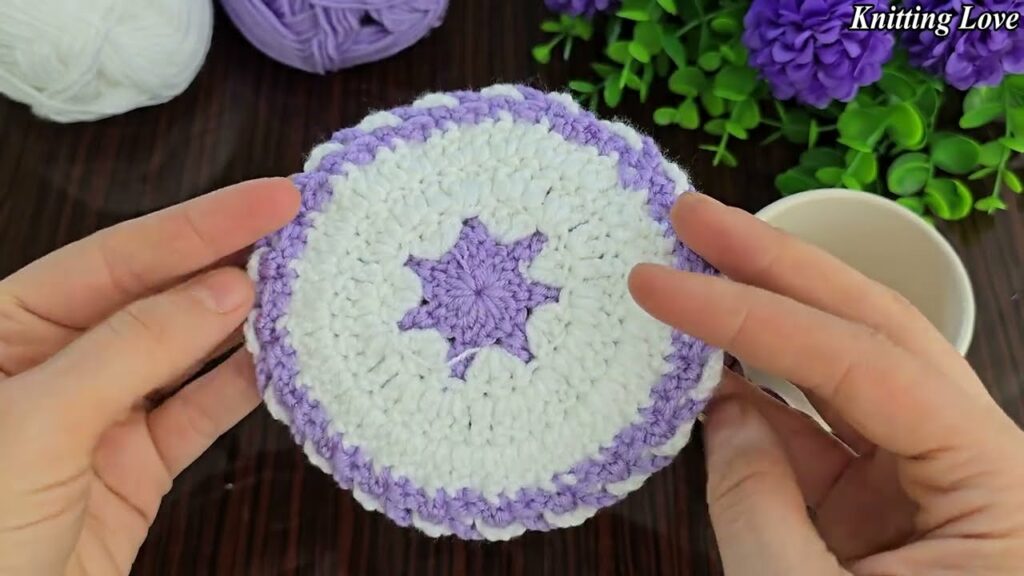
💜 Conclusion: Beauty in the Basics
A crocheted purple coaster is the perfect example of how a simple project can have a big impact. With just a few basic stitches and a splash of creativity, you can make something both beautiful and useful. Whether you’re crafting for yourself or giving them as a thoughtful handmade gift, this project is a quick win for any crocheter.