 by
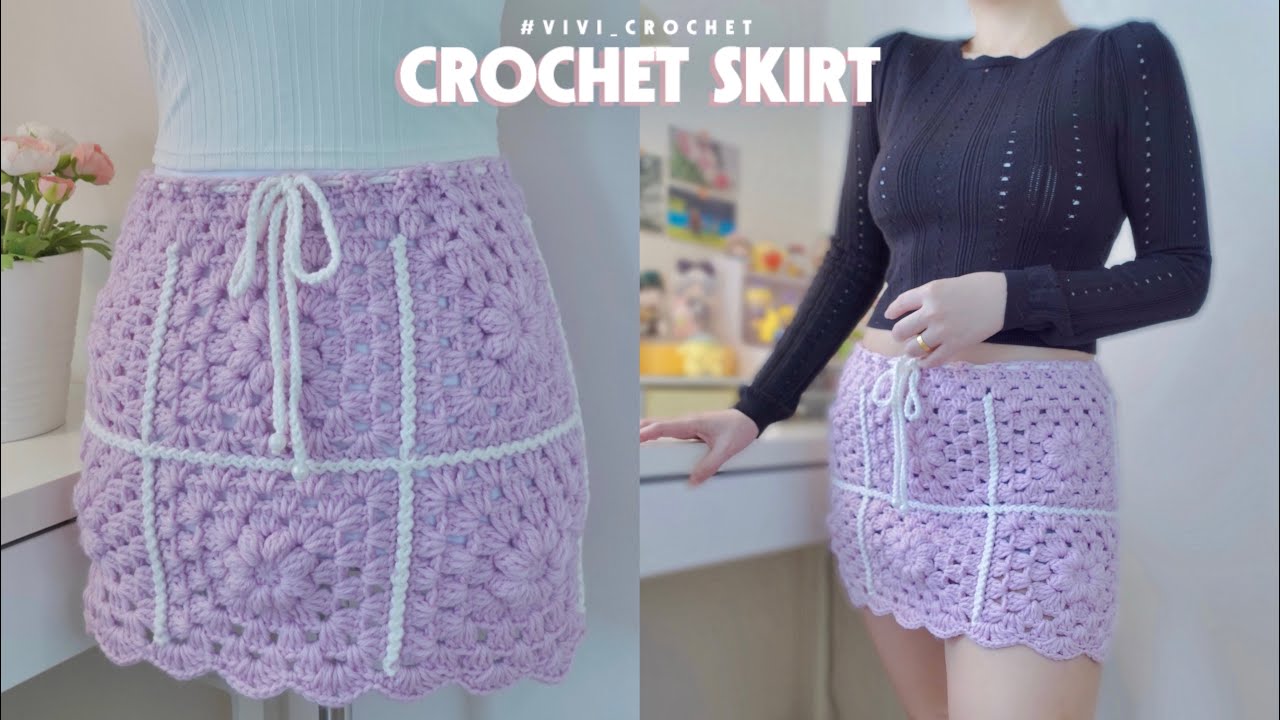
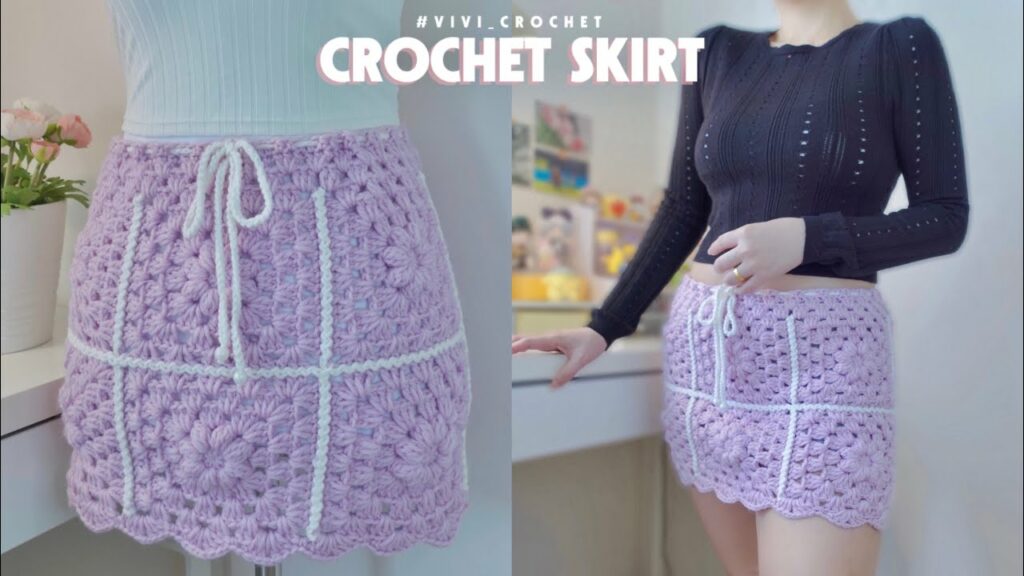
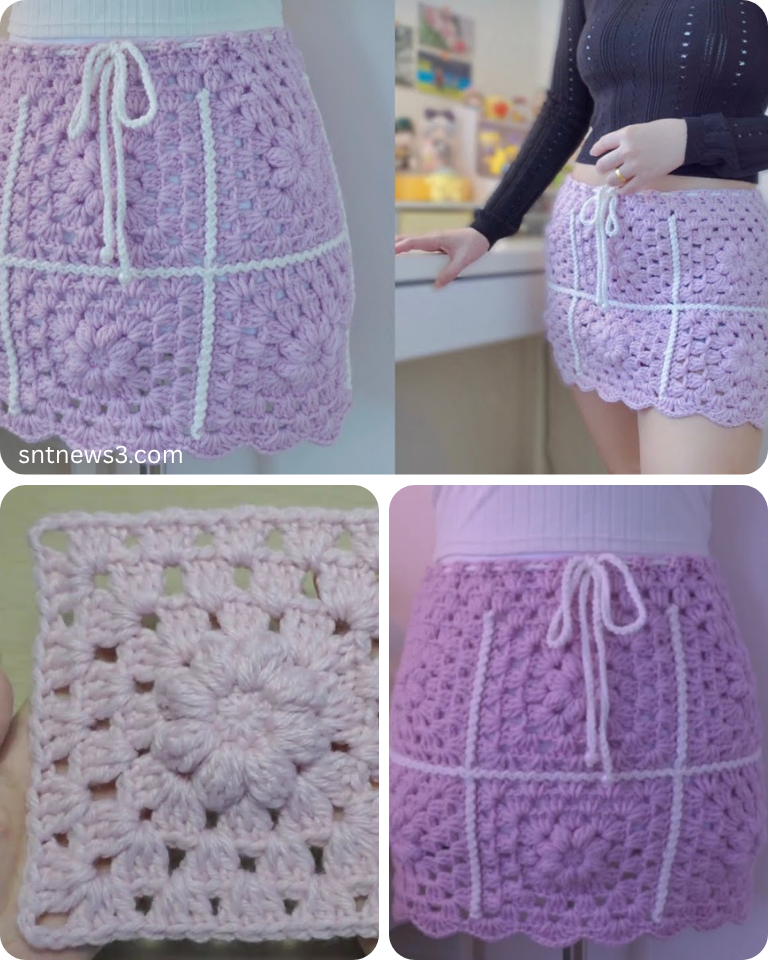
by Crocheting a skirt is a fun and fulfilling project that allows you to combine creativity with fashion. Whether you’re looking to make a breezy summer piece, a fitted pencil skirt, or a flared boho maxi, the process follows some universal techniques. In this guide, you’ll learn everything from choosing the right materials to shaping and assembling your very own crochet skirt.
🧵 Materials You’ll Need
Before you start, gather the following materials:
1. Yarn
- Type: Cotton (for summer), acrylic, bamboo, or wool blends (for winter)
- Weight: DK (light) or worsted (medium) are great for beginners
- Amount: Usually 2–4 skeins (500–1000 yards) depending on size and length
2. Crochet Hook
- Match the size recommended on your yarn label (typically 4mm–6mm)
3. Measuring Tape
- For taking waist, hip, and length measurements
4. Scissors & Yarn Needle
- For finishing off and weaving in ends
5. Elastic Band (Optional)
- For a snug and comfortable waistband
📏 Taking Measurements
Before you start crocheting:
- Waist: Measure around the narrowest part of your waist.
- Hips: Measure around the fullest part.
- Length: From your waist to where you want the skirt to end (mini, knee, midi, or maxi).
Write these down—they’ll help you create a custom-fit skirt.
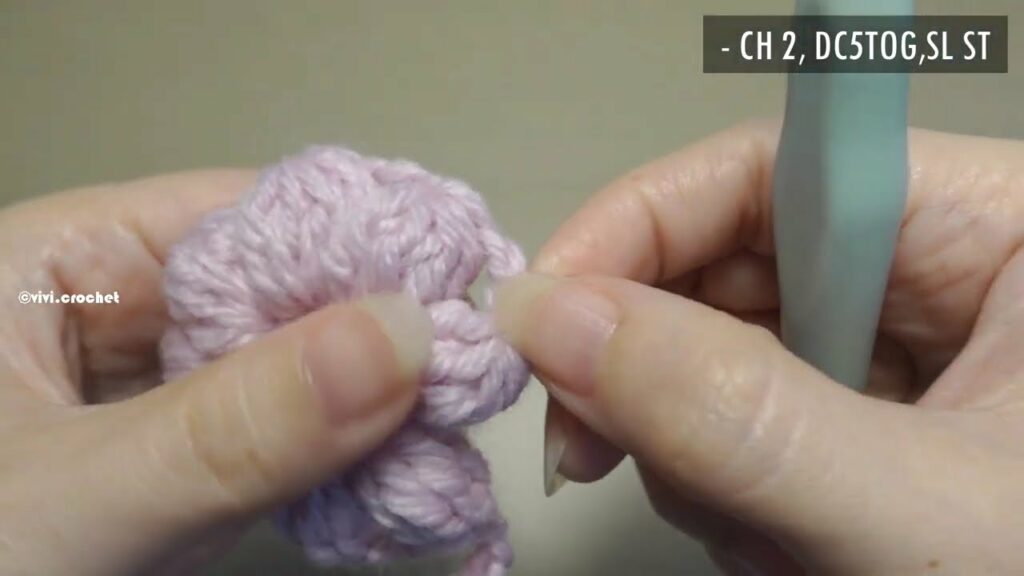
🪢 Basic Stitches to Know
You can crochet a beautiful skirt using just basic stitches:
- Chain (ch)
- Single Crochet (sc)
- Double Crochet (dc)
- Half Double Crochet (hdc)
- Slip Stitch (sl st)
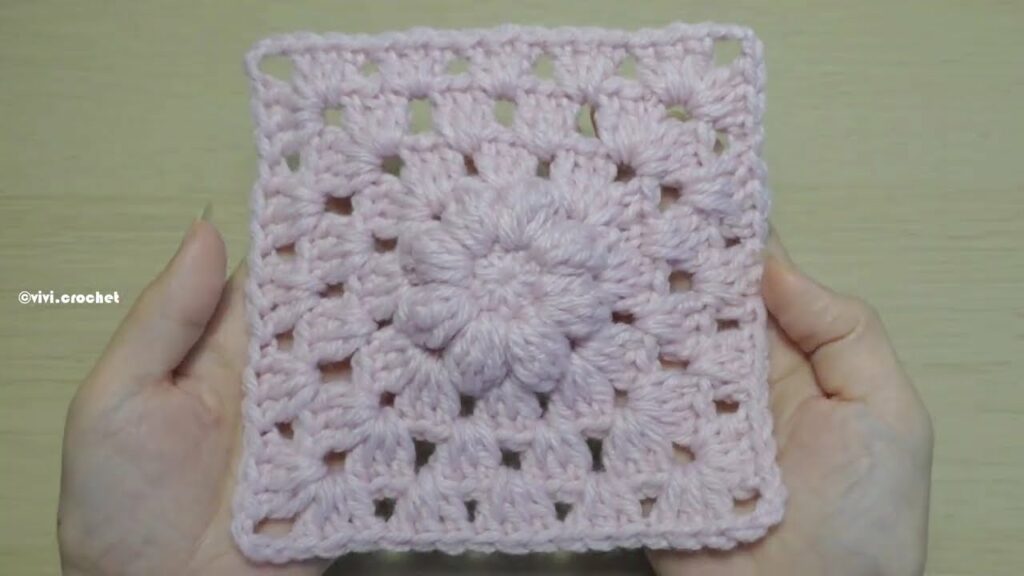
More advanced skirts may incorporate:
- Shell Stitch
- Granny Stitch
- V-Stitch
- Lace Patterns
🧶 Crochet Skirt Construction Methods
There are two primary ways to crochet a skirt:
1. Top-Down (in the round)
- Start at the waistband and work downward
- Easier to adjust length
- Great for flared or A-line designs
2. Side-to-Side (flat panel)
- Crochet a rectangle and seam the sides
- Better for fitted or pencil skirts
📝 Sample Crochet Skirt Pattern (Top-Down)
Here’s a simplified A-line crochet skirt for beginners:
Step 1: Waistband
Chain enough stitches to match your waist measurement (use a stretchable stitch like hdc or dc).
Join with a slip stitch to form a circle, being careful not to twist.
Optional: Insert elastic inside a folded waistband for stability.
Step 2: Body of the Skirt
Round 1: Chain 2 (counts as first hdc), hdc in each stitch around. Join with sl st.
Round 2–X: Repeat Round 1, increasing 1–2 stitches every few rows to create an A-line flare.
Continue until the skirt reaches your desired length.
Step 3: Finishing
Fasten off, weave in ends with a yarn needle.
Optionally, add a scalloped or shell stitch border for a decorative hem.
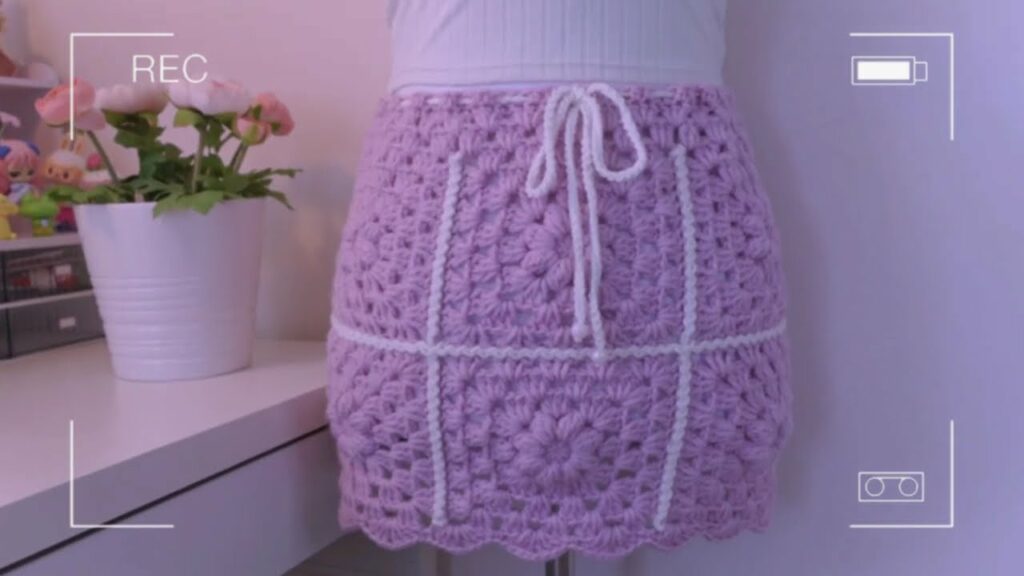
👗 Design Tips
- Color Changes: Use stripes or gradient yarn for visual interest.
- Stitch Variations: Mix in openwork or lace patterns to add texture.
- Edging: A picot or shell edging gives a polished look.
- Lining (Optional): For modesty, add a fabric lining using a sewing machine or by hand.
🧼 Washing and Care
Hand wash in cold water or use a gentle machine cycle, depending on yarn type. Lay flat to dry to maintain shape and elasticity.
Video tutorial:
🪡 Final Thoughts
Crocheting a skirt is a rewarding project that combines fashion, art, and craftsmanship. Whether you prefer simple stitches or complex designs, there’s a crochet skirt style for every skill level. Once you master your first, you’ll be hooked!