 by
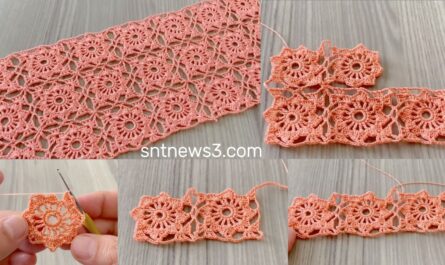
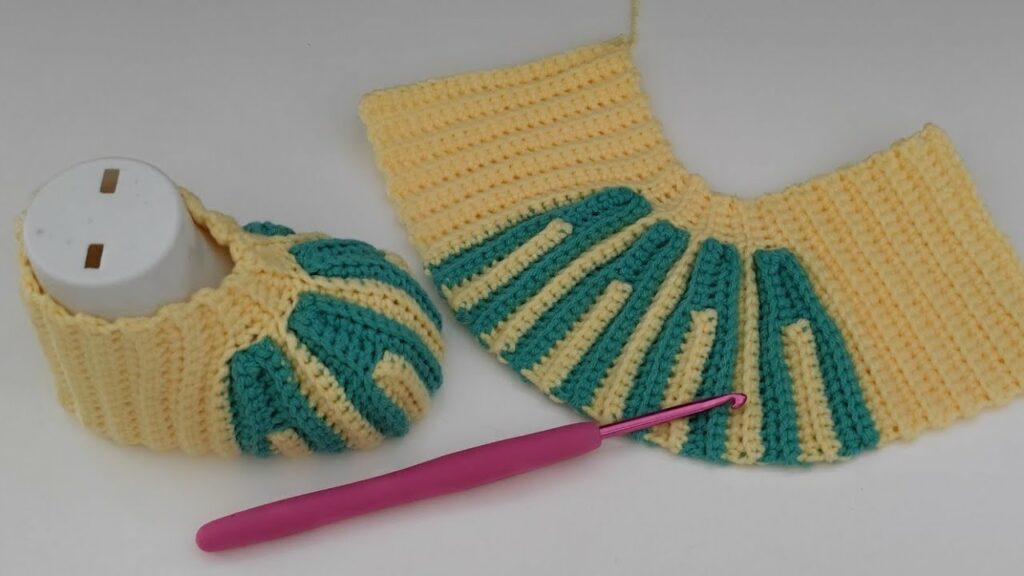
by Looking for the perfect handmade gift for a newborn? Want to dive into the world of crochet with a quick and adorable project? You’re in the right place. These fantastic & easy crochet baby booties are not only beginner-friendly but also irresistibly cute!
Whether you’re making them for your own little one, gifting them at a baby shower, or selling your crafts, this pattern delivers comfort, style, and simplicity in one adorable pair of booties.
🧸 Why You’ll Love This Pattern:
- Beginner-approved – No complex stitches or shaping
- Quick to make – Each pair can be completed in under 2 hours
- Perfect stash buster – Uses very little yarn
- Customizable – Change colors, add buttons, bows, or trim
- Great gift idea – Always appreciated at baby showers
🧵 Materials You’ll Need:
- Worsted weight yarn (size 4) – soft acrylic or cotton blends are ideal
- Crochet hook – 4.0 mm (G-6) or 4.5 mm (US 7)
- Yarn needle – for sewing and weaving in ends
- Scissors
- Stitch markers (optional)
✅ TIP: Use soft, washable yarn suitable for sensitive baby skin.
👣 Finished Size:
The following pattern is designed for 0–3 months. Adjusting hook size and yarn thickness can increase or decrease the final size.
Length: ~3.5–4 inches (9–10 cm)
🧶 Basic Stitches Used:
- ch – chain
- sl st – slip stitch
- sc – single crochet
- hdc – half double crochet
- dc – double crochet
- sc2tog – single crochet two together (decrease)
If you’re brand new, practice these basic stitches first—you’ll be using them all.
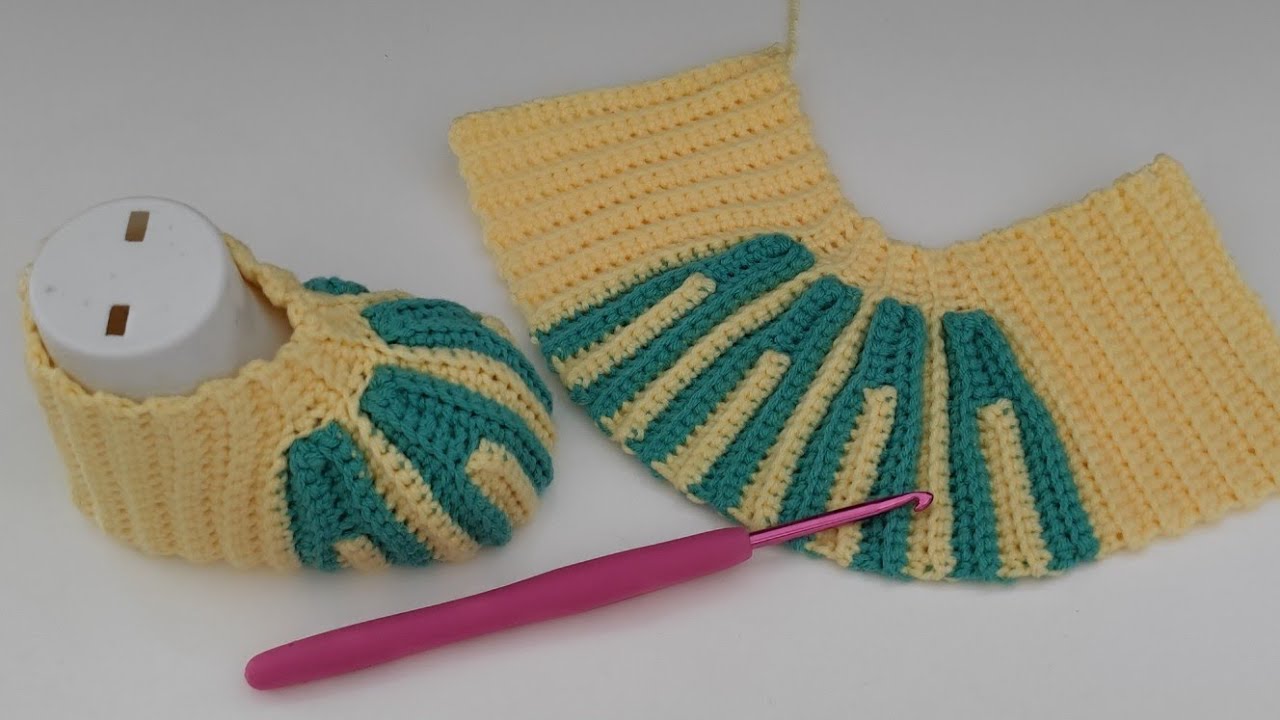
🪡 FANTASTIC & EASY CROCHET BABY BOOTIES PATTERN
🧩 PART 1: The Sole
- Ch 11
- Rnd 1: 2 sc in 2nd ch from hook, sc in next 8 ch, 4 sc in last ch. Now working on the other side of the chain, sc in next 8, 2 sc in last st. (24 sts)
- Rnd 2: Inc in next 2 sts, sc in next 8, inc in next 4, sc in next 8, inc in last 2. (32 sts)
- Rnd 3: sc around in back loops only (for a clean edge). (32 sts)
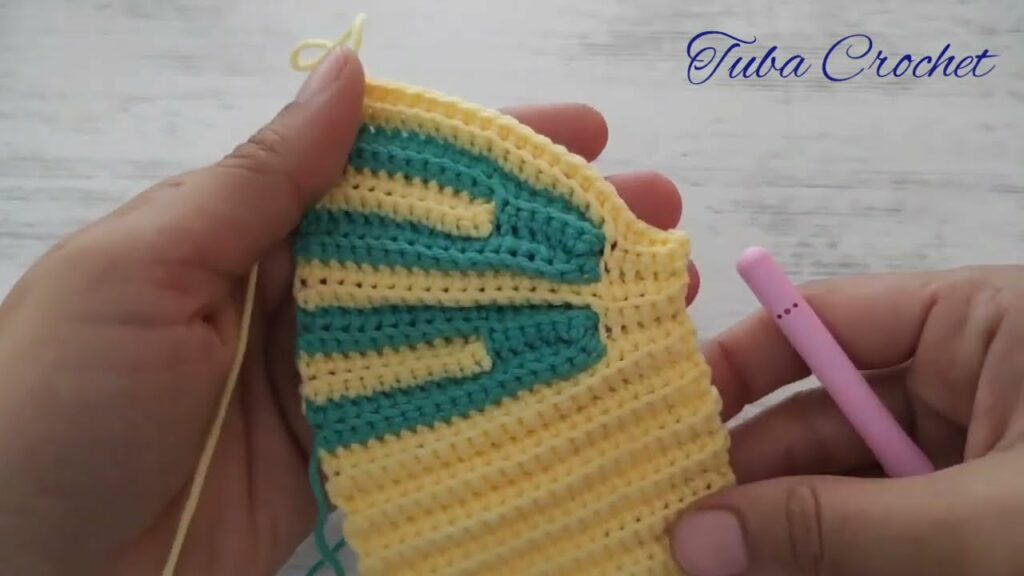
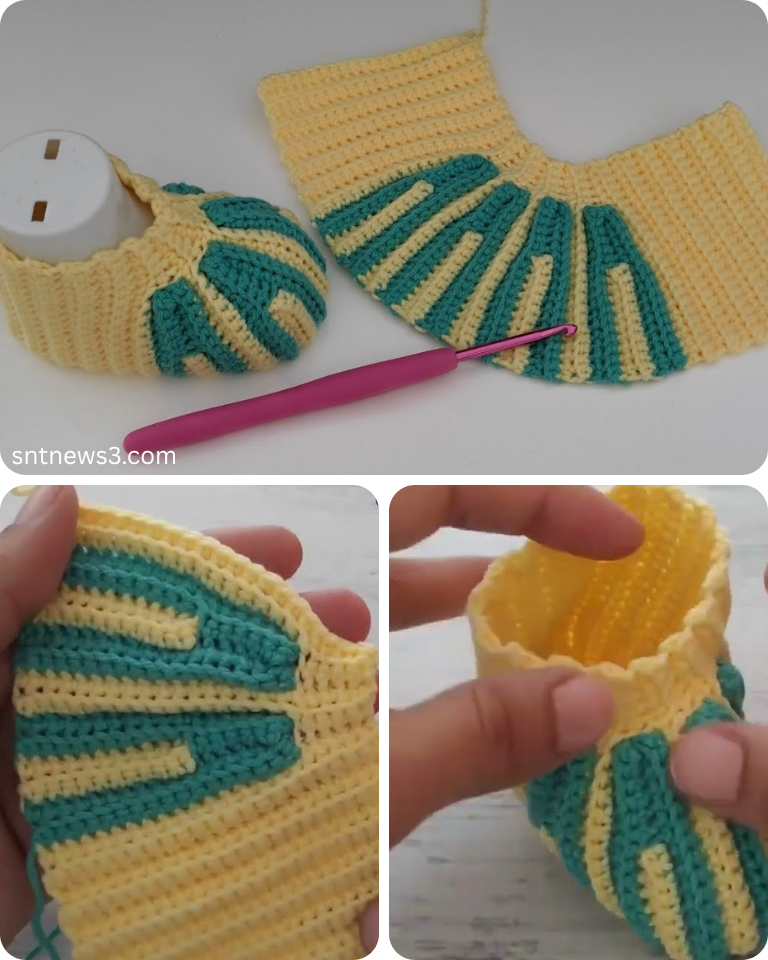
🧩 PART 2: Build the Sides
- Rnd 4–6: sc in each st around (work in both loops now). You can use hdc instead for a slightly taller side.
- Rnd 7: Start toe shaping. sc in next 10, sc2tog 6 times, sc in next 10. (26 sts)
- Rnd 8: sc in next 8, sc2tog 5 times, sc in next 8. (21 sts)
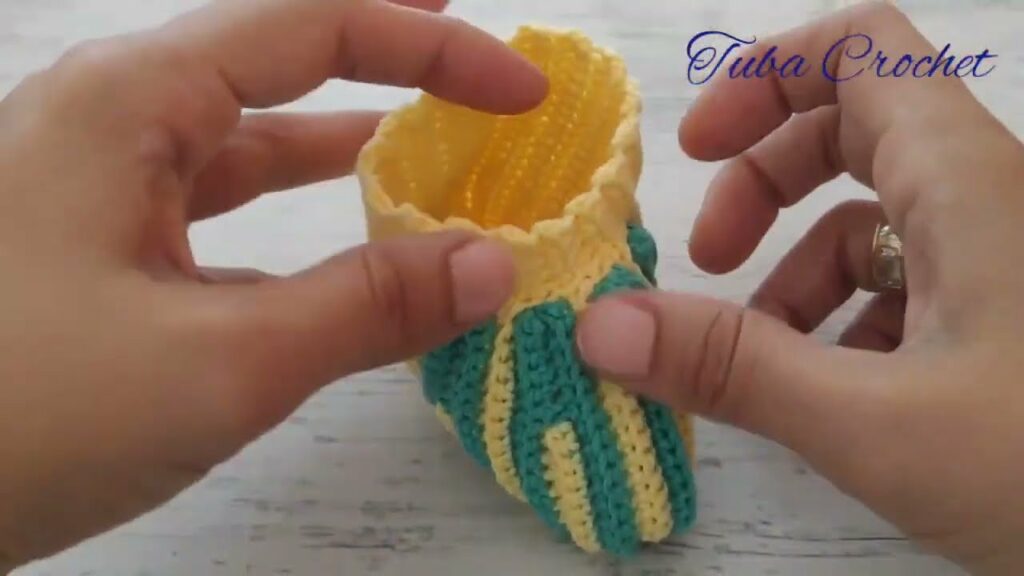
🧩 PART 3: Finish the Cuff
- Rnd 9–11: hdc in each st around for a soft ankle cuff. You can add or remove rows for taller or shorter cuffs.
Optional: Add a decorative button, bow, or a small crochet flower to the outer ankle for flair!
🎉 You’re Done!
Weave in all loose ends with a yarn needle. Use steam (optional) to lightly shape the bootie for a professional finish.
👀 Pattern Tips for Success:
- Try them on a doll or baby foot to check sizing.
- Use stitch markers at the start of each round if you’re new to crocheting in the round.
- Want a snugger fit? Use a smaller hook or reduce a few stitches in the foot section.
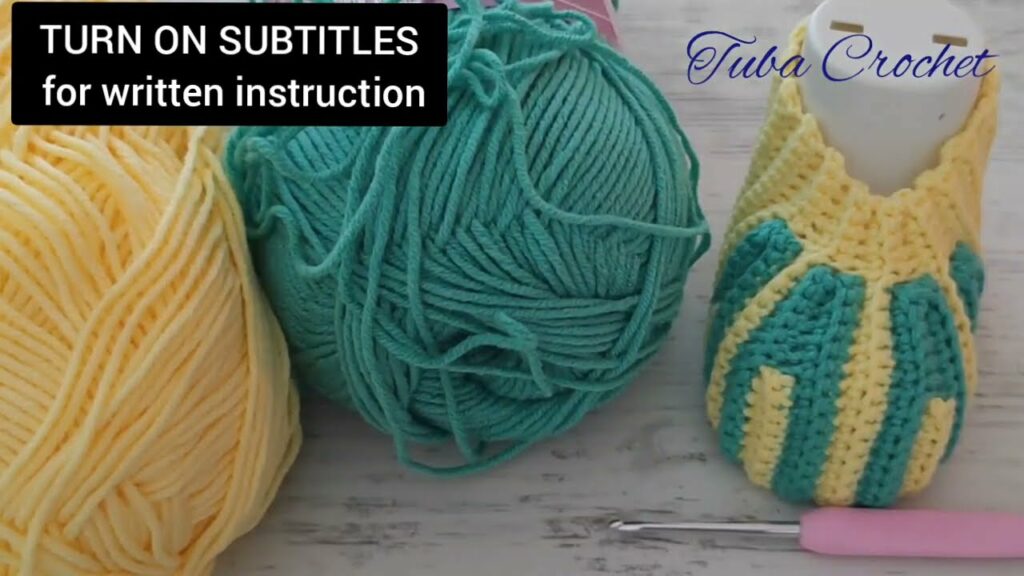
- Customize with stripes, two-tones, or a fuzzy yarn cuff.
📺 Want a Video Tutorial?
Many beginners learn best by watching. Search YouTube for:
“Easy Baby Booties Crochet Tutorial for Beginners”
Look for videos with slow demonstrations and verbal instructions — some are under 30 minutes long!
Would you like me to recommend a specific video link?
🧵 Pattern Variations to Explore:
- Mary Jane Baby Booties – Add a strap and button
- Boot-Style Baby Booties – Taller ankle height
- Slipper Style – No cuff, just a soft upper edge
- Animal-Themed – Add ears and eyes for a bear or bunny version!
Video tutorial:
Final Thoughts
Crochet baby booties are a heartwarming project you’ll want to make again and again. With this fantastic & easy tutorial, even absolute beginners can create something beautiful and meaningful.
So grab your hook, your favorite soft yarn, and start stitching your way to the cutest little shoes you’ve ever seen. 💕👶