 by
by Crocheted roses are timeless and elegant. A 3D crochet rose takes it a step further—offering depth and lifelike detail that’s perfect for embellishments, bouquets, brooches, or home decor. The best part? You don’t need to be an expert to make one! This guide will teach beginners how to make a very easy 3D crochet rose flower using basic stitches and simple techniques.
🌹 What You’ll Need
Before getting started, gather the following supplies:
Materials:
- Yarn: Worsted weight or DK yarn in your desired rose color (e.g., red, pink, yellow)
- Hook: 4 mm or 4.5 mm (G or 7) depending on yarn weight
- Yarn needle for weaving in ends
- Scissors
Optional:
- Green yarn for leaves
- Hot glue or brooch backing for attachments
✨ Crochet Stitches Used (US Terms)
- Ch: Chain
- Sc: Single Crochet
- Hdc: Half Double Crochet
- Dc: Double Crochet
- Sl st: Slip Stitch

🌺 Step-by-Step Pattern: 3D Easy Crochet Rose
This rose is made as a flat strip, then rolled into shape and sewn together to form the 3D bloom.
🔁 Step 1: Foundation Chain
- Ch 51 (This forms the base. You can adjust the number for more or fewer petals—just keep it an odd number.)
🌱 Step 2: Row 1 (Petal Base)
- Starting in second ch from hook, sc in each ch across. (50 sc)
- Turn your work.
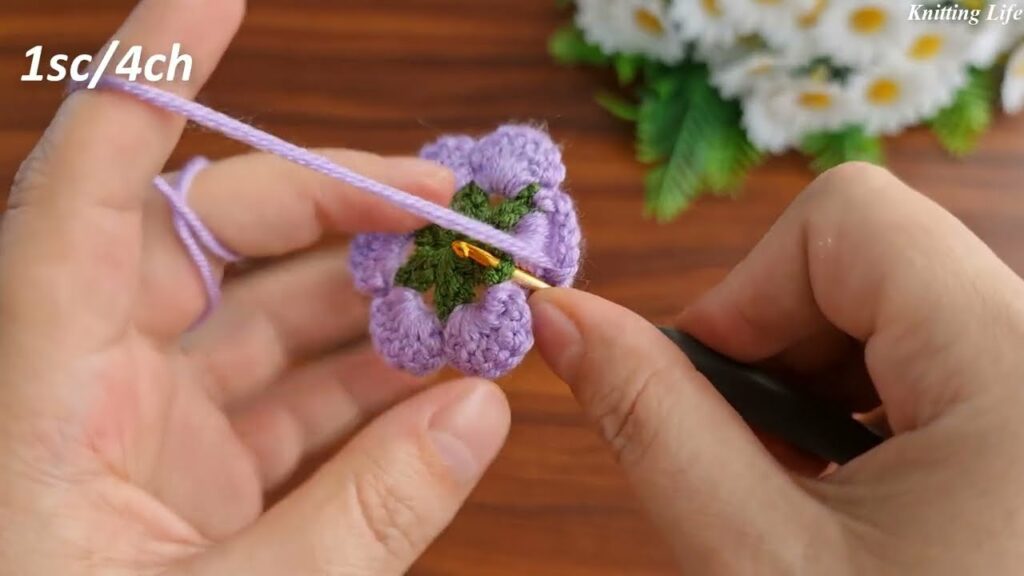
🌸 Step 3: Row 2 (Form Petals)
This row builds the petals that will later curl into a rose.
Repeat the following across the row:
- (Sc in 1st stitch, skip next st, in the next st: 5 dc, skip next st)
This means:
- Sc in stitch 1
- Skip stitch 2
- In stitch 3: 5 dc (all in the same stitch to make a fan-like petal)
- Skip stitch 4
- Repeat until the end
You’ll end with a row of connected mini petal shapes that will curl naturally.
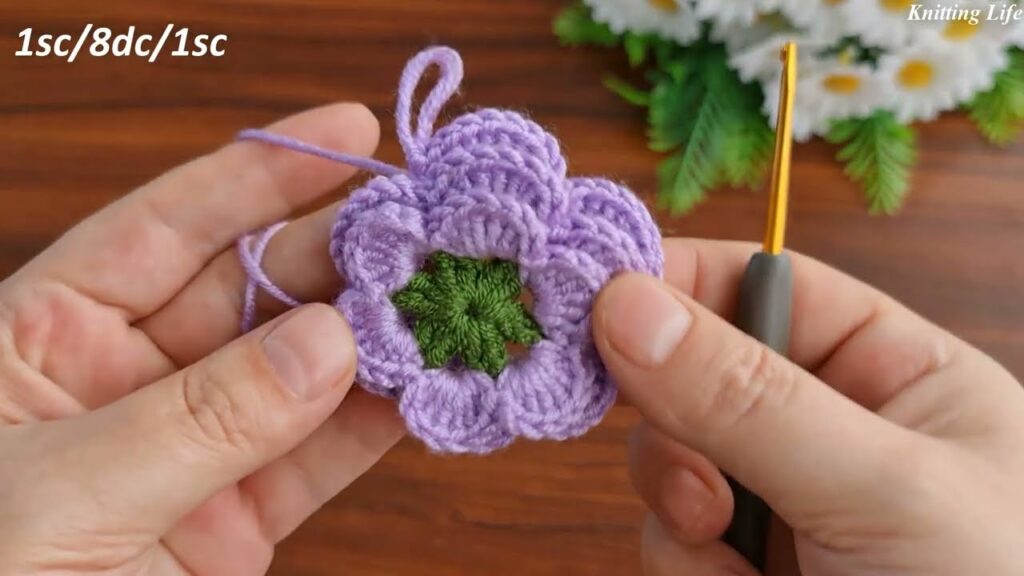
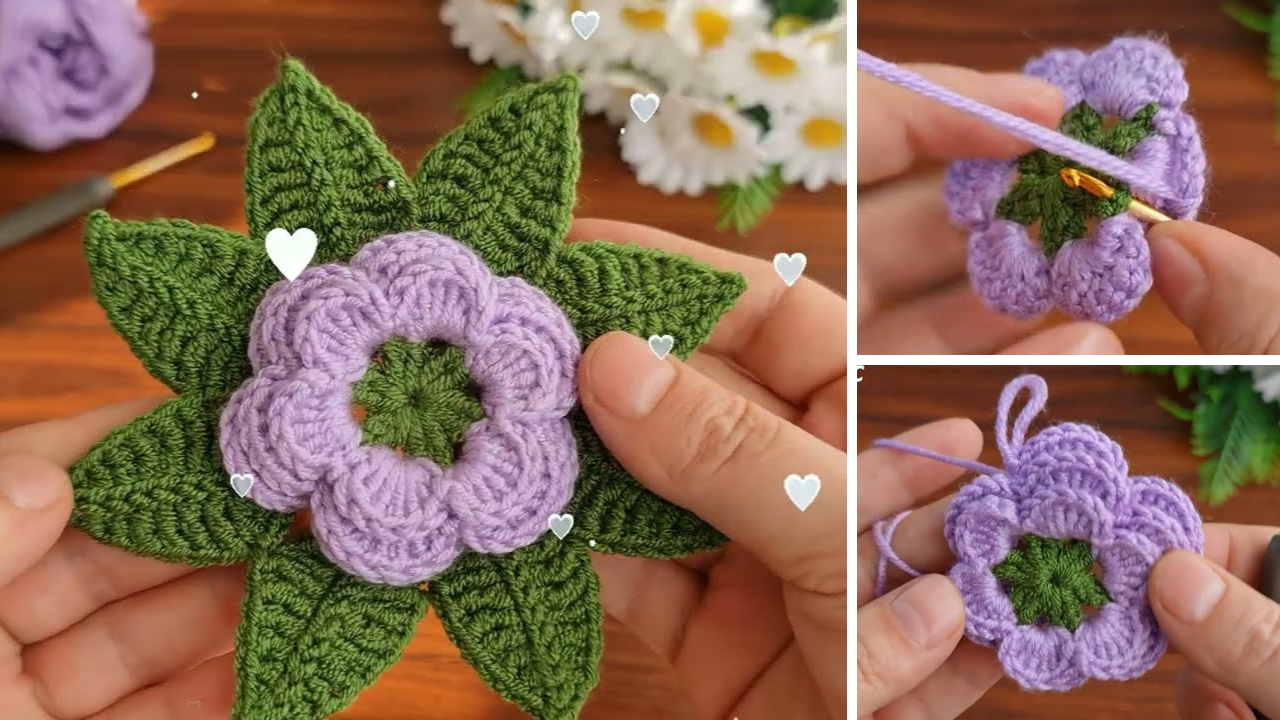
🌹 Step 4: Forming the 3D Rose
Now it’s time to roll and shape the flower:
- Starting from one end, gently roll the strip like a spiral, with the petals on the outside.
- Adjust tightness as you roll to form a rose shape.
- Using your yarn needle and the tail from your work, sew along the base (bottom edge) of the flower to secure it.
- Weave in the end tightly to make sure it doesn’t unravel.

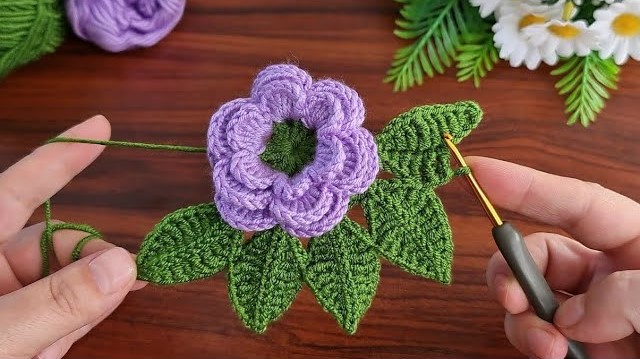
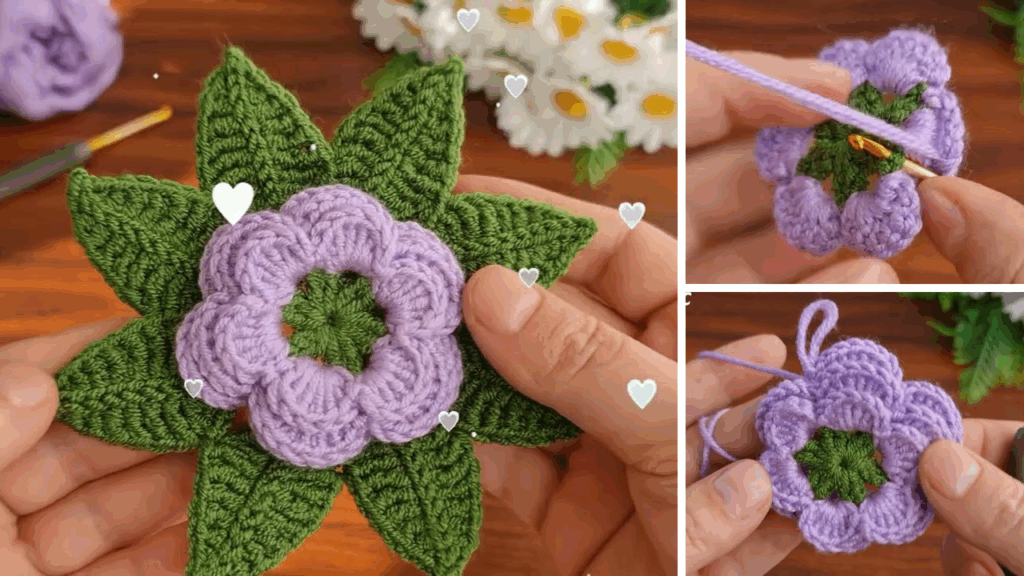
🍃 Optional: Add Leaves
If you want to make a more complete rose, you can crochet a small leaf or two:
Simple Leaf Pattern:
- With green yarn, ch 7
- Sc in 2nd ch from hook, hdc in next, dc in next 2, hdc in next, sc in last
- Ch 1, and continue on the other side of the chain: sc, hdc, dc in next 2, hdc, sc
- Sl st to join and fasten off
Sew or glue the leaves behind your rose.
🧠 Tips for Beginners
- Use thicker yarn and a larger hook for your first attempt—it’s easier to see the stitches.
- Don’t pull too tight on the yarn while stitching; keep your tension relaxed.
- If your petals seem flat, try using hdc or tr instead of dc to give more volume.
🎁 How to Use Your Crochet Rose
- Hair clips or headbands
- Brooch or pin
- Appliqué for hats, scarves, or bags
- Gift wrapping decoration
- Wedding or baby shower bouquets
- Home decor — glue to a wreath or centerpiece
Video tutorial:
🌼 Final Thoughts
Creating a 3D crochet rose might look complex, but as you’ve seen, it’s made with basic stitches and just a bit of patience. This beginner-friendly project is ideal for anyone wanting to add a touch of handmade beauty to their life. Once you make one, you’ll find yourself making roses in every color!