by
by Crocheting your own shoes is not only satisfying, but it’s also a creative way to craft something cozy and custom for your feet! Whether you’re just starting with crochet or looking for a super simple weekend project, this guide will walk you through an easy crochet shoe technique, step-by-step.
Let’s dive in!

🧶 MATERIALS NEEDED
Before we begin, gather the following items:
Basic Materials:
- Crochet hook: Size 3.5 mm or 4 mm (US E-4 or G-6)
- Worsted weight yarn (medium/4) – Cotton or acrylic blends work well
- Scissors
- Yarn needle (for weaving in ends)
- Stitch markers (optional)
- Foam sole or flip-flop base (optional)
👟 SHOE STYLE: SIMPLE SLIP-ON CROCHET SLIPPERS
This tutorial is for a basic slip-on shoe or slipper — perfect for indoors or adding a soft sole for outdoor wear.
🪡 STEP-BY-STEP INSTRUCTIONS
✨ Step 1: Measure Your Foot
Before crocheting, trace your foot on a piece of paper or measure its length. This ensures the shoe will fit well.
🧵 Step 2: Crochet the Sole
1. Foundation Chain:
- Chain 16 (adjust depending on the length of your foot; this is the shoe’s length)
2. Round 1:
- In the 2nd chain from the hook, make 1 single crochet (sc).
- Sc in each chain until the last one.
- In the last chain, make 5 sc to turn the corner.
- Now crochet along the other side of the chain (the “back”), placing 1 sc in each stitch.
- In the very first chain (where you began), make 4 sc to finish the curve.
You now have a full oval shape — the base of the shoe.
3. Rounds 2–5:
- Continue crocheting in the round, increasing at the ends of the oval to keep the shape flat.
- Use this pattern: 1 sc in each stitch, increase by 2-3 sc at each curve.
- Your sole should now fit your foot.
🔹 Tip: Use a stitch marker to mark the beginning of each round.
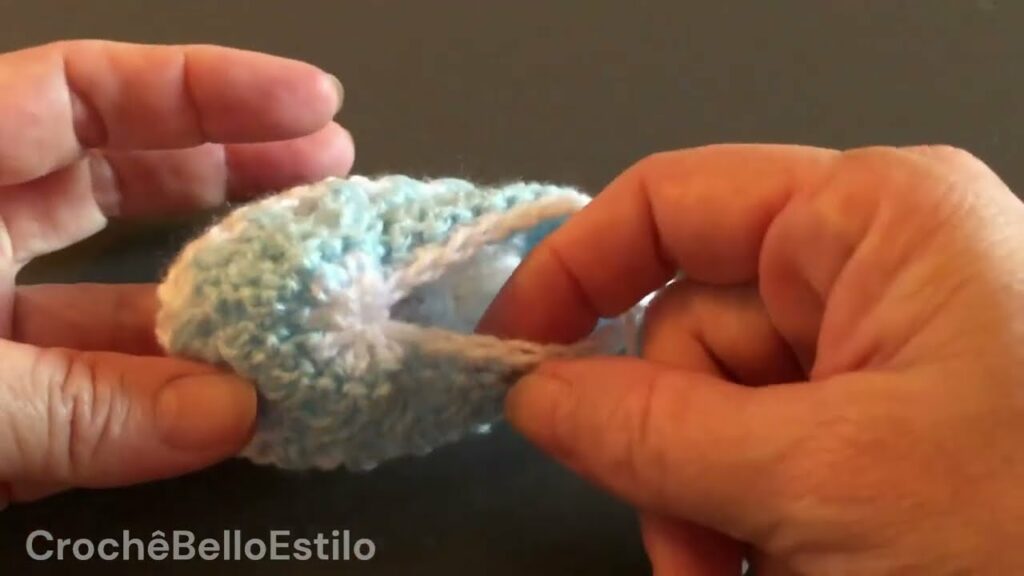
🧶 Step 3: Build the Sides
Now we crochet upward from the sole to create the sides of the shoe.
1. Round 6 (side walls):
- Crochet 1 single crochet in each stitch around in the back loop only to create a nice edge.
- Continue around. Slip stitch to join.
2. Rounds 7–10:
- Sc in each stitch around (both loops now).
- After 4-5 rows, the shoe sides should be about 1.5–2 inches tall.
👣 Step 4: Shape the Toe
1. Toe Decrease:
- Count how many stitches are in one round (e.g., 60).
- Place a stitch marker at the center front (divide the stitches into 3 parts).
- Crochet to the stitch marker.
- Use this decrease: sc2tog (single crochet 2 together) every 2–3 stitches across the toe area.
- Continue this pattern for 3–4 rounds, gradually narrowing the toe area.
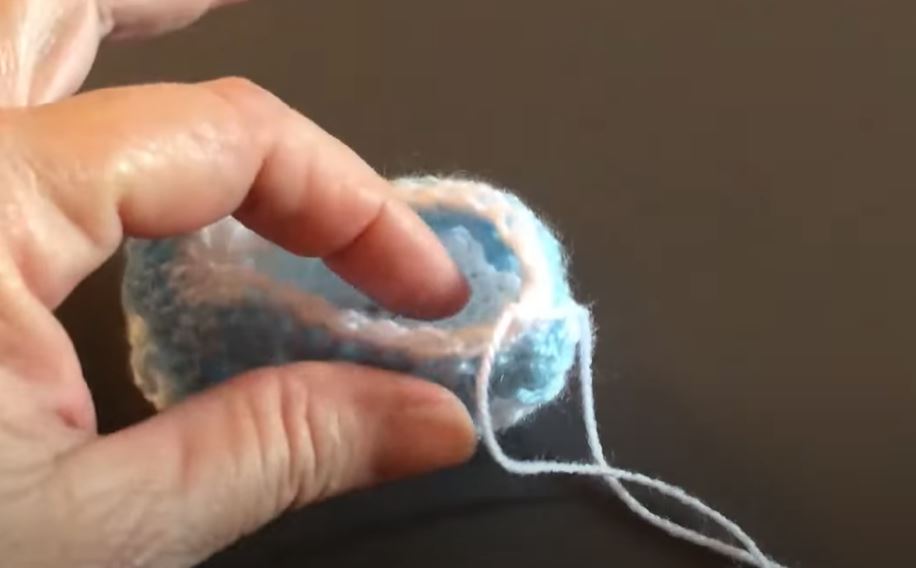
🪡 Step 5: Finish the Heel & Top
You have two options:
- Closed heel: Continue rounds and decrease at the back as you did at the toe.
- Slip-on style: Stop when the sides reach your instep. Fasten off and weave in ends.
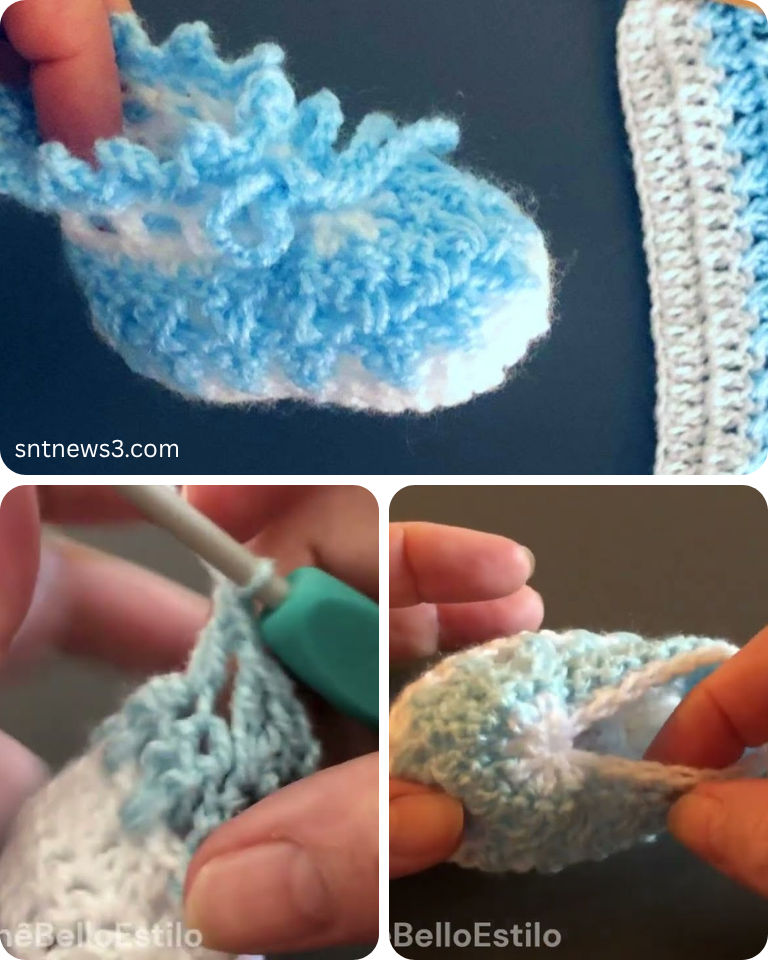
💠 Step 6: Add Details (Optional)
- Ribbed edging: Add 1-2 rows of half double crochet (hdc) or front-post/back-post sc for a nice border.
- Strap or button: Crochet a strap and attach a button for style and fit.
- Attach a sole: You can sew or glue your crochet upper onto a foam, cork, or flip-flop sole.
🧼 CARE INSTRUCTIONS
Hand wash your crochet shoes with mild detergent and lay them flat to dry. Avoid hot water or dryers to keep the shape intact.
💎 TIPS FOR BEGINNERS
- Choose light-colored yarn to better see your stitches.
- Practice tension on a small swatch before starting.
- Don’t worry about perfection—your feet will love your first pair, no matter what!
Video tutorial:
👟 CONCLUSION
With just a few basic materials and this very easy technique, you’ll be able to create cozy crochet shoes that fit you perfectly. As your confidence grows, you can customize the colors, stitch patterns, and styles to make anything from house slippers to chic outdoor flats.
✨ Ready to get started? Grab your hook, choose your favorite yarn, and give your feet a handmade hug!