 by
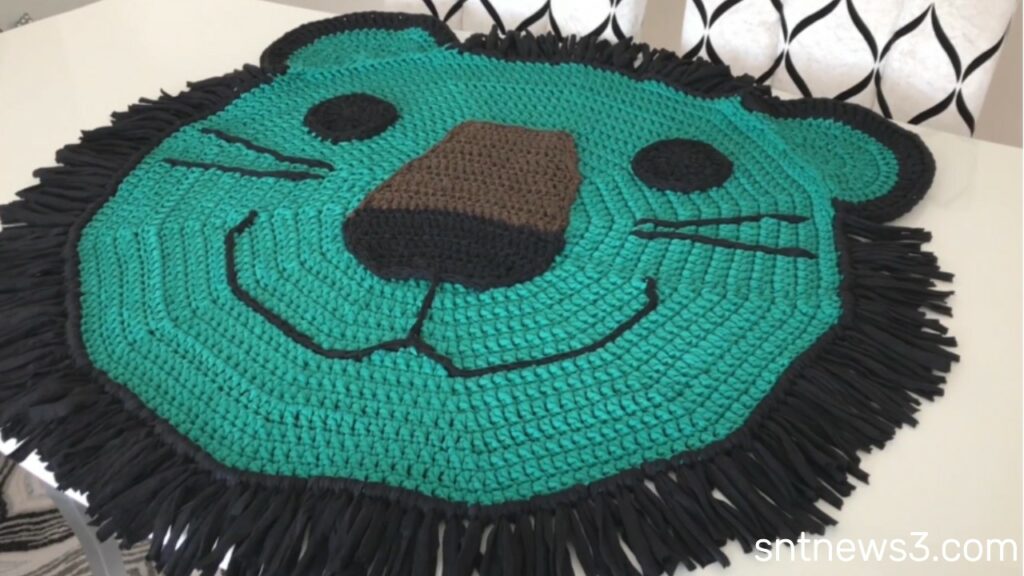
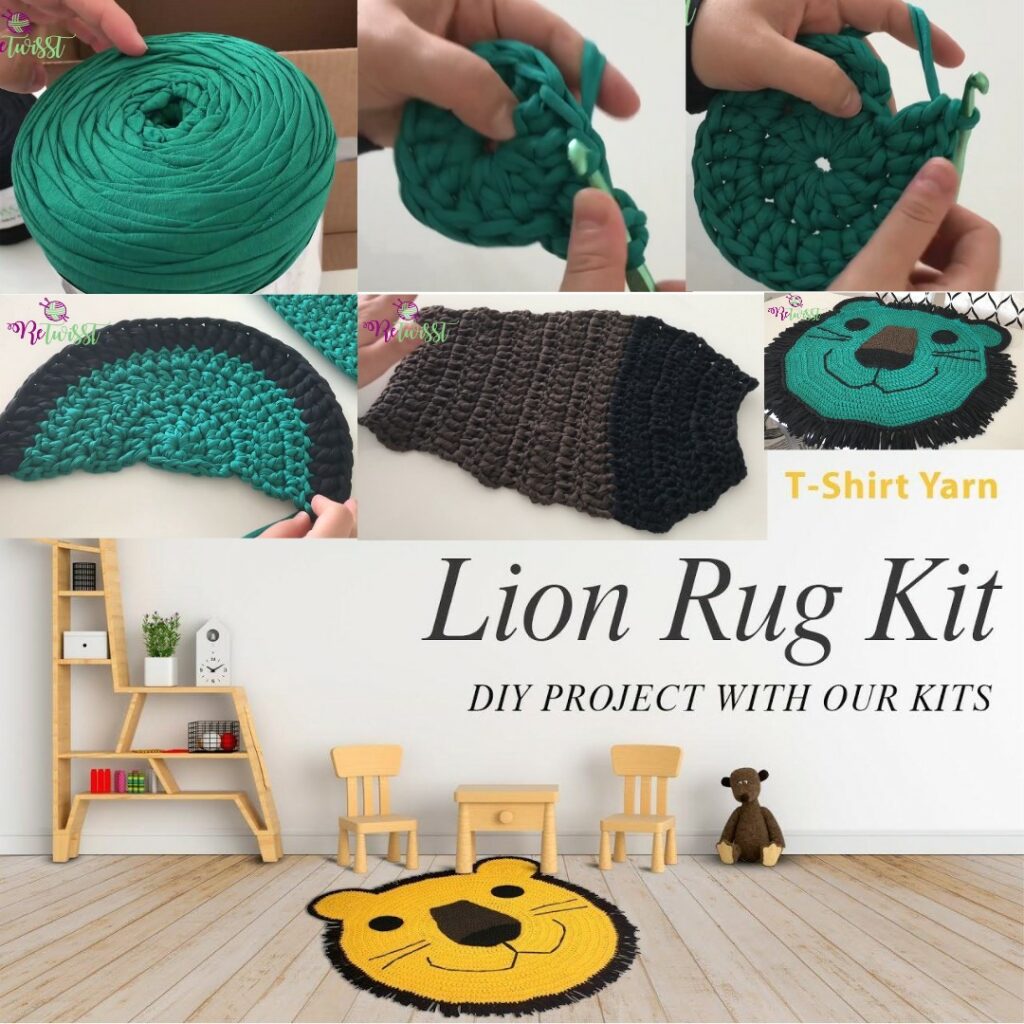
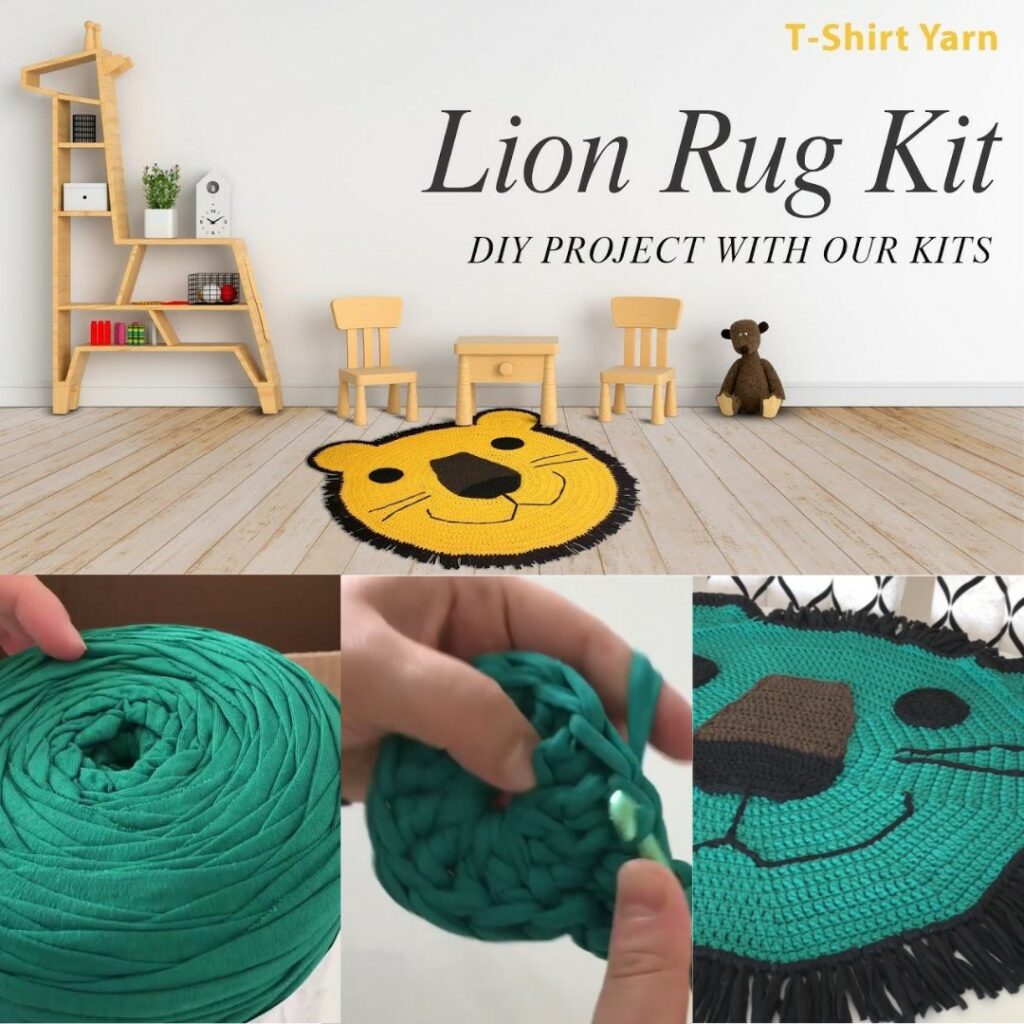
by Crochet Lion Rug with T-Shirt Yarn — full step-by-step tutorial
Nice choice — this is the “Crochet Lion Rug With T-Shirt Yarn” . Below I wrote a complete, practical tutorial you can follow even if the video doesn’t show every stitch count. I included clear rounds, tips for working with T-shirt yarn, how to make the mane, and finishing. (Source: the original ReTwisst tutorial.)
What you’ll need
- T-shirt yarn / bulky cotton cord — main color for face/body + contrasting color(s) for mane. Store-bought T-shirt yarn kits are sold for this exact project; a full kit makes a rug ~95 cm across.
- A large crochet hook suitable for t-shirt yarn (commonly 8–12 mm depending on thickness). Use a hook that lets you work comfortably but keep stitches fairly firm.
- A scrap of regular worsted / DK yarn (optional) to carry/anchor the t-shirt yarn while crocheting (makes working easier).
- Scissors, tapestry needle, measuring tape, and (optional) blocking pins.
Abbreviations (US terms)
- ch = chain
- sc = single crochet
- sl st = slip stitch
- inc = 2 sc in same stitch
- st(s) = stitch(es)
Quick overview of the method
- Work a flat circle (single crochet rounds with regular increases) until the flat rug base reaches your desired diameter. (Many start with a small “6-st” center and increase +6 sts each round.)
- While crocheting, anchor the T-shirt yarn into your sc’s and carry or wrap it in front/back to create bands or bobbles — this is the fast, comfy way to include bulky fabric yarn without crocheting it directly.
- When the base diameter is reached, add the mane by attaching pre-cut strips (looped or knotted) all around the edge (or use loop-tuft method). Finish face details (eyes, nose) with small crocheted circles, embroidery, or felt.
Step-by-step — full written pattern (practical / adjustable)
Step 0 — decide final size & prep
- Decide your target diameter (example sizes): small accent ~40–60 cm, medium ~70–90 cm, full kit rug ~95 cm. The amount of T-shirt yarn needed depends on diameter — commercial kits specify amounts.
- Cut a few short trial strips and test tension: you want a firm enough fabric so the rug lies flat.
Step 1 — start the center (magic ring method)
- Make a magic ring.
- Round 1: ch 1, 6 sc into the ring. Tighten the ring. (Total = 6 sc.)
- Why 6? This is the standard small-circle start for flat circles and lets you increase evenly.
Step 2 — increase to form a flat circle
Use a steady increase pattern that adds 6 stitches each round so the circle stays flat:
- Round 2: inc in each stitch (2 sc in each of the 6 sts) → total 12 sc.
- Round 3: sc in next st, inc in next st — repeat → total 18 sc.
- Round 4: sc in next 2 sts, inc in next — repeat → total 24 sc.
- Round 5: sc in next 3 sts, inc — repeat → total 30 sc.
- And so on: after round n, total stitches ≈ 6 × n (so Round 6 → 36, Round 7 → 42, etc).
Work these increase rounds until the flat circle reaches the diameter you want. Check for flatness: the piece should lie flat — if it ruffles, reduce increases; if it cups up, add a round of increases. This same increase formula is widely used for t-shirt rugs.
Practical tip: stop increasing when the rug base is ~5–10 cm smaller than final diameter if you plan to add a thick mane—the mane adds width. For a 95 cm rug (the kit example), you will need many rounds — measure as you go.
Step 3 — working with T-shirt yarn (how to include it comfortably)
Crocheting around the T-shirt yarn rather than trying to pull it through every stitch makes the work far easier on your hands and neater in finish. Two common approaches:
A. Carry & wrap (recommended) — anchors the fabric yarn inside your sc:
- Hold the T-shirt strip behind your work and make 1 sc in the next stitch (this sc is made in the normal yarn).
- Bring the T-shirt strip to the front and make the next sc with the strip laid over the top, then pull stitch snug so the strip forms a little raised loop/bobble on the front.
- Bring the strip back to the back, sc the next stitch, then bring to front again — alternate to create rings of fabric across rounds. This alternation produces textured rings or “stripes” of bulky fabric. Moralefiber describes anchoring and bringing the strip front/back to create tidy bobbles and rings — follow that technique for tidy effect.
B. Anchor & embroider (easier for beginners)
- Crochet several rounds of regular sc using normal yarn, then weave or stitch the T-shirt yarn into the surface using a tapestry needle to create bands or stripes.
Anchoring ends / joining new strips
- When starting a new T-shirt strip, anchor its end by working 3–5 sc over it so it’s trapped, then continue the front/back wrapping. When ending a strip, trap the tail the same way. This prevents loose ends.
Step 4 — continue rounds until desired rug diameter
- Continue the increase scheme until desired size (measure across with tape). For larger rugs you may increase every few rounds instead of every round to control growth. The widely used approach for T-shirt rugs is to keep working in the round and add increases evenly spaced; tutorials and patterns for T-shirt rugs emphasize checking flatness and adjusting increases to suit your yarn and tension.
Step 5 — create the lion’s mane (multiple easy options)
You can choose a full fluffy mane with many short strips or a looped fringe for a textured ring.
Method A — Looped fringe (fast & neat)
- Cut many strips of T-shirt yarn ~10–20 cm long (experiment for desired fullness).
- Working around the outermost round, insert your hook into a stitch, pull up a loop of a strip (fold strip in half first).
- Pull the two cut ends through the loop and tighten (lark’s-head knot). Repeat, spacing knots every 1–2 stitches for a dense mane.
- After attaching, trim ends evenly and fluff (or leave varied lengths for a wild mane look).
Method B — Tufted / knot fringe (classic mane)
- Cut single long strips and knot them around the outer round using the lark’s-head method, or tie each strip around two neighboring stitches for more fullness.
- For extra fullness, add a second row of knots behind the first row.
Method C — Loops + cut (loop-and-cut mane)
- Pull loops of T-shirt yarn through the stitches (do not cut). After finishing the ring, cut the loops open — you get a shaggy, dense mane. This is quicker for a very full look.
Secure the mane: After attaching the mane, work one round of sc over the base edge (working behind the knots) to hide the knots and lock them in place.
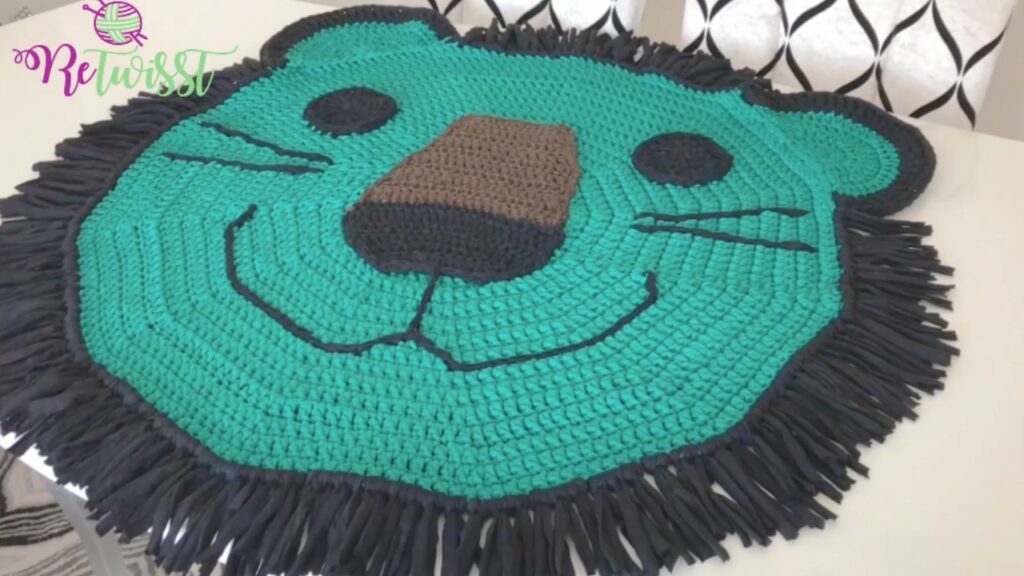
Step 6 — make the lion face (simple appliqués)
- Nose (small triangle / oval): Magic ring, 6 sc into ring, tighten, sl st; pm and sew in place.
- Eyes: Small circles — magic ring, 6 sc, join. Or use black yarn felt/embroidery for pupils.
- Mouth / whiskers: Embroider with yarn or use chain-stitch details. Sew appliqués onto the rug base at desired placement (center). If you want raised features, make a small cut-pile by tying short strips and trimming.
(Keep face pieces small and sew very securely since rugs get handled.)
Step 7 — finishing & securing
- Work a final tidy round of sc around the rug edge (behind mane knots if you attached them), to hide ties and tidy the border.
- Weave in ends with a large tapestry needle — bury tails into the rug fabric. For heavy use rugs, consider stitching a few extra whip-stitches through knots to secure them.
- Blocking: Lay rug flat and gently shape. Because t-shirt yarn is cotton/stretchy, gentle shaping and time under weight is usually enough (no heavy wet-blocking unless needed).
Troubleshooting (fast fixes)
- Rug cups (edges pull up) — you’ve increased too little; add one round of evenly spaced increases.
- Rug ruffles (too many increases) — skip an increase round or two.
- Loose mane / knots coming out — add a sc round behind knots and/or add a small stitch of thread through the knot to secure.
Yarn & material estimate (guideline)
- ReTwisst offers a DIY Lion Rug kit and lists finished rug ~95 cm; their kit contents / yarn amounts are sized for a full rug — use that as a benchmark when buying T-shirt yarn. If you want a smaller rug, scale down rounds accordingly.
Short summary checklist
- Start: magic ring → 6 sc.
- Increase rounds: add 6 sts each round (6, 12, 18, 24, 30, …) until desired diameter.
- Use the carry/wrap technique to include T-shirt yarn for bobbles/stripes instead of trying to pull it through every stitch.
- Attach mane by lark’s-head knots or loop-and-cut method; secure with final sc round.
Full Video Tutorial: https://www.youtube.com/watch?v=AWgZpXebPVc