 by
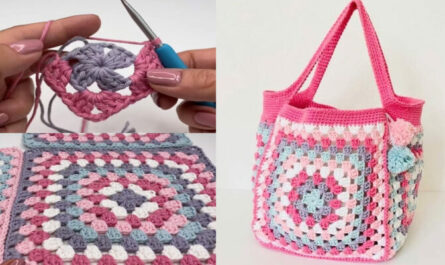
by Amazing Multipurpose Crochet Motif — Step-by-Step Tutorial
(works as motif squares or as a repeat strip — use for table runners, blouses, shawls)
Skill level: Easy → Intermediate (comfortable with chains, dc, shells, joining)
Worked in: rounds (motif) — join-as-you-go recommended for garments/runner
Materials
- Light-weight yarn (cotton DK / sport or thread depending on desired scale)
- Hook to match yarn (sample uses DK → 3.0–4.0 mm; for thread use a smaller hook)
- Tapestry needle, scissors, blocking pins
- Stitch markers (helpful for corners/joins)
Abbreviations (US)
- ch = chain
- sl st = slip stitch
- sc = single crochet
- hdc = half double crochet
- dc = double crochet
- tr = treble crochet (optional)
- sp = space
- st = stitch
- rep = repeat
Size & repeat info
- One finished motif (sample, DK + 3.5 mm) ≈ 10–12 cm blocked.
- To make a runner or blouse panel, plan motif count by measuring 1 blocked motif and multiplying. (Make a test motif and block it to confirm size.)
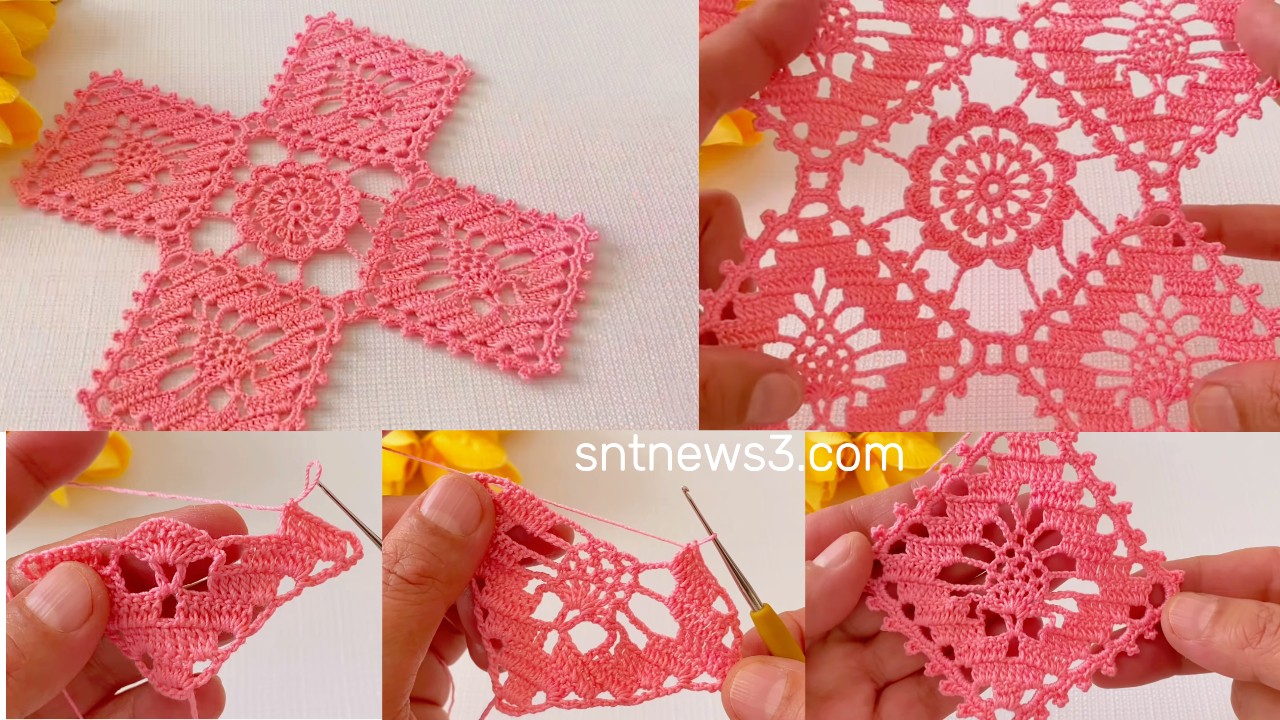
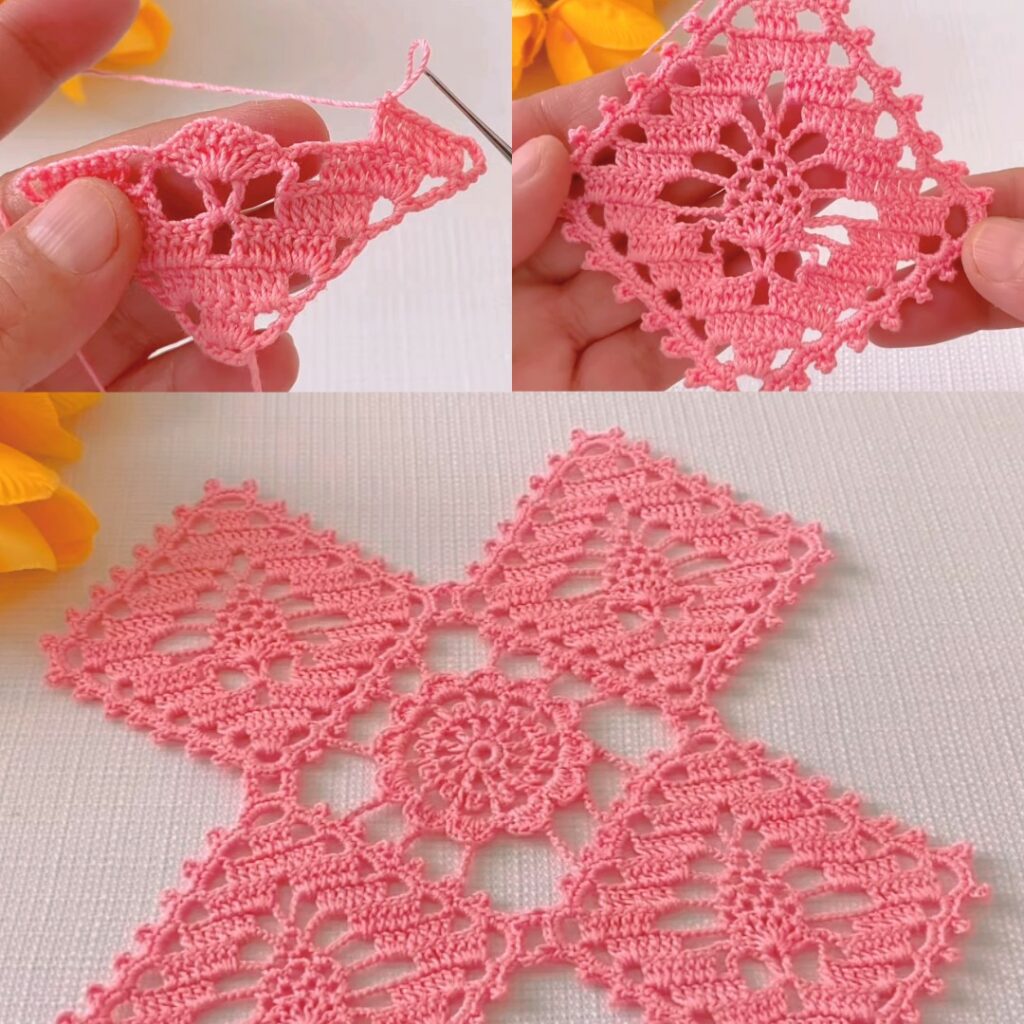
Pattern concept (what you’ll make)
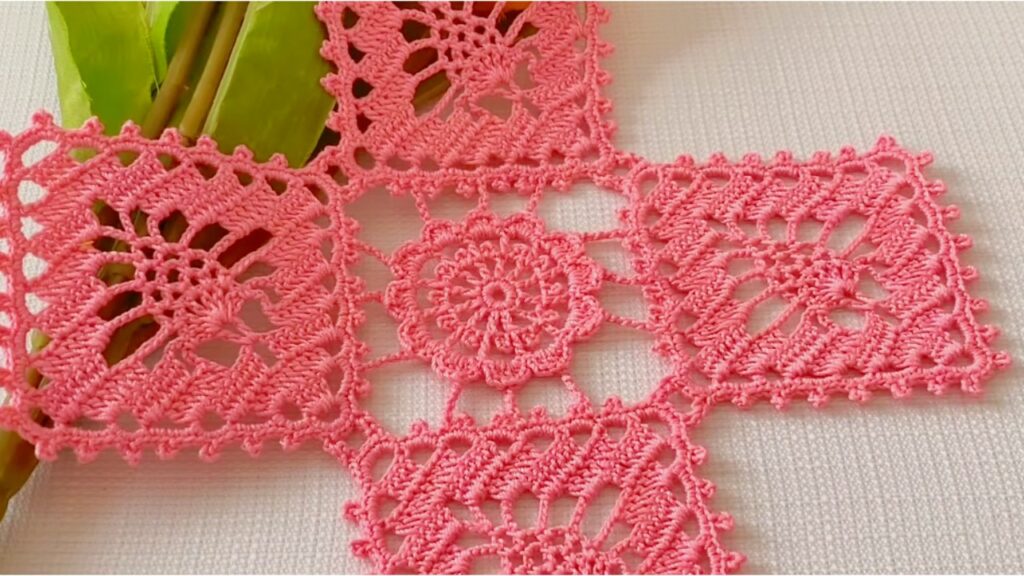
- A decorative round-centered motif with a lacy petal/arch outer round.
- The outer round is shaped into four sides (corner clusters) so motifs tile nicely into a square grid.
- Final round includes spaces suitable for join-as-you-go (JAYG) — attach motifs without sewing.
Motif — step-by-step (one motif)
Round 1 — magic ring center
- Make a magic ring.
- Ch 3 (counts as dc), work 11 dc into ring (12 dc total). Tighten ring. Join with sl st to top of ch-3.
Round 2 — small anchor loops
- Ch 1, sc in next dc, ch 3 — repeat around (12 sc and 12 ch-3 loops). Join with sl st to first sc.
Round 3 — petal bases / chain arches
- Sl st into first ch-3 loop.
- Into each ch-3 loop work: (sc, ch 2, 3 dc, ch 2, sc) — this is a small petal fan. Repeat into all 12 loops. Join with sl st.
Result: 12 small petals around the center.
Round 4 — raise & connect petals
- Ch 1, sc into outer sc of petal, ch 4, sc into next petal outer sc — repeat around creating 12 ch-4 arches between petal bases. Join with sl st.
Round 5 — convert to square (form sides & corners)
We will group the 12 arches into 4 groups of 3 (3 arches = 1 side), making a corner at the 3rd arch of each group.
- Ch 3 (counts dc), work 2 more dc into same ch-4 arch (so 3 dc in that arch).
- In next ch-4 arch: 3 dc.
- In the third ch-4 arch of the group: 3 dc, ch 3, 3 dc (this creates a corner).
- Repeat the 3-arch sequence 4 times (uses all 12 arches). Join with sl st.
Now the motif has 4 sides and 4 corners — it tiles squarely.
Round 6 — even edging & join round
- Ch 1, sc evenly around, placing 3 sc in each corner ch-3 space. (This evens out sides and makes a tidy joinable edge.) Join.
- Optional decorative round: skip 2 sc, 5 dc in next sc (shell), skip 2 sc, sc in next sc — repeat to make a scalloped edge.
Fasten off and weave ends. Block motif to target size.
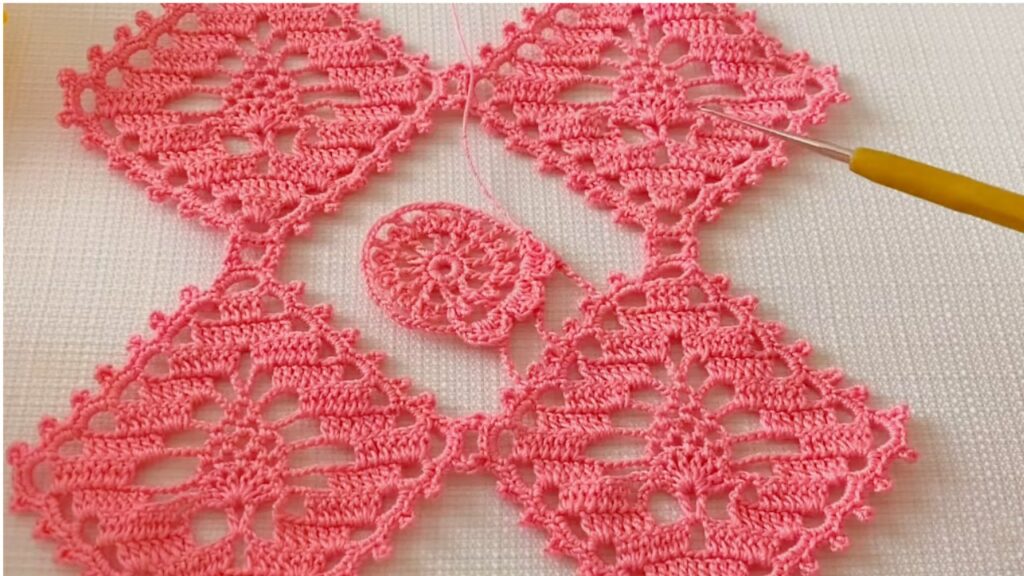
Join-as-you-go (JAYG) — attach motifs while working Round 6
Instead of working Round 6 on a new motif entirely, attach to existing neighbor(s):
- On your new motif’s Round 6 when you reach a side that will touch a finished motif, do this for each correspond point:
- Work sc in your motif as normal until the stitch where you would place a sc that matches the neighbor’s sc.
- Replace that sc with: sc in your motif st, ch 1, sl st into corresponding sc or ch-space of the adjacent finished motif, ch 1.
- Continue around: when touching two neighbors at a corner, use the corner ch-3 to sl st into both adjacent motifs (maintain the corner group shape by working ch-1 joins symmetrically).
- This yields a neat, nearly invisible join and reduces sewing at the end.
Tip: lay motifs side-by-side to line up join points before sl st-joining. Use stitch markers if needed.
Making runner, blouse, shawl — layout & assembly
Runner / Table runner
- Make a long strip of motifs (X motifs across × 1–n motifs down) or a rectangular grid.
- Join motifs as you go in rows; finish both short ends with a scalloped border for a neat table finish.
- For runner length, repeat rows until desired length; border as shown in Optional Round 6.
Blouse / Tunic panel
- Make motifs and join into two panels: front and back. Example panels: 4 motifs across × 3–5 rows (adjust to size).
- Join shoulders (seam one or two motif columns leaving neck opening centered).
- Join sides up to armhole height (leave 1–2 motif rows unsewn depending on sleeve style).
- Add edging around neck and armholes: 2 rounds sc then one round shell (5 dc shells) for a soft finish.
Shawl / Wrap
- Arrange motifs into a long triangle or rectangle. For a triangle, use more motifs at the center row and decrease counts toward each edge, or make a long rectangle and fold diagonally. Finish with a wide scallop border.
Border suggestions (to finish project)
After joining motifs into the final layout:
Simple neat border
- Round 1: sc evenly around entire outer edge (3 sc in each outer corner).
- Round 2: skip 2 sc, 5 dc in next sc (shell), skip 2 sc, sc in next sc — repeat.
- Round 3: tiny picots: sc, ch 3, sl st in ch-3, skip 2 sc — optional for delicate finish.
Wide scallop border
- In each ch-space from Round 6 work larger scallops: (sc, ch 3, 7 dc, ch 3, sc) to produce bold outer curves for a runner or shawl.
Tips & Troubleshooting
- If motifs are slightly different sizes: block all motifs before joining; add an extra sc round on smaller motifs to match sizes.
- If motifs pucker at joins: try joining through back loops only or adjust tension when sl st-joining.
- To make motif larger/smaller: change hook size or yarn weight. A lighter yarn with smaller hook → smaller motif; bulkier yarn/larger hook → larger motif.
- Want fewer holes (denser)? Replace some dc fans with hdc or add a stabilizing sc round between motif rows.
Variations & styling ideas
- Color pop: work the petal rounds in a contrast color and the outer rounds in background color.
- Center bead: sew a bead or button in the center of each motif for a decorative accent.
- Strip version: instead of joining into a grid, make long vertical strips then seam strips together for a different border look.
- Garment shaping: add or remove motif columns/rows to get desired bust/hip lengths; for waisted shaping, switch to panels and add increases/decreases in row count per panel.
Quick supply & sizing checklist before you start
- Make 1 test motif and block it — measure width/height.
- Decide final layout (e.g., runner 6×1, blouse front 4×3 + back 4×3).
- Calculate yarn needs after weighing test motif or using yarn estimates on ball labels (1 motif ≈ weight_g → multiply).
- Start making motifs, joining as you go on the final round.
VIDEO: