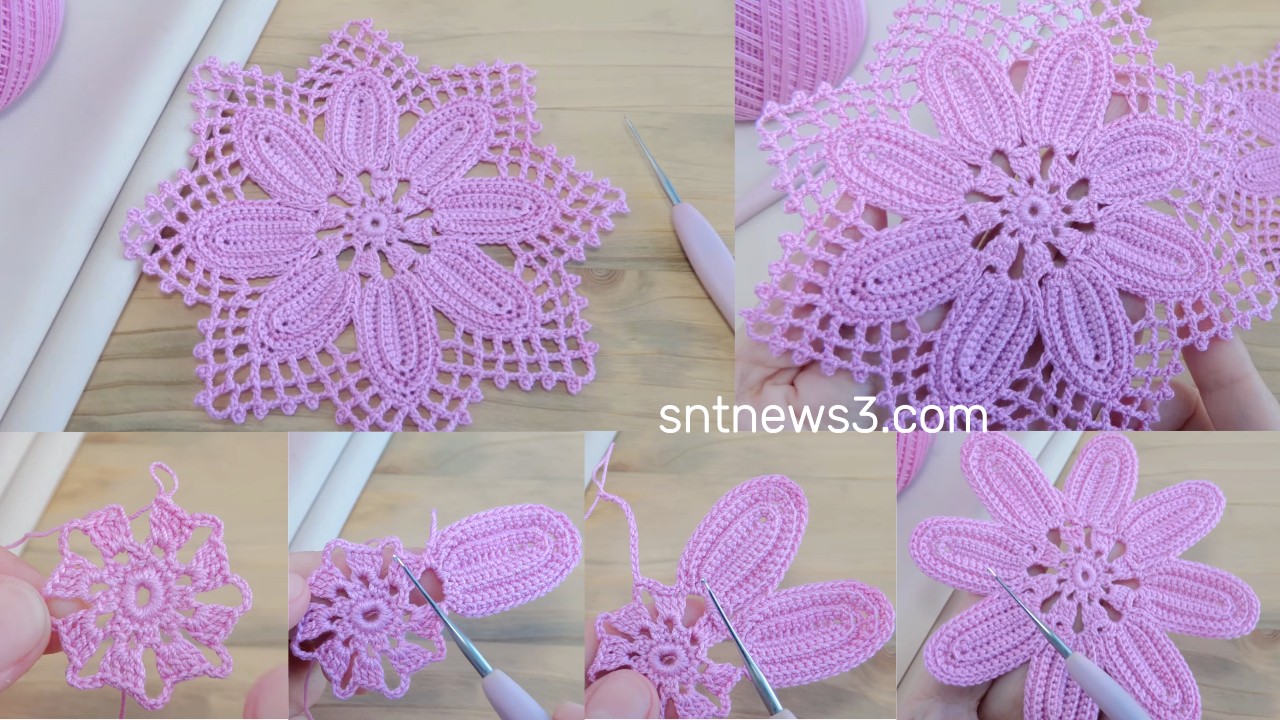
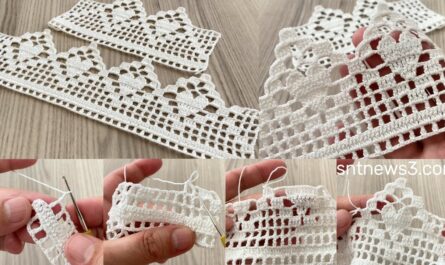
Materials
- Yarn: DK / sport / cotton (or crochet thread with smaller hook for delicate size)
- Hook: 3.0–3.5 mm (adjust to match yarn & desired size)
- Tapestry needle, scissors, blocking pins
- Stitch markers (optional)
Abbreviations (US)
- ch = chain
- sl st = slip stitch
- sc = single crochet
- hdc = half double crochet
- dc = double crochet
- tr = treble crochet (if used)
- sp = space
- st = stitch
- rep = repeat
Pattern notes
- The motif is worked in rounds from the centre out.
- The outer rounds shape into a square with corner clusters so motifs tile neatly.
- Final round includes even sc/chain spaces suitable for join-as-you-go (JAYG).
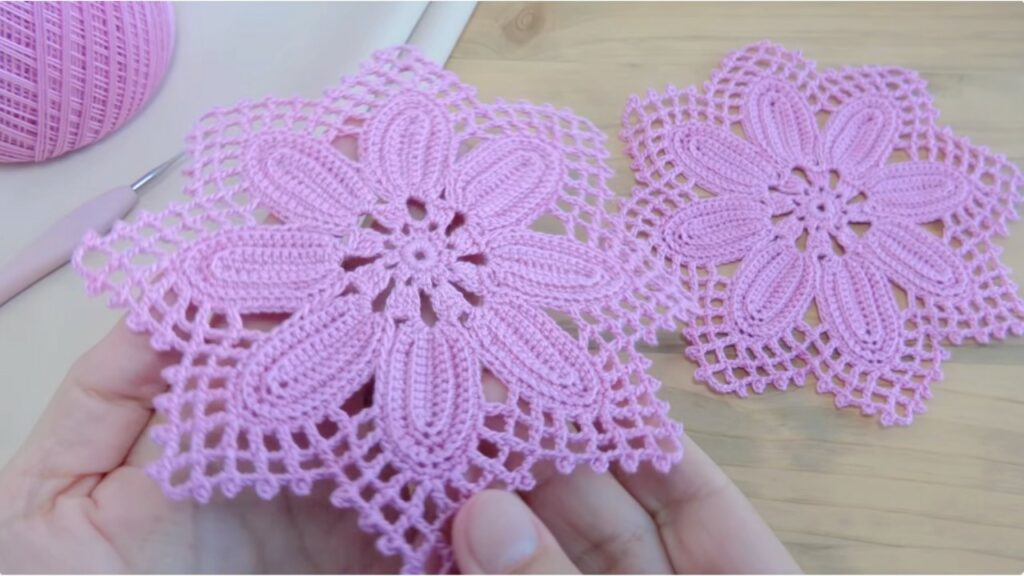
Rounds — full motif
Round 1 — centre ring
- Make a magic ring (or ch 4 and sl st to make a ring).
- ch 3 (counts as dc), work 11 dc into the ring (12 dc total).
- Pull ring tight and join with sl st to top of ch-3.
(Result: small round of 12 dc.)
Round 2 — anchors (picot/arch)
- ch 1, sc in next dc, ch 3 — repeat around (12 sc and 12 ch-3 loops).
- Join with sl st to 1st sc.
(These ch-3 loops are anchors for the petals.)
Round 3 — small petals (fans)
- Sl st into first ch-3 loop.
- Into that loop work: (sc, ch 1, hdc, 3 dc, hdc, ch 1, sc) — a tapered fan/petal.
- Repeat into each ch-3 loop around (12 petals).
- Join with sl st.
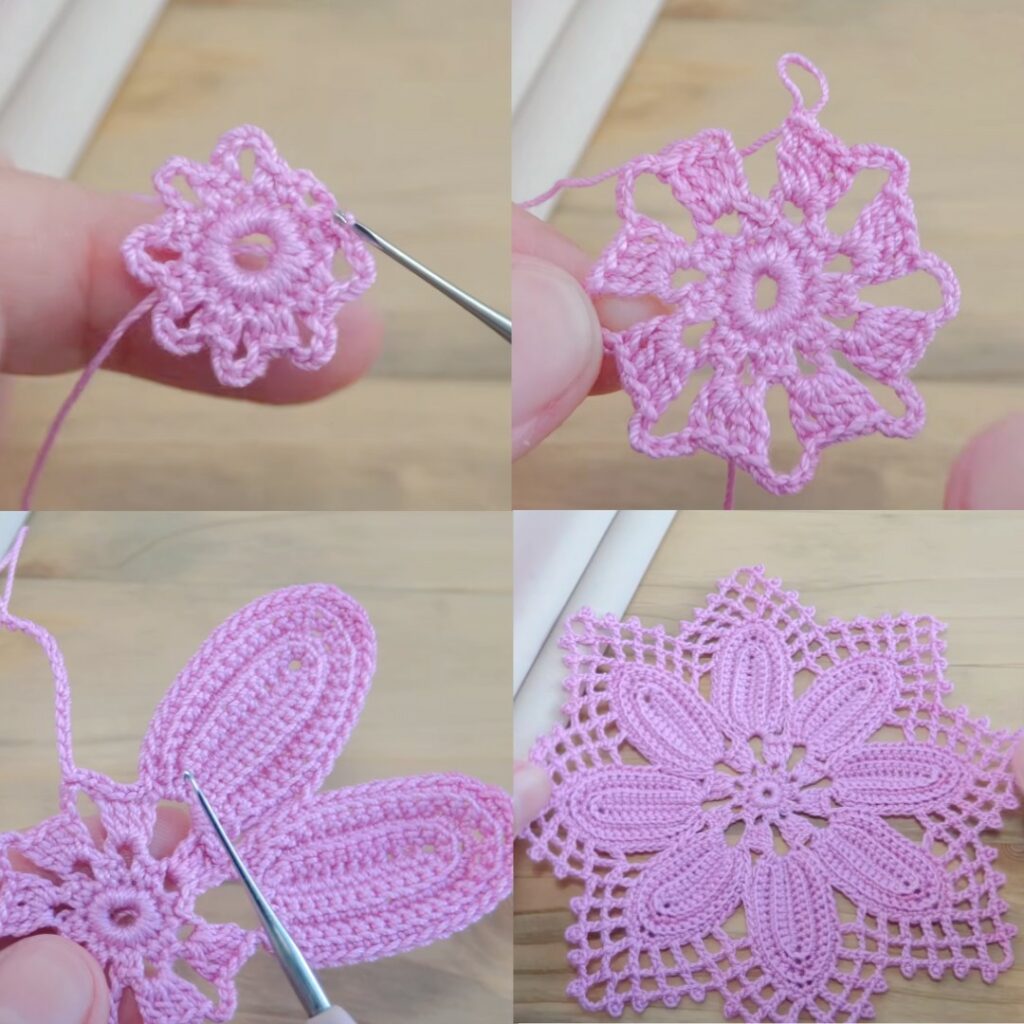
Round 4 — outer connecting arches
- ch 1, sc in outer sc of petal, ch 4, sc in next petal outer sc — repeat around to create 12 ch-4 arches between petal bases.
- Join with sl st.
Round 5 — form sides & corners (squareing)
Group the 12 arches into 4 groups of 3 arches → each group becomes one side; the 3rd arch becomes the corner.
- ch 3 (counts as dc), work 2 more dc into same ch-4 arch (so 3 dc).
- In next ch-4 arch: 3 dc.
- In the 3rd arch of the group: 3 dc, ch 3, 3 dc (corner cluster).
- Repeat that [3dc, 3dc, corner] sequence 4 times total (uses all 12 arches).
- Join with sl st.
(Now motif has 4 sides and 4 corners and blocks square.)
Round 6 — tidy join round (and optional scallop)
- ch 1, sc evenly around motif; in each corner ch-3 make 3 sc to round corners. Join with sl st.
- Optional decorative final round (scallop): skip 2 sc, 5 dc in next sc (shell), skip 2 sc, sc in next sc — repeat around for a scalloped edge.
Fasten off and weave in ends. Block motif flat.
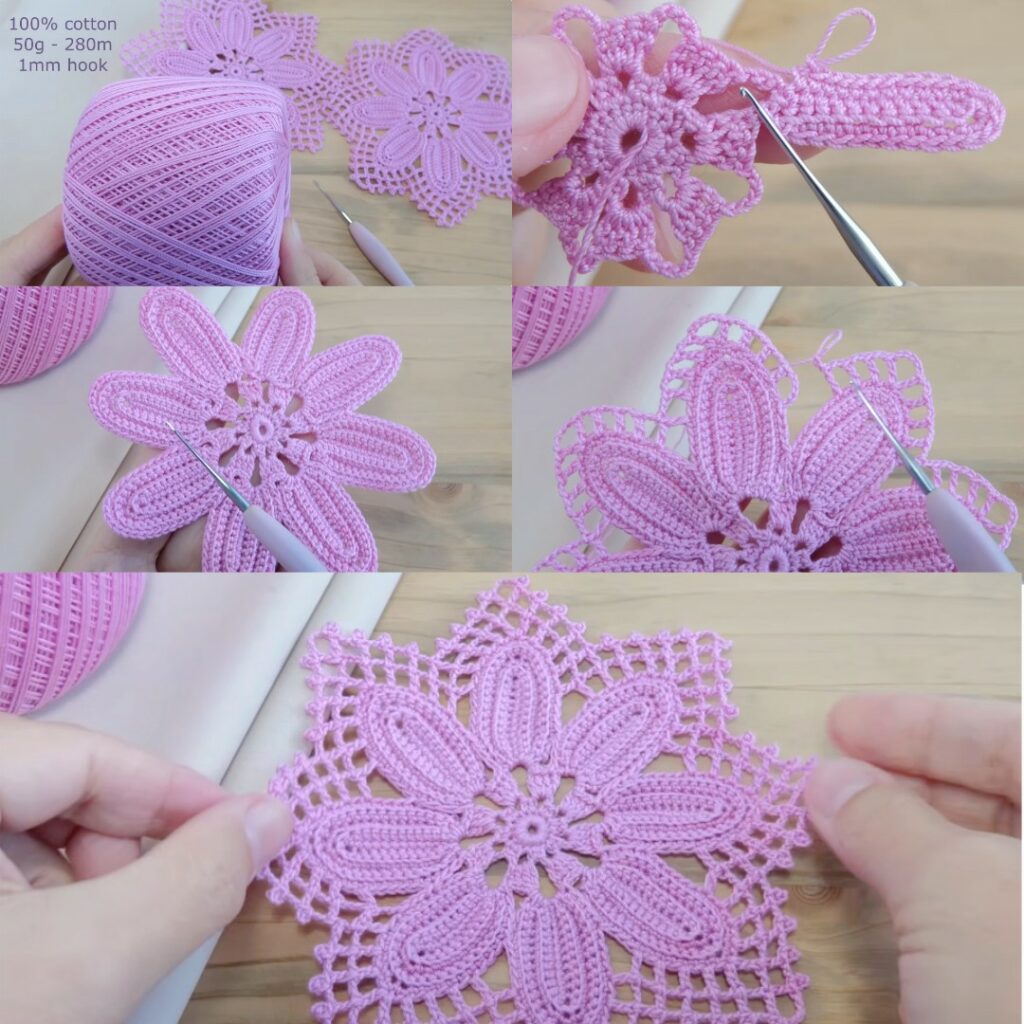
Join motifs — recommended: Join-As-You-Go (JAYG)
Best to attach motifs during their final round (Round 6) so seams are neat and no sewing is needed.
JAYG method (simple):
- Make the first motif completely.
- Start a new motif up to Round 6. On Round 6, when you reach a side that touches the finished motif: instead of doing a plain sc in that stitch, do:
sc in your motif st, ch 1, sl st into the corresponding sc (or chain-space) on the finished neighbor, ch 1
- Continue sc round. When you reach a corner that touches two neighbors, sl st into both neighbors’ corner ch-3 spaces (work the ch-1 joins symmetrically).
- Repeat to attach motifs row by row — it works very neatly.
If you prefer, block all motifs then sew them with mattress stitch or whipstitch.
Runner / panel assembly
- Decide motif size and layout (e.g., runner 3 motifs across × N rows).
- Join motifs by JAYG in rows: make a chain of motifs first and then build the next row joining to the row below and to the left neighbor as you go.
- After joining all motifs, add a border: sc round to even edge, then one or two rounds of shell/scallop as desired.
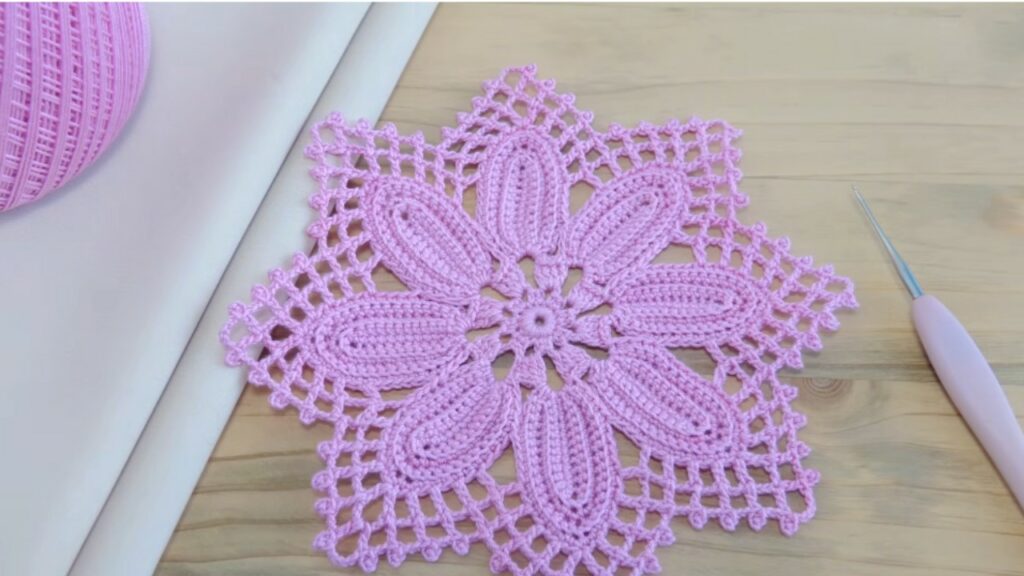
Border suggestion (3 rounds)
- Round 1: sc evenly around entire assembled piece; 3 sc in outer corners.
- Round 2: skip 2 sc, 5 dc in next sc, skip 2 sc, sc in next sc (shells).
- Round 3: ch-arch finish: sc, ch 4, sc in shell centers or sc, ch 3, sl st in ch-3 for picot points. Block to shape scallops.
Tips & troubleshooting
- Motifs different sizes? Block all motifs and, if needed, add an extra sc round to the smaller motifs to match size.
- Seams pucker? Join with a looser tension or use JAYG but sl st more loosely; alternatively stitch through back loops only to reduce bulk.
- Edges ripple? Add a stabilizing sc round (one more sc round) before scallops.
- Want a denser motif? Replace some dc with hdc or add extra stabilizing rounds.
Variations & ideas
- Work petal rounds in a contrast color, outer rounds in background color for a floral pop.
- Sew a small bead or button in motif center for sparkle.
- For a blouse: join motifs into two panels (front & back), seam shoulders/sides leaving armholes, trim neckline and armholes with sc and small shells.
- For delicate table runner: use cotton thread and a 1.5–2.0 mm hook for a fine vintage look.
VIDEO:
