 by
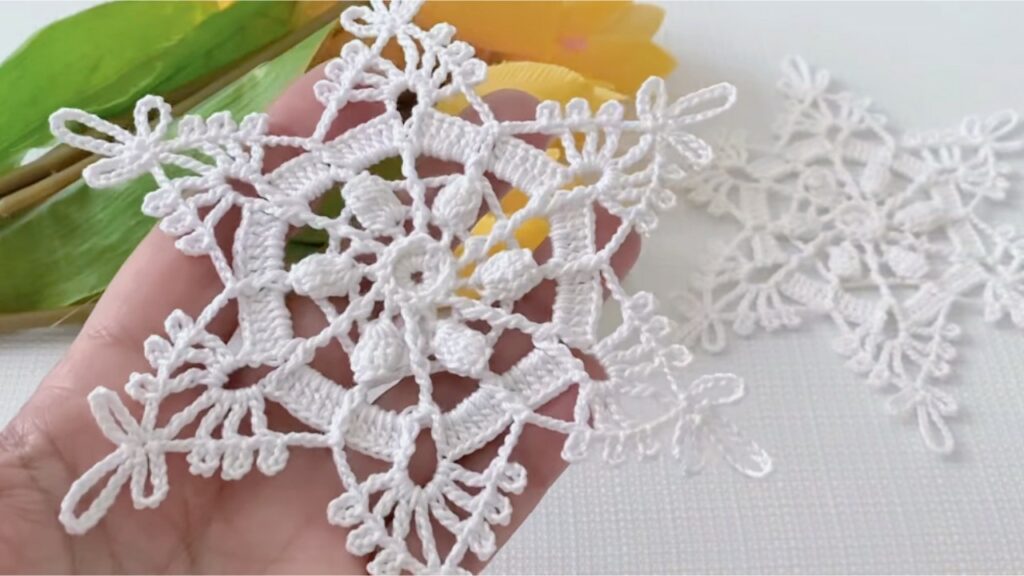
by ❄️ 6-Point Snowflake — Step-by-Step Tutorial
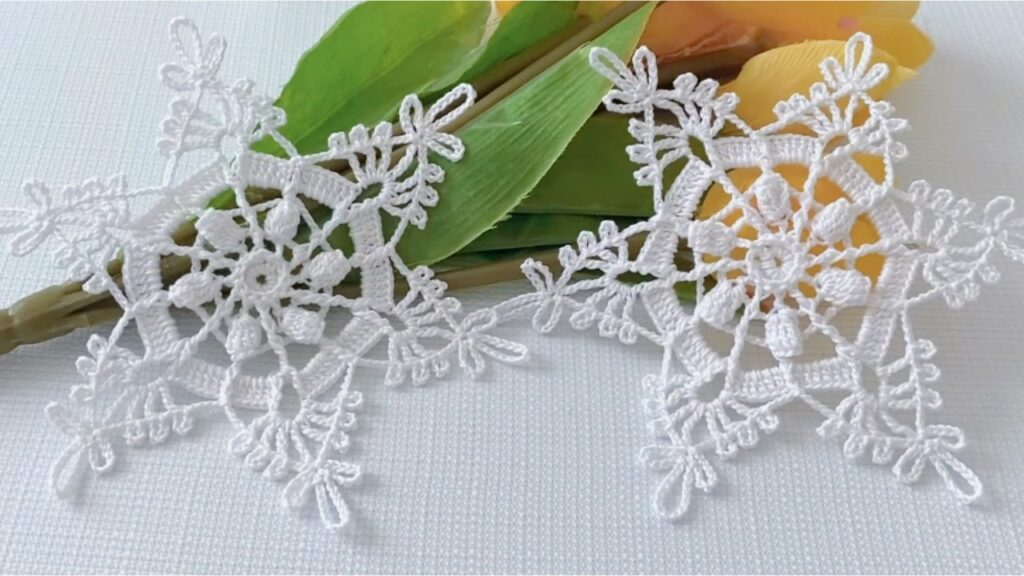
Finished size (approx.): 8–12 cm / 3–4.7 in (depends on yarn & hook)
Yarn: Fingering / sock / crochet thread (size 10) for crisp snowflake. Use cotton thread for a stiff, sparkly ornament.
Hook: 1.75–2.5 mm for crochet thread; 3.0–3.5 mm for fingering yarn.
Notions: tapestry needle, small blocking board or towel, rust-proof pins, optional stiffener (spray starch or sugar water).
Abbreviations (US terms)
- ch = chain
- sl st = slip stitch
- sc = single crochet
- hdc = half double crochet
- dc = double crochet
- tr = treble (triple) crochet
- pic = picot (ch 3, sl st into base)
- st(s) = stitch(es)
- sp = space
- … = repeat
Notes before you start
- Work loosely on chains and tight on the center round so the snowflake can be blocked flat.
- Pattern makes 6 points. After each round I include a short “check” so you can count and verify before moving on.
- If you want a firmer snowflake for hanging, stiffen after blocking with spray starch or diluted sugar water.
Pattern — worked from center out
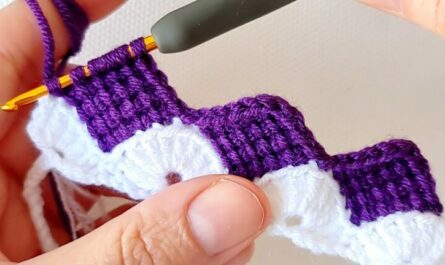
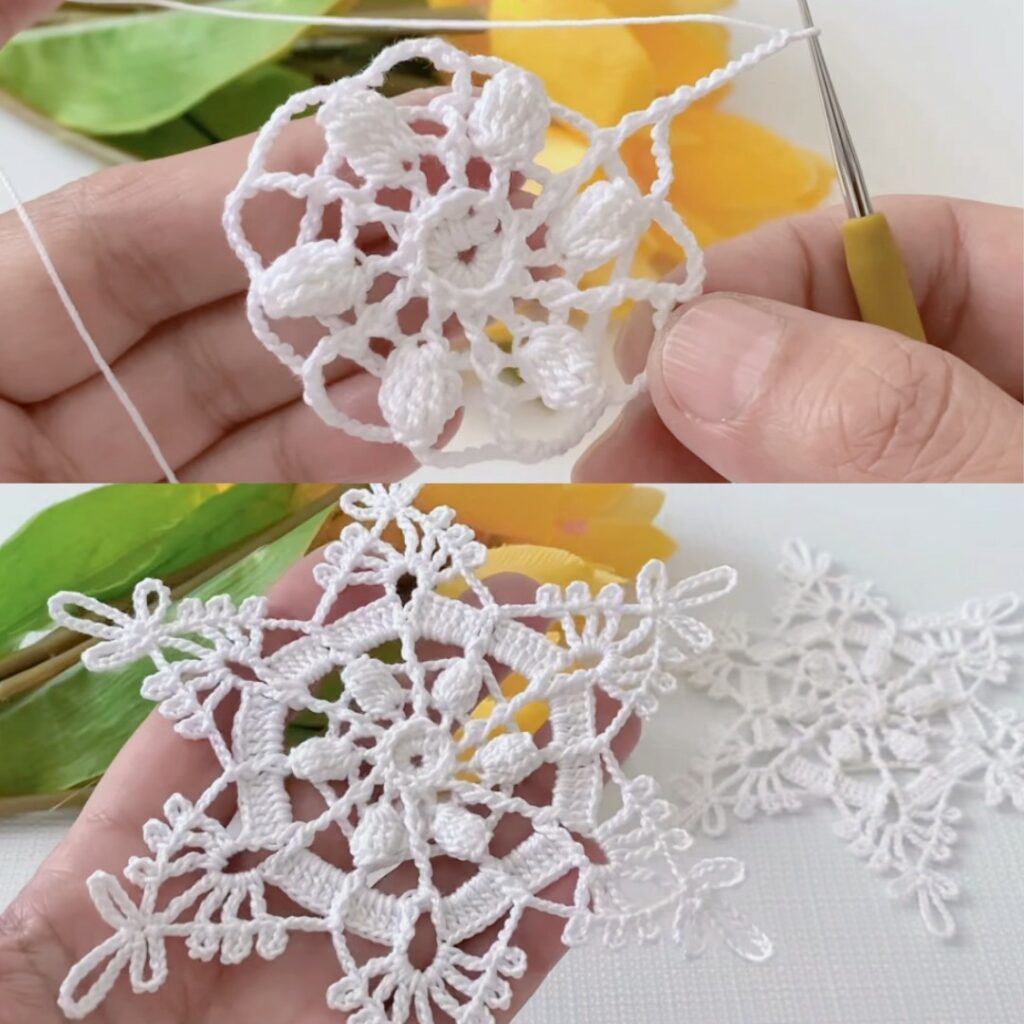
Round 1 — small neat center
- Make a magic ring.
- ch 3 (counts as first dc). Work 5 dc into the ring. (ch-3 + 5 dc = 6 dc total.)
- Pull ring closed. sl st to top of ch-3 to join. Check: 6 dc.
Round 2 — loop foundation (6 loops)
- ch 5, sc in next dc — repeat * around.
- You will make 6 ch-5 loops and 6 sc between them. Join with sl st to first sc. Check: 6 loops.
(These ch-5 loops are the scaffolding for each snowflake point.)

Round 3 — long points (6 points)
- Into each ch-5 space work this point cluster (all worked into the same ch-5 sp):
(sc, ch 3, 7 dc, ch 3, sc).- That is: sc, ch3, dc ×7, ch3, sc — all in the same ch-5 space.
- After making the cluster, sl st to the next ch-5 space and repeat for all 6. Join with sl st to first sc. Check: 6 long points (each point has 7 dc in the middle).
Variation: for a smaller point use 5 dc instead of 7 dc.
Round 4 — tidy base round
- Rejoin at the base (between any two points). Work sc evenly around the base of the points to create a smooth round that will accept the lacy arms. Distribute about 8 sc across each petal base (so total ≈ 48 sc), but adjust a stitch or two per petal so the round lies flat. Join with sl st. Check: circle is even and flat.
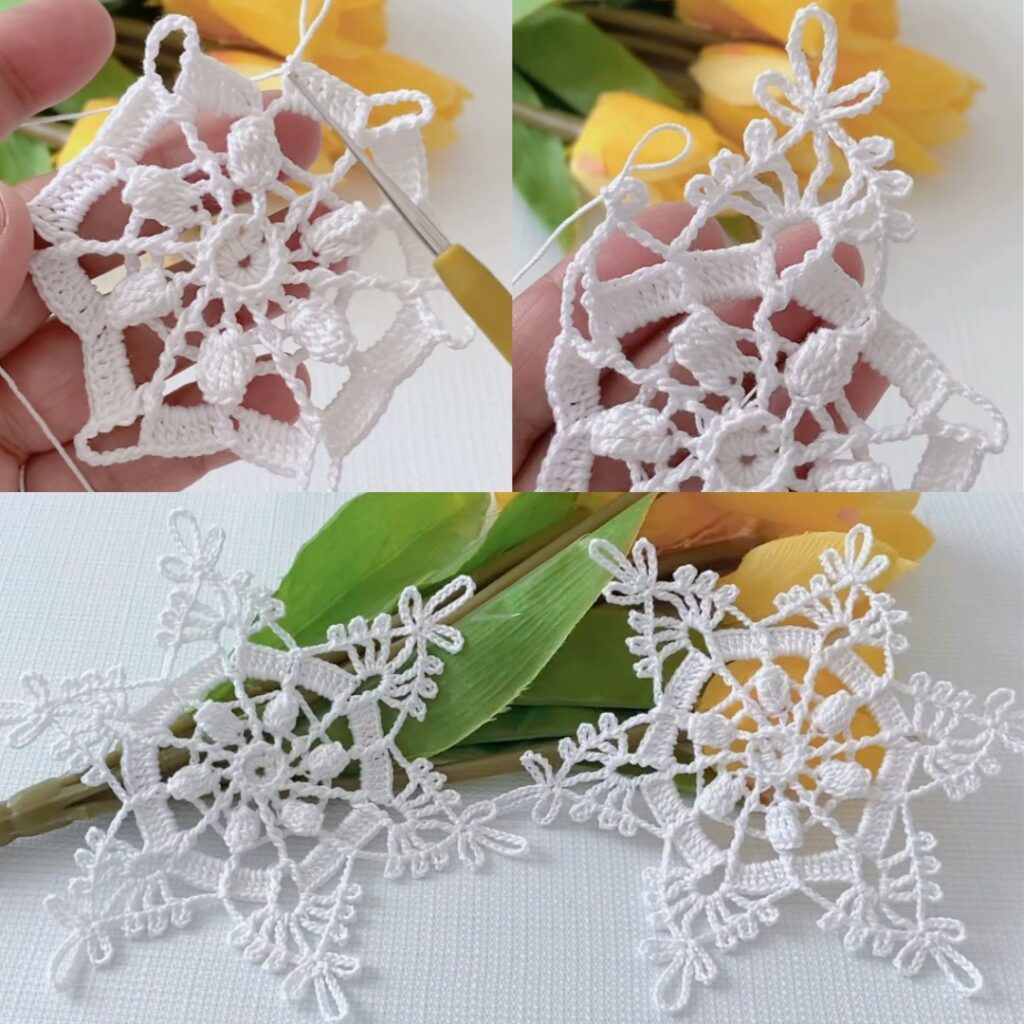
Round 5 — star arms (arches between points)
- We’ll make decorative chain arches that connect the points and give the snowflake its airy look. Starting at the top of a point:
- sl st to the top of the point (where the 7 dc meet the ch3), ch 9, sl st to top of next point — repeat around to create 6 big arches.
- Join with sl st to beginning. Check: 6 arches around outer edge.
Tip: If ch-9 is too long/short for your yarn and hook, adjust to ch-8 or ch-10 until the arches look evenly spaced and not sagging.
Round 6 — decorate arches (three little ribs)
- Working into each long chain arch, make three small ribs to give definition:
- sl st into the middle of the arch (3–4 chains in from the first anchor), ch 3, dc into central ch space of arch, ch 1, dc, ch 1, dc, ch 3, sl st back to the arch anchor.
- In practice: mark three evenly spaced stitch points across the arch and place dc, ch1, dc, ch1, dc so the arch has three vertical bars.
- Repeat for all 6 arches. Join with sl st. Check: each arch appears ribbed/structured.
(If that description feels fiddly, a simpler option: into each arch work 3 dc separated by ch-1.)
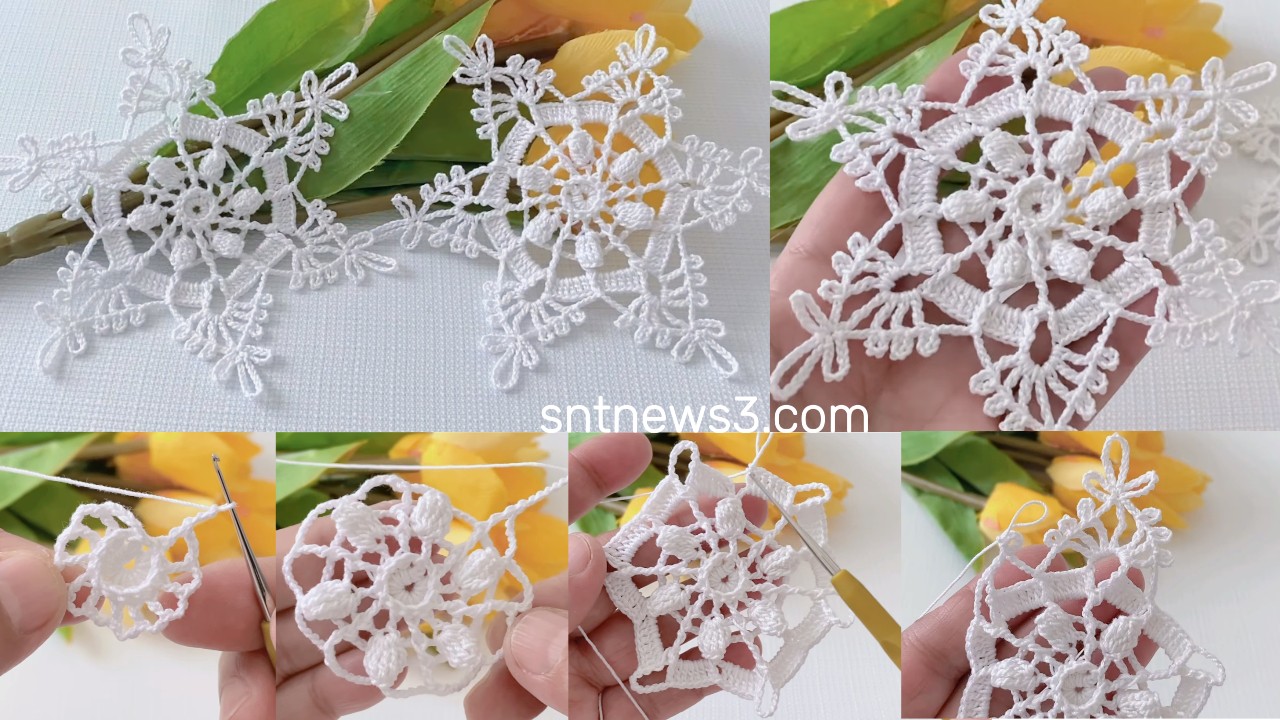
Round 7 — outer points & picot tips
- We’ll make small decorative spikes and picots around the outer chain arches to get that snowflake sparkle.
- Working around the arch edges and point tips, use this repeat:
- sl st to next small chain on arch → sc, ch 3 (pic), sl st into base of same sc to form the picot → skip 2 ch of arch → sc into next position.
- Where the arch meets a point tip, make a little star arm: (sc, ch 4, sc) anchored at the tip, then continue picot pairs across the arch.
- Continue all the way around, join and fasten off. Check: evenly spaced picots and small outer spikes at each point.
Adjustment: If you prefer a plainer edge, work sc evenly around and place a picot every 3rd sc.
Finishing
- Weave in ends neatly on the back with a tapestry needle.
- Blocking: Pin the snowflake to a blocking mat/towel: gently pull each point straight and pin the arches and picots so the snowflake is perfectly symmetrical. Spray lightly with water and let dry.
- For firmness (optional): after drying, lightly coat with spray starch or mix 1 part sugar to 3 parts water, brush lightly on the snowflake, let dry fully. This will make it stiff and suitable for hanging on a tree or using as a coaster/decoration.
Quick checks & troubleshooting
- If the snowflake cups (points curve up): make chains slightly longer in Round 5 (give more ease) or block more strongly. If cup persists, use a slightly larger hook on the point rounds.
- If the snowflake sags (arches droop): shorten arch chains by 1 or 2 (ch-7 instead of ch-9) or add one more rib in Round 6 to stiffen.
- If the edges are uneven: check you used consistent stitch counts in Round 3 (each point must have same number of dcs) and even distribution of sc in Round 4.
Variations & ideas
- Smaller snowflake: use thinner thread or a smaller hook; change Round 3 to 5 dc per point.
- Larger/chunkier snowflake: use fingering yarn and a larger hook; change Round 3 to 9 dc per point and ch-11 arches.
- Sparkle finishing: block, then lightly brush with glue and sprinkle fine glitter (for ornaments). Or crochet in metallic thread for holiday sparkle.
- Hanging loop: after blocking, attach a small loop of chain at one point: sl st into one picot, ch 15 (or desired length) and join to form hanger.
Uses
- Tree ornaments, garlands (string several together), gift tags, coasters (if stiffened), appliqués for hats and scarves, or sewn onto garments.
VIDEO: