Crochet bandanas are making a big comeback—not just as a nostalgic throwback to ‘70s boho fashion, but also as practical, stylish, and beginner-friendly projects for crochet lovers. Whether you’re heading to a festival, the beach, or just running errands with flair, a lovely crochet bandana can be the perfect handmade touch to your outfit.
In this article, we’ll explore everything you need to know about making a crochet bandana—from tools and stitches to a step-by-step pattern, customization ideas, and more.
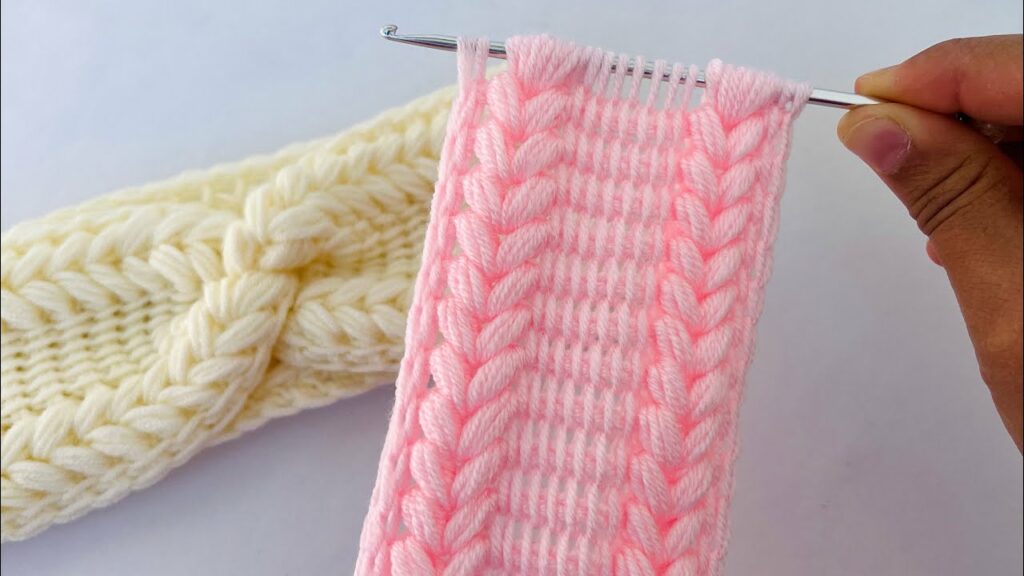
💖 Why Crochet a Bandana?
| Benefit | Why It’s Great |
|---|---|
| 🎨 Stylish | Adds personality to any outfit—boho, vintage, or modern chic |
| 🧶 Beginner-Friendly | Uses basic stitches and simple shaping |
| ☀️ Functional | Keeps hair out of the face and offers light sun protection |
| 🎁 Giftable | Quick to make and perfect for thoughtful, handmade presents |
🧰 Materials You’ll Need
| Item | Details |
|---|---|
| 🧶 Yarn | Cotton or cotton-blend (lightweight #3 or medium #4) |
| 🧵 Crochet Hook | 4.0 mm (G) or 4.5 mm (7) hook (depending on yarn weight) |
| ✂️ Scissors | To trim yarn |
| 🪡 Yarn needle | For weaving in ends |
| 📏 Tape measure | Optional, for sizing adjustments |
📝 Recommended Yarn: 100% cotton yarn works best for breathability and structure (e.g., Lily Sugar’n Cream, Paintbox Cotton DK, or Bernat Handicrafter).
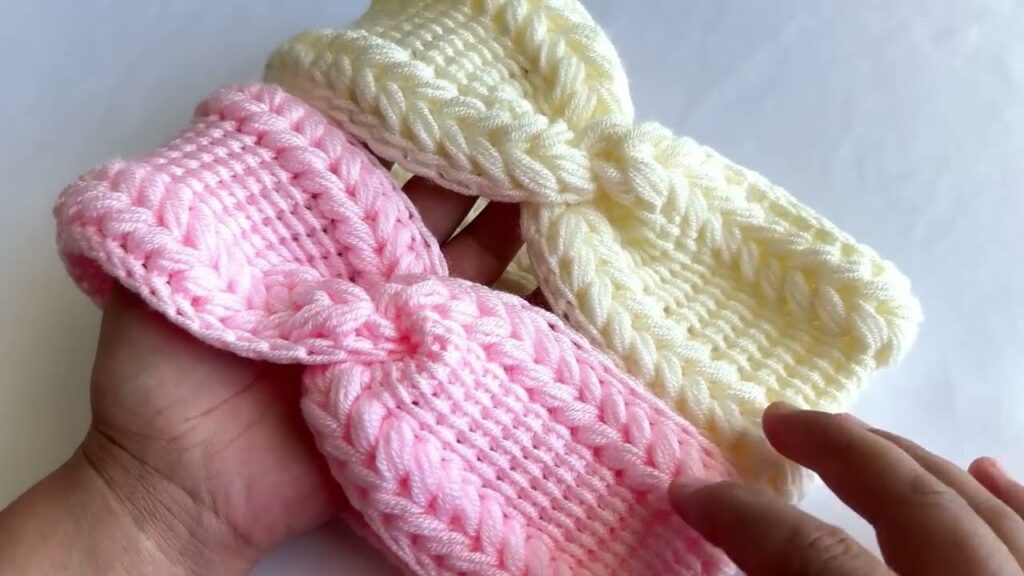
📐 Sizing Guide
Most crochet bandanas are made to form a triangle that fits comfortably from your forehead to the nape of your neck.
Standard Adult Size:
- Width (across forehead): ~18–20 inches
- Height (from center to tip): ~8–10 inches
You can adjust the size by changing the number of rows or using a different yarn weight/hook size.
🧵 Stitches & Abbreviations (U.S. Terms)
| Abbreviation | Stitch |
|---|---|
| ch | Chain |
| sc | Single Crochet |
| dc | Double Crochet |
| tr | Treble Crochet (optional for lacy versions) |
| sl st | Slip Stitch |
| st(s) | Stitch(es) |
🪡 Simple & Lovely Crochet Bandana Pattern
This version is a basic solid triangle bandana made using double crochet (dc). It’s easy, quick, and customizable.
🌟 Foundation
Ch 4, sl st into the first ch to form a ring.
🪴 Row 1: Start the Triangle
Ch 3 (counts as first dc), 2 dc into the ring.
(3 dc total in row)
Turn.
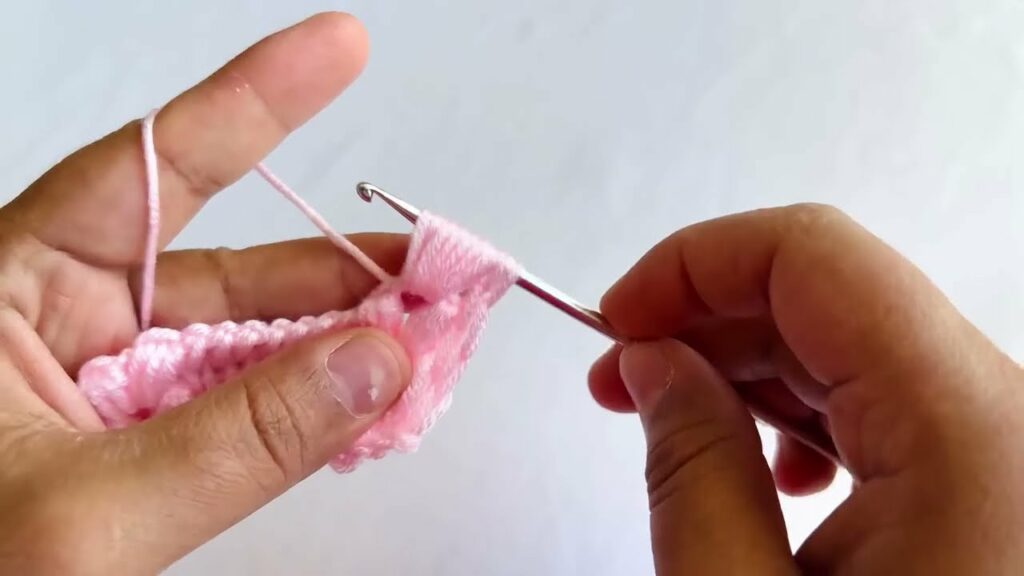
🌿 Row 2 and Onward: Build Triangle
Ch 3, dc in same st (increases at edges),
dc in each stitch across until the last stitch,
2 dc in last st.

Turn and repeat.
➡️ Continue adding rows using this increase method (2 dc in first and last stitch of each row) to form a triangle shape.
➡️ Stop when the base (top edge) measures around 18–20 inches, or your desired size.
🎀 Optional Border (for a Pretty Finish)
Ch 1, sc evenly around entire triangle.
You can also add picots, shells, or a lacy border for extra style.
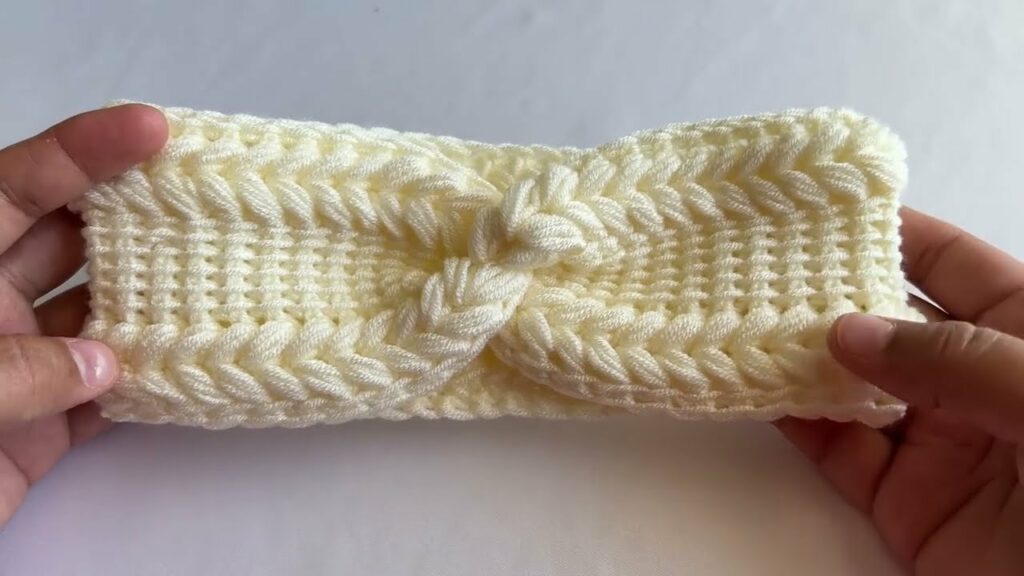
🧵 Ties (to Secure the Bandana)
Option 1: Chain ties directly into the corners
Attach yarn to one top corner of the triangle,
Ch 35–50 (depending on desired length),
Turn and sl st back to the triangle.

Repeat on the other top corner.
Option 2: Sew or crochet separate ties and attach
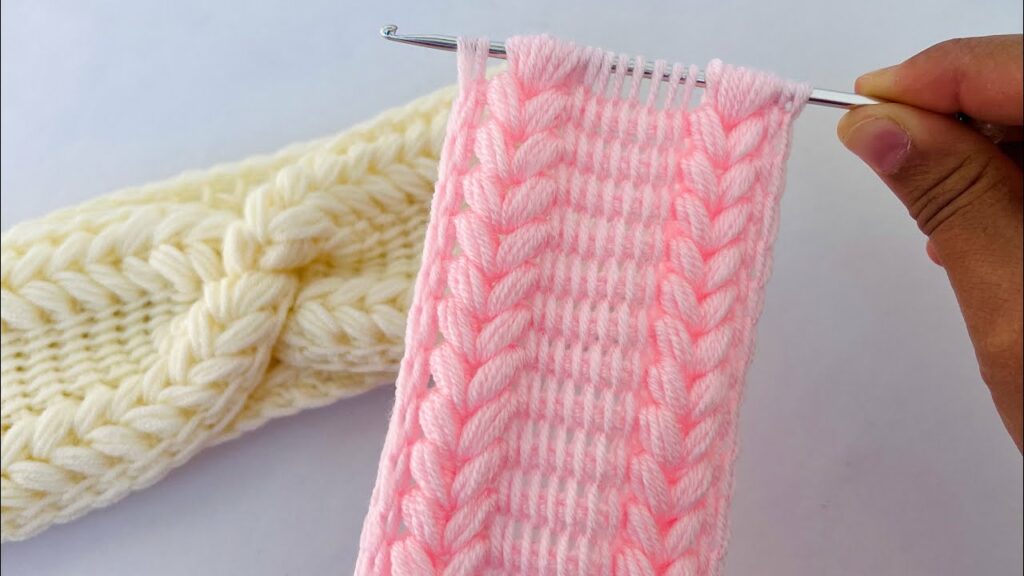
🌼 Style Variations
- Granny Square Bandana: Use traditional granny squares and stitch together in a triangle.
- Lacy Shell Bandana: Use a shell stitch pattern or V-stitch for an airy design.
- Boho Fringe Bandana: Add fringe or tassels along the bottom edge.
- Striped Bandana: Change colors every few rows for a vibrant look.
- Flower Appliqué: Sew on crocheted flowers or leaves for embellishment.
🎨 Color Ideas
- Earth tones for a vintage boho vibe
- Pastels for spring and summer
- Bold contrasts for a statement piece
- Ombre or variegated yarn for a natural gradient look
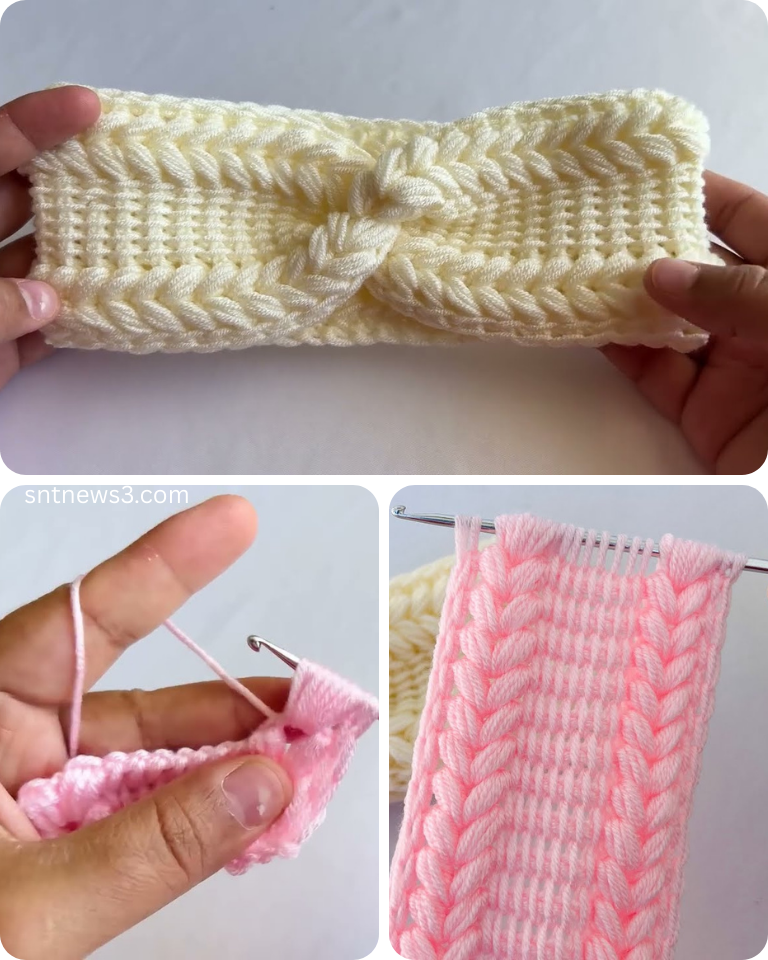
🧼 Care Instructions
- Cotton yarn: Machine washable, lay flat to dry.
- Acrylic yarn: Machine wash cold, tumble dry low.
- Block lightly to shape the bandana if needed.
💡 Tips for Success
- Use a stitch marker to track your first and last stitches for even increases.
- Block your finished bandana to give it a polished look.
- Don’t be afraid to customize the pattern—add beads, lace edges, or go lacy!
Video tutorial:
💬 Final Thoughts
A lovely crochet bandana is more than just a fun accessory—it’s a simple, satisfying project that shows off your creativity and adds flair to your wardrobe. With endless customization options and a fast turnaround time, it’s the perfect project for beginners, gift-givers, and fashion crafters alike.
So grab your favorite yarn, a comfy seat, and a cup of tea—and start hooking your way to a stylish, handmade masterpiece.
