by
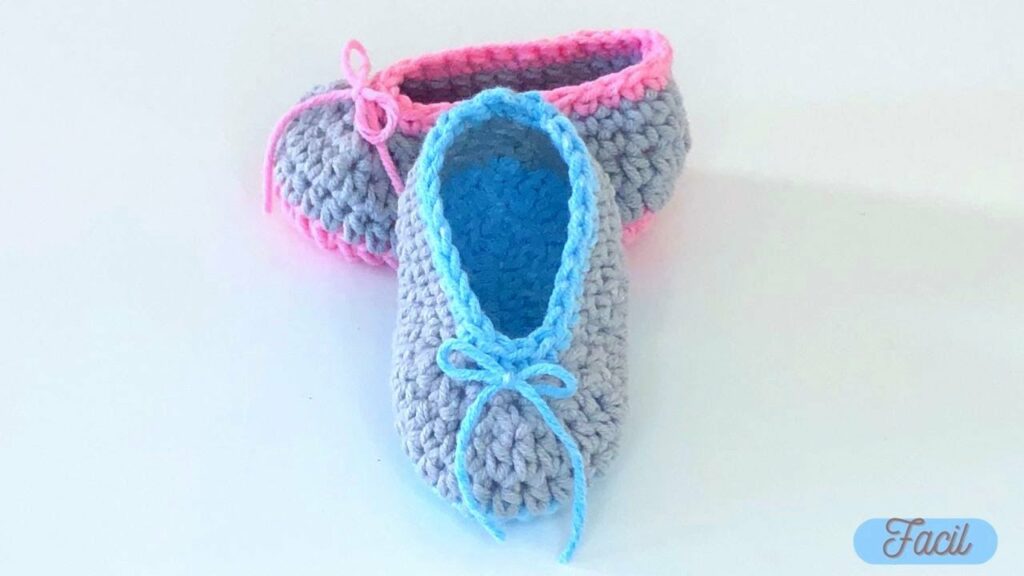
by Crochet slippers are the ultimate blend of comfort, cuteness, and creativity. Whether you’re a beginner or an experienced crocheter looking for a quick weekend project, this adorable crochet slipper tutorial will guide you step-by-step to make your own cozy, stylish pair. They’re perfect for gifts, relaxing at home, or even selling at craft markets.
🌟 Why You’ll Love This Project
- ✅ Beginner-friendly – Uses simple stitches and minimal shaping
- ⏱️ Quick to finish – Can be made in 1–2 hours
- 💝 Perfect for gifting – Easy to customize in color and size
- 🧼 Machine washable – Great for everyday wear
🧵 Materials Needed
Before you begin, gather the following materials:
| Item | Description |
|---|---|
| Yarn | Worsted weight (#4) or chunky yarn for extra warmth |
| Hook | 5.0 mm (H-8) or 6.0 mm (J-10) depending on yarn |
| Yarn needle | For weaving in ends |
| Scissors | To trim your yarn |
| Stitch marker (optional) | To mark rounds or stitches |
Recommended Yarn:
- Acrylic yarn for durability and easy care
- Cotton yarn for a lighter slipper
- Wool blends for extra coziness

🧶 Crochet Skills You’ll Use
- Chain (ch)
- Slip Stitch (sl st)
- Single Crochet (sc)
- Half Double Crochet (hdc)
- Double Crochet (dc) (optional)
If you’re brand new to crochet, this is a great way to practice basic stitches in a functional project.
📏 Sizing Guide
To adjust for different sizes:
- Measure the sole of the foot
- Add or subtract rows or stitches in the toe and sole
- Try it on as you go!
| Foot Length | US Size | Starting Chain |
|---|---|---|
| 8″ – 9″ | Women’s 6–8 | 20–22 chains |
| 9.5″ – 10″ | Women’s 9–10 | 24–26 chains |
| 10″+ | Men’s sizes | 28–30 chains |
🧶 Simple Pattern: Adorable Crochet Slipper
Let’s get into the easy pattern, worked from the toe to the heel.
🔹 Step 1: Start the Toe
Chain 20 (adjust for size)
Row 1: HDC in 2nd chain from hook and across. (19)
Row 2–4: Chain 1, turn. HDC in each stitch across.
This creates the toe flap. Fold it in half to shape the top of the slipper.
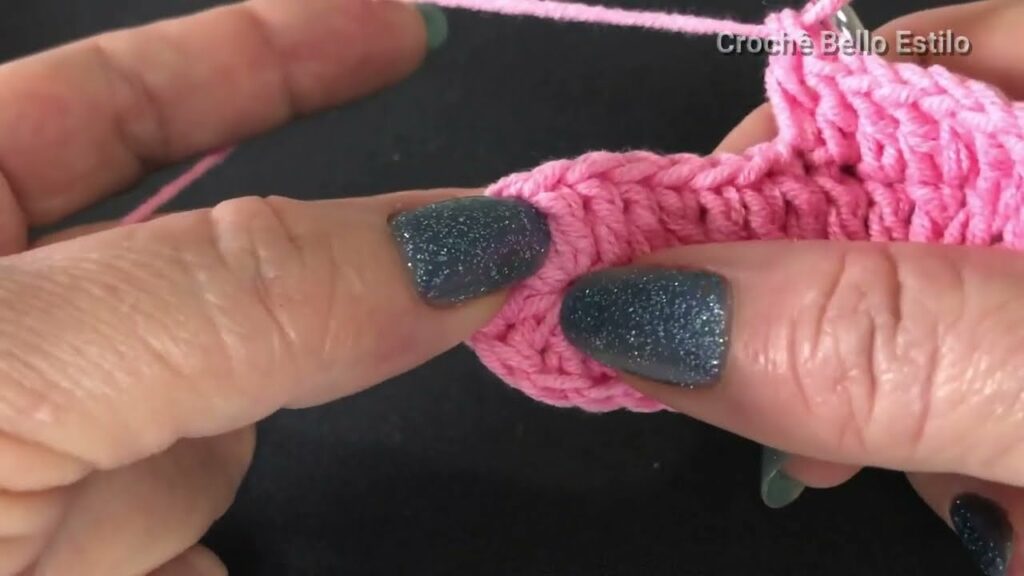
🔹 Step 2: Build the Foot
Row 5–10: Continue in rows or begin working in the round if desired.
Chain 1, HDC around the entire edge to form the sides.
Join with a slip stitch. Work 3–5 more rounds for length.
You now have a U-shaped slipper that should reach back toward the heel.
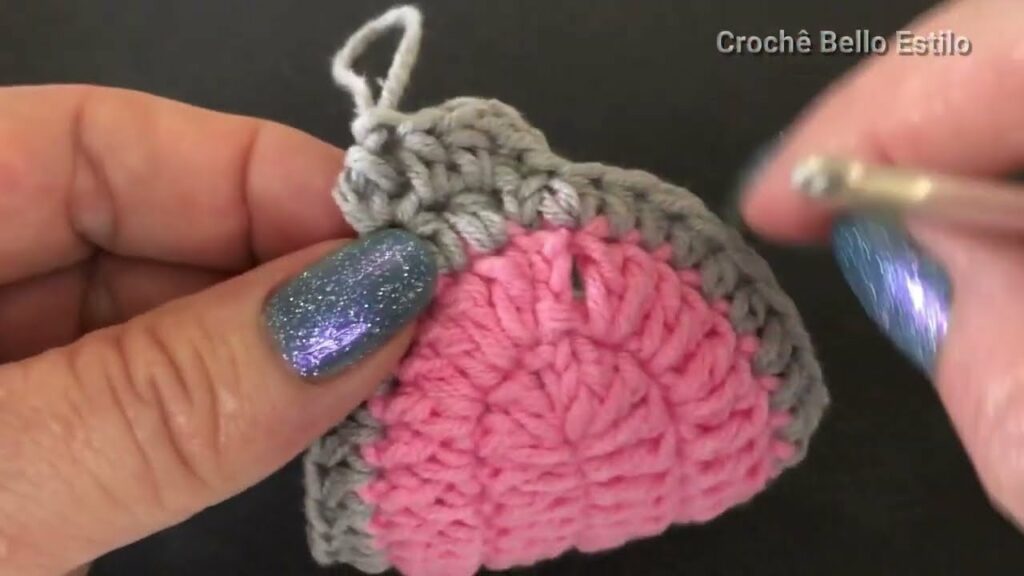
🔹 Step 3: Shape the Heel
Turn the slipper inside out.
Using sc or sl st, stitch together the back 1/3 of the slipper length.
Fasten off and weave in ends.
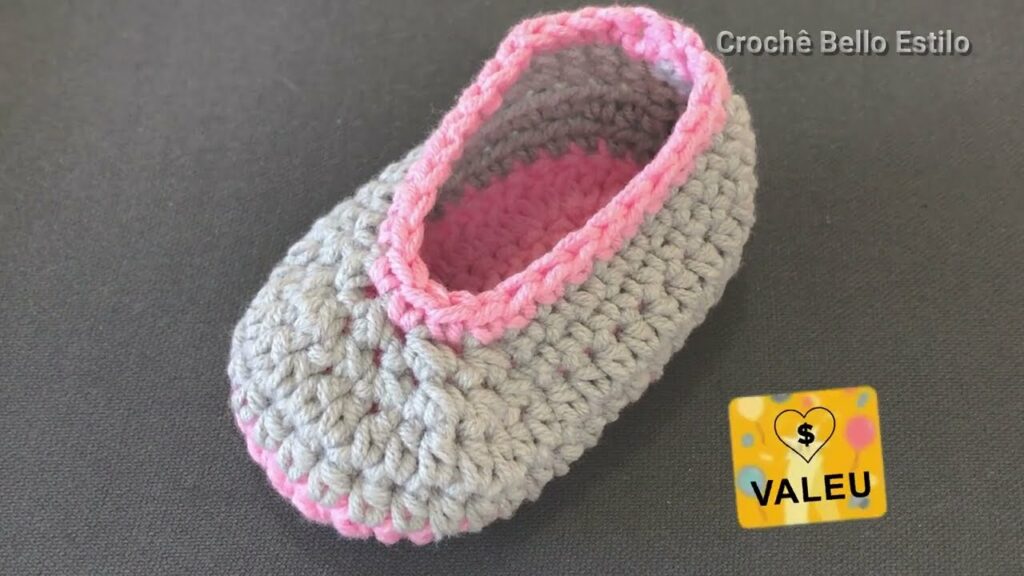
🔹 Step 4: Finishing Touches
- Optional cuff: Add 2–3 rounds of SC or HDC around the ankle opening
- Add embellishments: Try a crocheted bow, flower, or button
- Add grip: Use puff paint or a few dots of hot glue on the sole for non-slip safety
🧼 Care Instructions
- Machine wash cold or hand wash
- Lay flat to dry
- Avoid bleach or fabric softeners
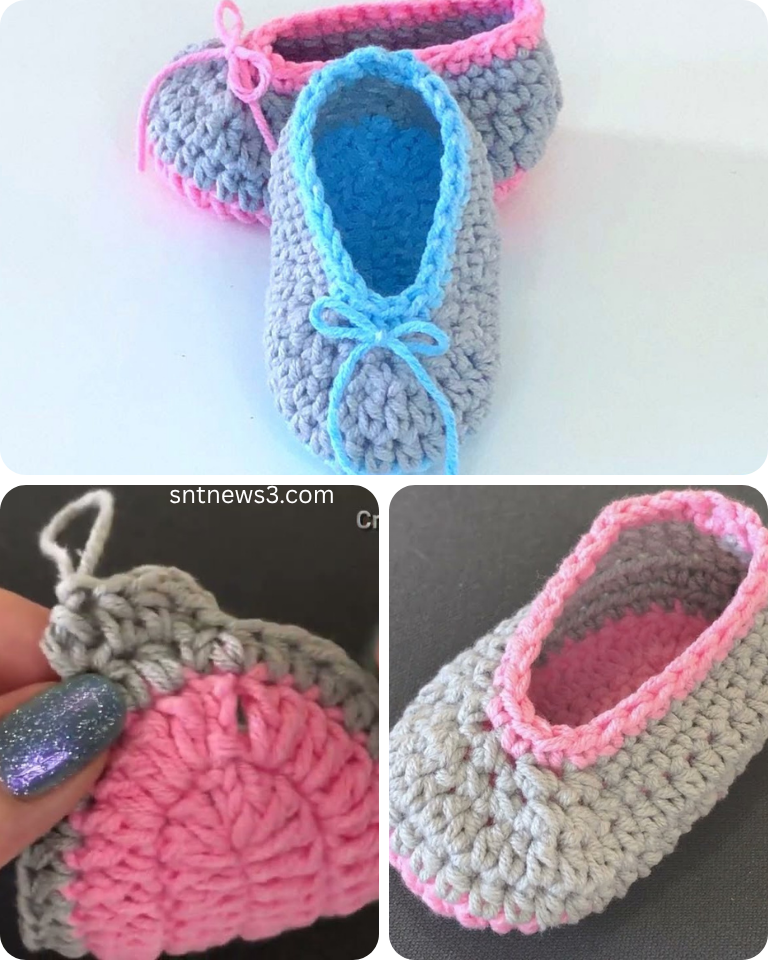
💡 Customization Ideas
- Use variegated yarn for color changes without switching skeins
- Add fluffy trim or fur yarn for a wintery look
- Sew in felt soles for structure and warmth
- Try color blocking with different shades for toe, foot, and heel
Video tutorial:
🧶 Final Thoughts
This adorable crochet slipper pattern is as practical as it is charming. It’s a fantastic project for all skill levels, offering warmth, style, and the satisfaction of creating something with your hands. Once you make your first pair, you’ll be tempted to make them for everyone you know!