by
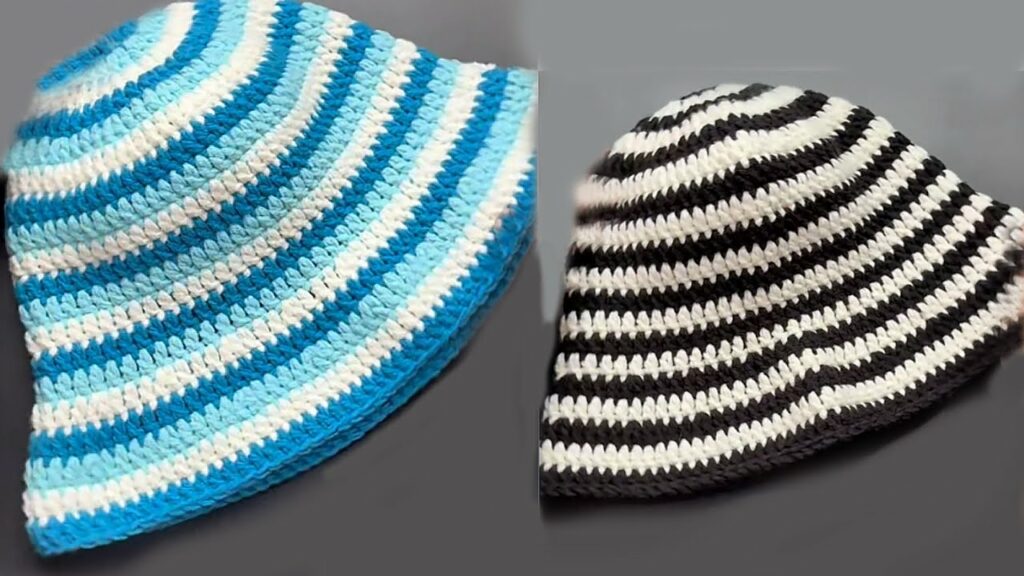
by Learning to crochet can feel intimidating with all the different stitches and patterns out there. But what if you could create something beautiful and functional with just one basic stitch? Enter the double crochet hat! This tutorial is designed specifically for beginners, focusing on creating a vibrant, comfortable hat using only double crochet stitches.
This project is fantastic because it’s not only simple but also allows for incredible creativity with color. You’ll learn the fundamental techniques to make a hat that fits, and you’ll have a cozy, handmade accessory to show off your new skills.
Why This Hat is Perfect for Beginners:
- Uses One Main Stitch: Master the double crochet (dc), and you can make this hat!
- Works in Rounds: You’ll learn to crochet in the round, a crucial skill for many projects.
- Customizable: Easily adjust the size for children or adults.
- Colorful Fun: Perfect for experimenting with different yarn colors and creating unique stripes or color blocks.
- Quick to Make: Double crochet works up quickly, so you’ll see progress fast.
Materials You’ll Need:
Before you begin, gather your supplies. Having everything ready will make the process smooth and enjoyable.
- Yarn:
- Worsted Weight (Category 4): Approximately 150-200 yards for an adult hat. Choose 2-4 different colors for a colorful striped effect. Acrylic yarn is highly recommended for beginners as it’s affordable, easy to work with, and widely available.
- Crochet Hook:
- Size I/9 (5.5 mm) or J/10 (6.0 mm). The right hook size will depend on your tension and the yarn you choose. A slightly larger hook can make it easier for beginners to work into stitches.
- Yarn Needle (or Tapestry Needle): For weaving in ends.
- Scissors: For cutting yarn.
- Stitch Marker (optional but highly recommended): To mark the beginning of each round.
- Measuring Tape: To check your hat’s circumference and length.

Essential Crochet Abbreviations:
- ch: chain
- dc: double crochet
- sl st: slip stitch
- st(s): stitch(es)
- sp: space
- ch-sp: chain space
- ( ): indicates the number of stitches at the end of the round
Understanding Double Crochet (dc):
The double crochet is a taller stitch than single crochet and is fundamental to many crochet projects.
How to make a Double Crochet (dc):
- Yarn over (yo) hook.
- Insert hook into the indicated stitch.
- Yo, pull up a loop (3 loops on hook).
- Yo, pull through the first 2 loops on hook (2 loops on hook).
- Yo, pull through the remaining 2 loops on hook. You’ve made one double crochet!
Important Notes for This Pattern:
- Turning Chains: The starting chain for each round (ch 2 or ch 3) typically counts as the first double crochet stitch for this pattern. We will use
ch 2as the turning chain throughout this tutorial, as it often creates a neater seam for beginner hats. - Working in Rounds: This hat is worked in continuous rounds, expanding from the top down.
- Color Changes: We will change colors at the end of a round.
- Gauge: While not strictly critical for a hat (a little loose or tight is okay!), aiming for a fabric that isn’t too holey but also not too stiff is ideal. If your hat seems too small/tight, try a larger hook. If it’s too loose/holey, try a smaller hook.
Easy Double Crochet Hat Tutorial: Step-by-Step
Let’s begin crocheting our colorful hat! We’ll start at the crown and work our way down.
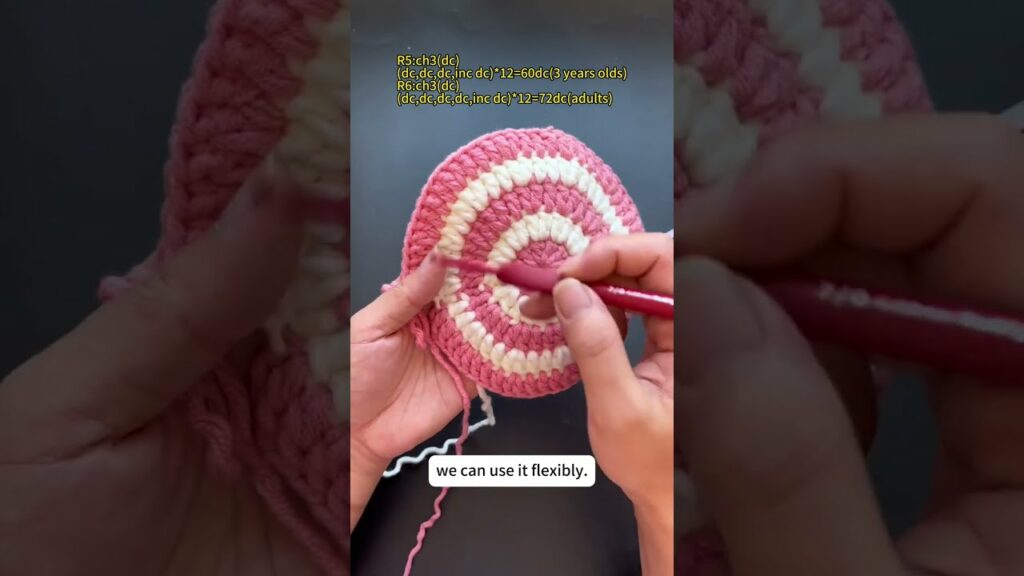
Starting the Crown (Color A)
- Magic Ring (or Ch 4, sl st to first ch to form a ring): This is the best way to start a hat as it creates a tight hole-free center.
- Round 1: Ch 2 (counts as first dc). Dc 10 into the magic ring. Sl st to the top of the beginning ch 2 to join the round.
- (11 dc)
- Pull the tail of your magic ring tight to close the hole.
- Round 2: Ch 2 (counts as first dc). Dc in the same stitch as ch 2. Dc 2 (inc) in each stitch around. Sl st to the top of the beginning ch 2.
- (22 dc)
- Round 3: Ch 2 (counts as first dc). Dc in the same stitch. Dc in the next st, dc 2 (inc) in the next st around. Sl st to the top of the beginning ch 2.
- (33 dc)
- Round 4: Ch 2 (counts as first dc). Dc in the same stitch. Dc in the next 2 sts, dc 2 (inc) in the next st around. Sl st to the top of the beginning ch 2.
- (44 dc)
- Round 5: Ch 2 (counts as first dc). Dc in the same stitch. Dc in the next 3 sts, dc 2 (inc) in the next st around. Sl st to the top of the beginning ch 2.
- (55 dc)
- Measure your crown now! Lay it flat. For an average adult hat, you want the diameter of the crown to be roughly 7-8 inches (18-20 cm). If it’s too small, add another increase round. If it’s too large, you might need to frog (unravel) and use a smaller hook or adjust the last increase round.
- For example, if you need a bigger hat (e.g., 66 dc):
- Round 6 (optional): Ch 2. Dc in the same st. Dc in the next 4 sts, dc 2 (inc) in the next st around. Sl st to the top of the beginning ch 2. (66 dc)
- Changing Color (at the end of your last increase round, just before the final sl st):
- When you make your final slip stitch to join the round, drop Color A. Pick up Color B, yarn over with Color B, and pull through to complete the slip stitch. Then, you can cut Color A, leaving a tail to weave in later.
Body of the Hat (Stripes!)
Now we’ll continue with straight rounds of double crochet, which will form the sides of your hat. This is where the color changes really make it pop!
- Round 6 (or 7, with Color B): Ch 2 (counts as first dc). Dc in each stitch around. Sl st to the top of the beginning ch 2.
- (Same number of stitches as your last increase round, e.g., 55 dc or 66 dc)
- This round will likely be your first full round in the new color.
- Repeat Round 6 (or 7): Continue making rounds of dc in each stitch.
- Color Change Schedule Suggestion (adjust as desired):
- Color B: 2-3 rounds
- Color C: 2-3 rounds
- Color D: 2-3 rounds
- Color A: 2-3 rounds (return to your original color!)
- Continue this pattern, or create your own color sequence, until your hat reaches the desired length.
- How to change color mid-project (at the end of a round):
- When you get to the very last dc of the round, work the stitch until you have two loops left on your hook.
- Drop the current color.
- Pick up the new color, yarn over with the new color, and pull through the two loops on your hook to complete the stitch.
- Now you’re ready to make your slip stitch to join the round using the new color.
- Cut the old color, leaving a 4-6 inch tail to weave in later.
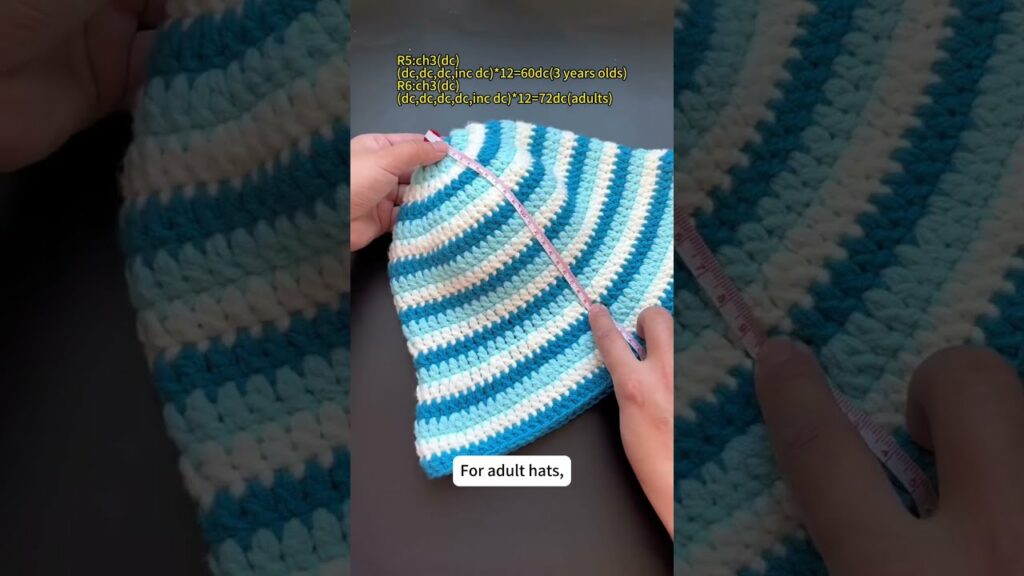
- Length Check:
- For an adult hat, you’ll typically need around 10-14 rounds after your crown increases (total rounds 15-19 including crown).
- Measure from the crown (top center) to the bottom edge.
- Average Adult Hat Length: 8-9 inches (20-23 cm).
- Child Hat Length: 7-8 inches (18-20 cm).
- Toddler Hat Length: 6-7 inches (15-18 cm).
- Beanie Fit: Stop when it comfortably reaches just below the earlobe.
- Slouchy Fit: Add a few more rounds for extra length.
- Color Change Schedule Suggestion (adjust as desired):
Finishing the Brim (Optional, but Recommended for a Polished Look):
You can continue the last color you were using, or introduce a new one for the brim.
- Round 1 (Brim): Ch 1 (does NOT count as a st). Sc in each stitch around. Sl st to the first sc to join.
- (Same number of stitches as your last round)
- Round 2 (Brim): Ch 1. Sc in each stitch around. Sl st to the first sc to join.
- (Same number of stitches as your last round)
- Adding 1-2 rounds of single crochet creates a slightly tighter, neater edge that helps the hat stay on.
- Fasten Off: Ch 1, cut your yarn, leaving a 6-inch tail. Pull the tail through the loop on your hook to secure.
Finishing Touches: Weaving in Ends
This is perhaps the least fun part, but it’s essential for a professional-looking hat that won’t unravel!
- Thread your yarn needle with each yarn tail.
- Carefully weave the tails into the stitches on the wrong side (inside) of your hat.
- Try to weave them through stitches of the same color for better concealment. Go in one direction for a few stitches, then reverse direction for a few stitches.
- Trim any excess yarn close to the fabric.
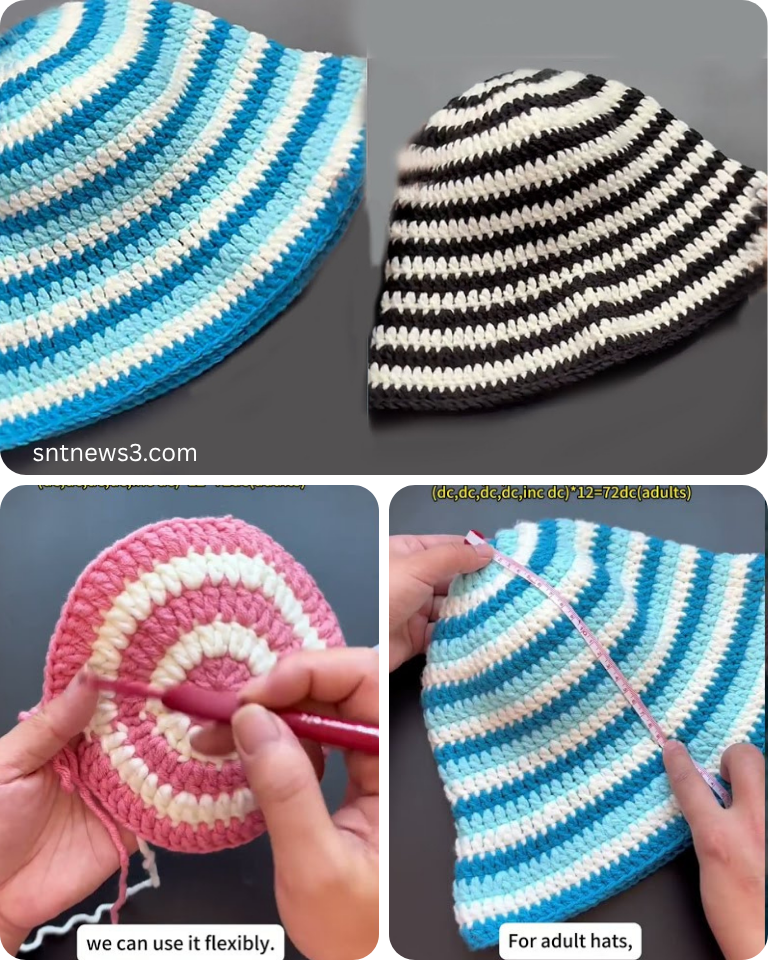
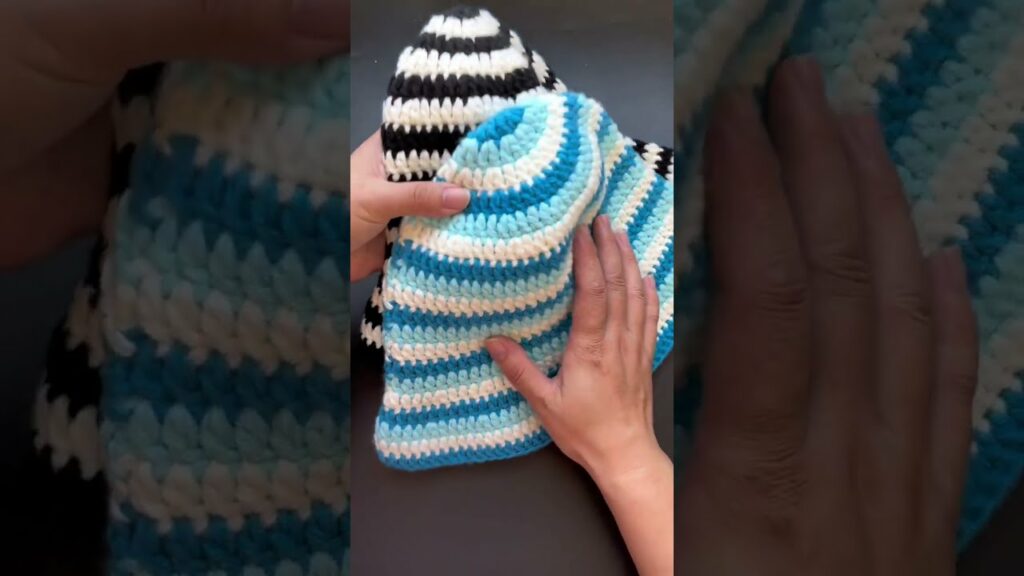
Your Colorful Double Crochet Hat is Complete!
Try it on, admire your handiwork, and enjoy the warmth and satisfaction of wearing something you made yourself.
Tips for Success & Customization:
- Yarn Weight: This pattern uses worsted weight. If you use a chunkier yarn (e.g., bulky or super bulky), you’ll need a larger hook and fewer rounds overall. If you use a thinner yarn (e.g., DK or sport), you’ll need a smaller hook and more rounds/stitches.
- Hat Sizing: The initial increase rounds determine the diameter of your hat. If you need a smaller hat (e.g., for a child), stop increasing earlier. For a larger hat, continue the increase pattern (e.g., dc in next 5 sts, inc in next st, etc.) until your crown diameter is correct.
- Fit: Try the hat on as you go, especially when you’re transitioning from the crown to the body, and again when checking the length.
- Stitch Markers are Your Friend: For beginners, a stitch marker helps you easily identify the first stitch of each round, preventing you from accidentally adding or losing stitches.
- Practice Your Tension: Aim for an even tension throughout your work. Too tight, and your hat will be stiff; too loose, and it will be floppy and gappy.
- Pom-Pom Power: Add a fun pom-pom to the top for extra flair! You can make one from yarn, or buy a faux fur one.
- Experiment with Color: Don’t limit yourself to stripes! Try solid colors, color blocking, or even variegated yarn for a unique look.
This easy double crochet hat is a fantastic first project that will build your confidence and your crochet skills. Get creative with your colors, and enjoy making a cozy, handmade accessory! Happy crocheting!
Video tutorial: