 by
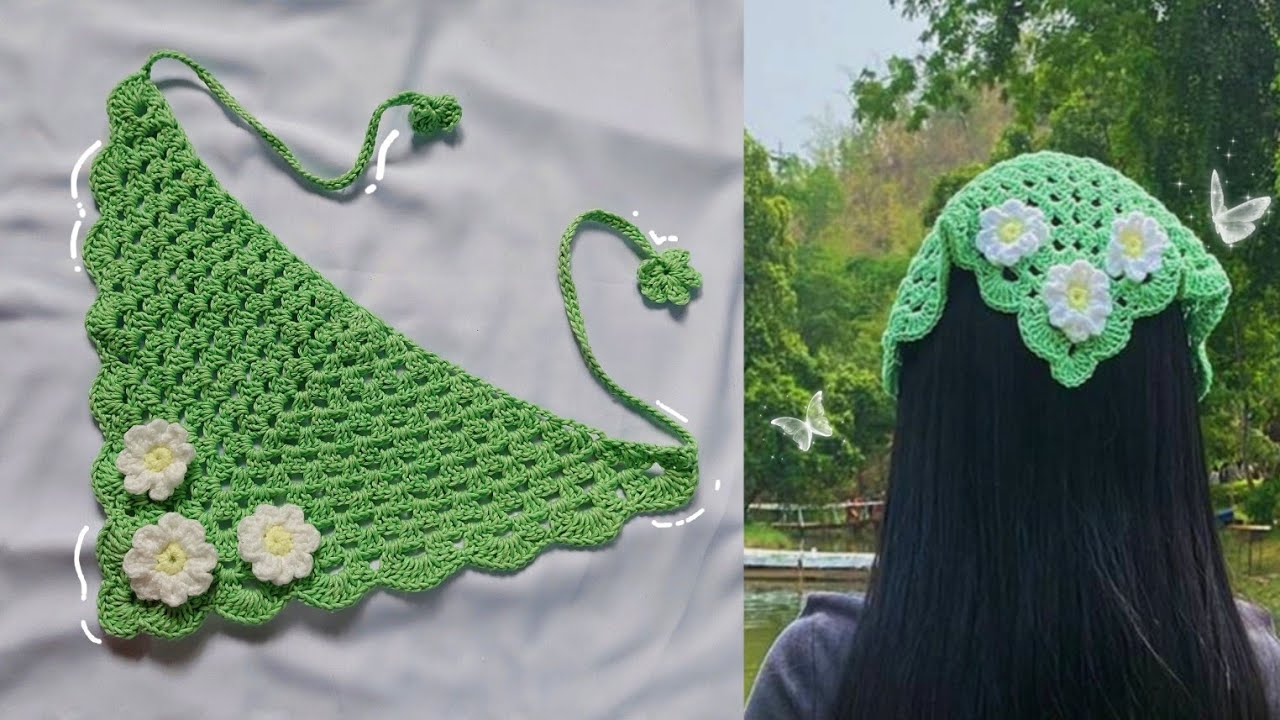
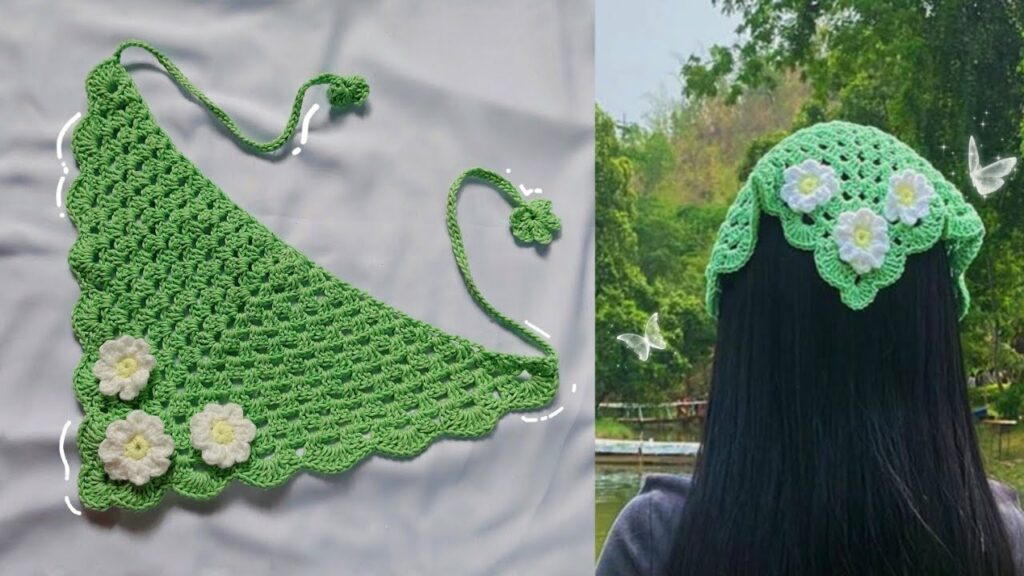
by Channeling vintage charm with a fresh, floral twist, the Crochet Daisy Bandana is a delightful accessory that’s both stylish and practical. Perfect for keeping your hair back on a breezy day, adding a touch of bohemian flair to your outfit, or simply showcasing your love for handmade crafts, this bandana is a surprisingly easy and rewarding project.
This detailed tutorial will guide you through creating a charming bandana featuring an eye-catching daisy motif. We’ll cover everything from yarn choice to shaping the bandana and adding those iconic petals, making it accessible for crocheters with basic skills. Get ready to add a burst of sunshine to your wardrobe!
Why Crochet a Daisy Bandana?
- Fashionable & Trendy: Bandanas are a classic accessory that’s enjoying a resurgence in popularity, offering a cute and whimsical touch to any look.
- Skill Enhancer: You’ll practice foundational techniques like working in rows, increasing stitches, creating a clean edge, and perhaps even some simple color changes for the daisy.
- Quick to Make: A bandana is a relatively small project, meaning you can whip one up in a few hours – perfect for instant gratification or last-minute gifts.
- Stash Buster: It uses minimal yarn, making it ideal for using up those leftover skeins from larger projects.
- Personalized Touch: Choose your favorite colors to match your style or create a unique gift.
- Practical: Great for keeping hair out of your face, adding a pop of color, or protecting your head from the sun.
Key Considerations Before You Start:
- Yarn Choice:
- Fiber: Opt for something soft, breathable, and with good stitch definition. Cotton or cotton blends are excellent choices for bandanas as they are absorbent, durable, and comfortable against the skin. Acrylic can also work well for softness.
- Weight: DK (Light Worsted/Category 3) or Worsted (Category 4) yarn weights are ideal. DK will create a lighter, more delicate bandana, while worsted will be a bit more substantial.
- Colors:
- Main Bandana Color: This will be the predominant color of your bandana.
- Daisy Center Color: Usually yellow or orange.
- Daisy Petal Color: Classic white, cream, or even a contrasting bright color.
- Quantity: You’ll need approximately 50-70 yards of the main color and very small amounts (10-20 yards each) of the daisy colors.
- Hook Size:
- Match your hook to your yarn weight, aiming for a hook size that creates a fabric with good drape that isn’t too stiff.
- For DK yarn: E/4 (3.5 mm) to G/6 (4.0 mm).
- For Worsted yarn: H/8 (5.0 mm).
- Gauge (Optional but Recommended):
- While not as critical as for garments, a consistent gauge will ensure your bandana is the expected size. Work a small swatch of your chosen main stitch (e.g., hdc) to check.
Materials You’ll Need:
- Yarn:
- Main Bandana Color (e.g., light blue): ~60 yards DK or Worsted Weight.
- Daisy Center Color (e.g., yellow): ~10 yards DK or Worsted Weight.
- Daisy Petal Color (e.g., white): ~15 yards DK or Worsted Weight.
- Crochet Hook: Size G/6 (4.0 mm) for DK yarn, or H/8 (5.0 mm) for Worsted yarn (adjust if needed for your tension).
- Yarn Needle (Tapestry Needle): For weaving in ends and sewing on the daisy.
- Scissors: For cutting yarn.
- Stitch Markers (optional): Helpful for marking row ends if you lose your place.
Essential Crochet Abbreviations:
- ch: chain
- sl st: slip stitch
- sc: single crochet
- hdc: half double crochet
- dc: double crochet
- tr: treble crochet (can be used for taller petals)
- inc: increase (e.g., 2 sc in one st)
- st(s): stitch(es)
- sp: space
- ***…***: repeat instructions within asterisks
- [ ]: indicates stitch counts
Crochet Daisy Bandana Tutorial: Step-by-Step
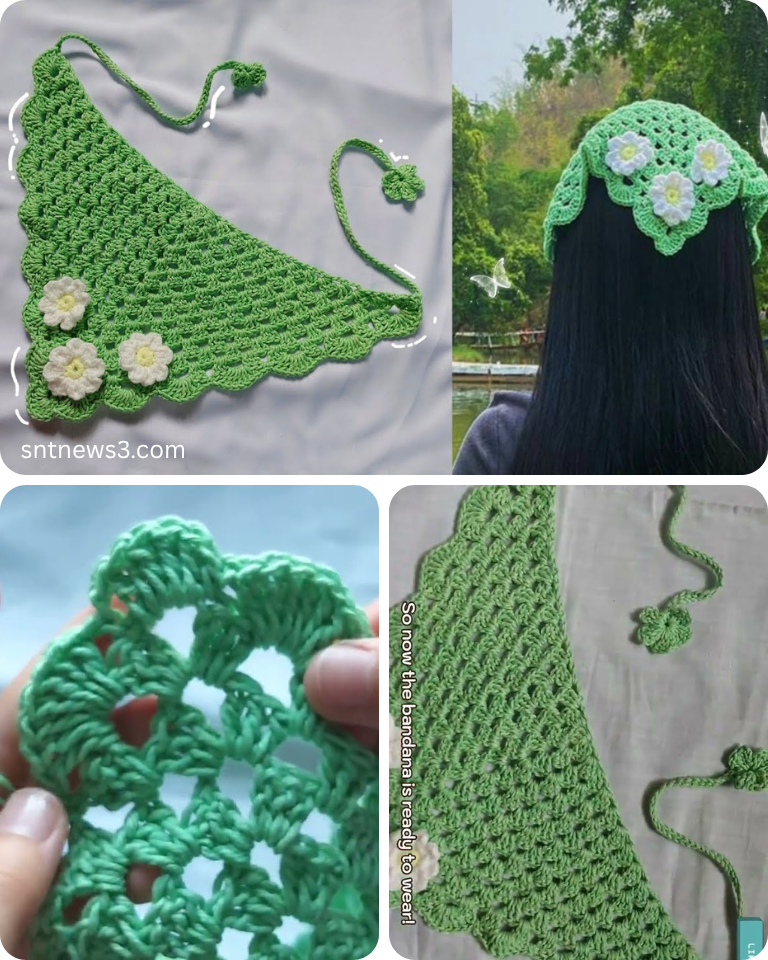
We’ll start by shaping the main triangle of the bandana, then create and attach the daisy motif. This pattern uses half double crochet (hdc) for a good balance of speed and a soft, dense fabric.
Part 1: The Bandana Triangle (Main Color)
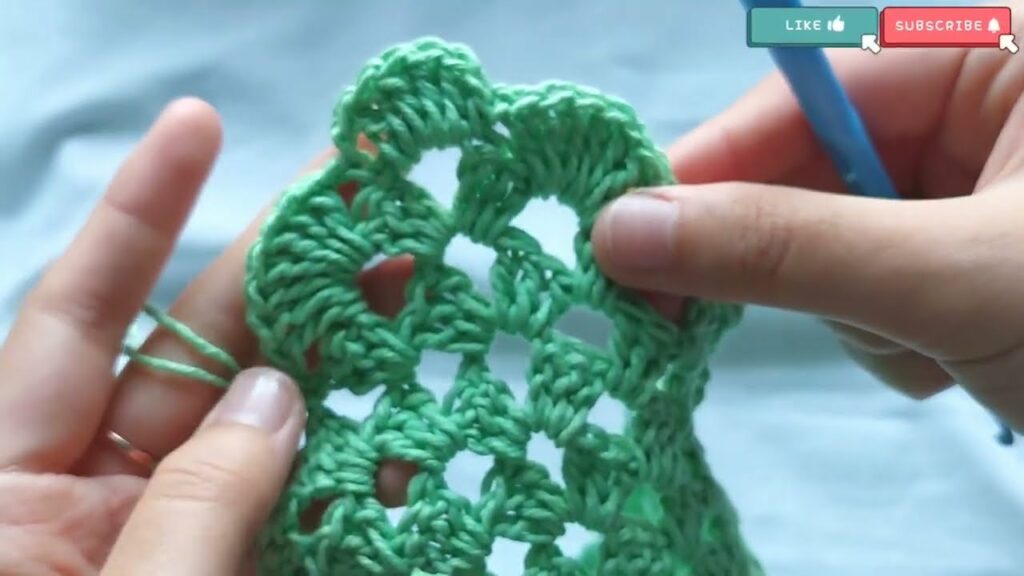
This section is worked in rows, increasing stitches at the end of each row to form a triangle.
- Starting Chain: Ch 3.
- Row 1: Hdc in the 3rd ch from hook (counts as first hdc). Hdc in the same ch.
- [2 hdc]
- Ch 2 (counts as first hdc for next row), turn.
- Row 2: Hdc in the same stitch as ch 2. Hdc in each st across. Hdc inc in the last stitch.
- [4 hdc]
- Ch 2, turn.
- Row 3: Hdc in the same stitch as ch 2. Hdc in each st across. Hdc inc in the last stitch.
- [6 hdc]
- Ch 2, turn.
- Continue Increasing: Repeat Row 3 until your bandana reaches your desired width. For an adult bandana, aim for approximately 18-20 inches (45-50 cm) across the widest (top) edge. This usually means around 30-35 rows, ending with approximately 60-70 hdc stitches.
- To measure the width, lay the bandana flat, measuring the top edge where the “Ch 2, turn” is.
- The increase method is: 2 hdc in the first stitch, 1 hdc in each middle stitch, 2 hdc in the last stitch.
- Fasten off your Main Color, leaving a tail to weave in later.
Part 2: The Daisy Motif (Center Color & Petal Color)
We’ll make a classic layered daisy.
A. Daisy Center (Yellow Yarn):
- Magic Ring (MR): Create a magic ring.
- Round 1: Ch 1 (does NOT count as a st). Sc 8 into the MR. Pull tail to close ring tightly. Sl st to first sc to join.
- [8 sc]
- Fasten off yellow yarn, leaving a tail for weaving.
B. Daisy Petals (White Yarn):
- Attach Yarn: Join white yarn with a sl st into any sc stitch around the yellow center.
- Petal 1: Ch 2 (counts as first hdc). (Dc, hdc) into the same sc stitch. Sl st into the next sc stitch (this forms the first petal and anchors it).
- [1 petal created]
- Repeat Petals:Ch 2, (dc, hdc) into the same sc stitch. Sl st into the next sc stitch. Repeat from * to * 6 more times around the center, creating 8 petals in total.
- [8 petals]
- Fasten off white yarn, leaving a long tail for sewing the daisy onto the bandana (approx. 10-12 inches).
Part 3: Attaching the Daisy & Finishing the Bandana
- Weave in Ends (Daisy): Using your yarn needle, weave in the starting and ending tails of your daisy center and petal colors, leaving only the long tail from the petals for sewing.
- Position the Daisy: Place the daisy motif onto the bandana triangle. The classic placement is centered, a few rows up from the bottom point of the triangle (the narrowest end).
- Sew on Daisy: Using the long white tail and your yarn needle, sew the daisy securely onto the bandana. Use small, neat stitches that blend in with the petal color. Go around the entire perimeter of the yellow center, then make a few stitches through the base of each petal for extra security.
- Weave in Remaining Ends: Weave in the starting and ending tails of your bandana triangle, ensuring they are well hidden.
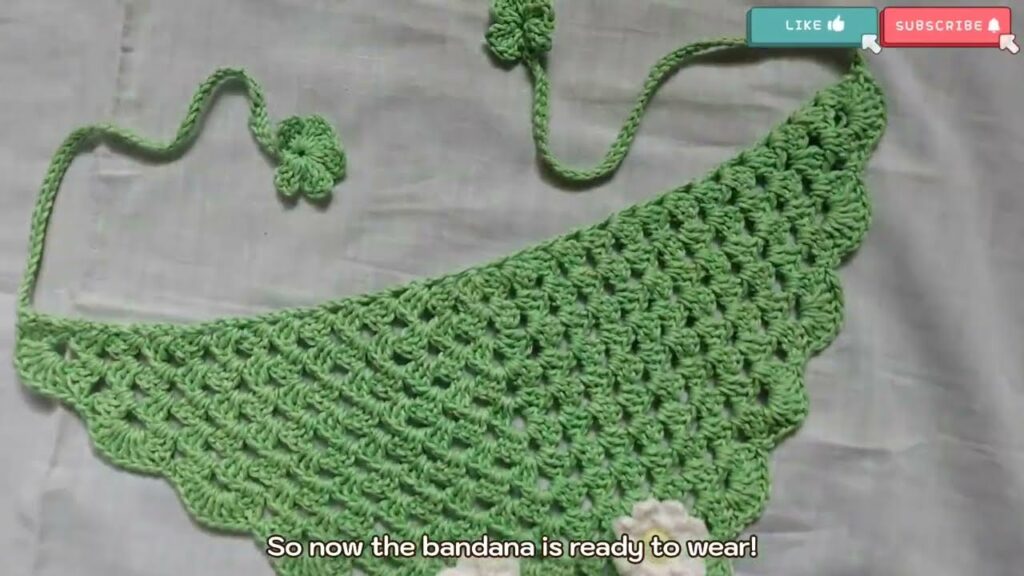
Part 4: Adding Ties (Optional but Recommended)
Ties make the bandana easy to wear and secure.
- Attach Yarn: Join your Main Bandana Color with a sl st to the very top corner of the bandana (where you fastened off the last row).
- Chain Tie: Ch 40-60 (or desired length for your tie).
- Row 1 (Tie): Sc in the 2nd ch from hook and in each ch across.
- Fasten off.
- Repeat: Attach yarn to the other top corner of the bandana and repeat steps 2-3 to create the second tie.
- Weave in all tie ends.
Congratulations! Your Beautiful Crochet Daisy Bandana is Complete!
Tips for Success & Customization:
- Blocking (Highly Recommended): Gently wet your finished bandana, shape it to your desired triangle, and pin it flat on a foam mat or cork board. Let it air dry completely. Blocking will relax the stitches, even out the shape, and make the bandana lay beautifully.
- Embellishments:
- Leaves: Crochet a couple of small green leaves and sew them under the daisy petals for a more natural look.
- Other Flowers: Instead of a single large daisy, you could crochet several smaller flowers and scatter them across the bandana.
- Pom-Poms/Tassels: Add small pom-poms or tassels to the ends of the ties for extra flair.
- Different Stitches: While hdc is great, you can also use dc for a lacier look or sc for a denser fabric. Just remember to adjust your row count to achieve the desired size.
- Sizing Adjustments:
- Wider Bandana: Simply continue adding more increase rows in Part 1 until it reaches the desired width.
- Smaller Bandana: Stop increasing earlier in Part 1.
- Longer/Shorter Ties: Adjust the initial chain length for the ties.
- Care: Always refer to your yarn label for specific washing instructions. Most cotton and acrylic yarns are machine washable and dryable, which is convenient.
With your beautiful handmade crochet daisy bandana, you’re ready to bloom in style, no matter the occasion! Happy crocheting!