 by
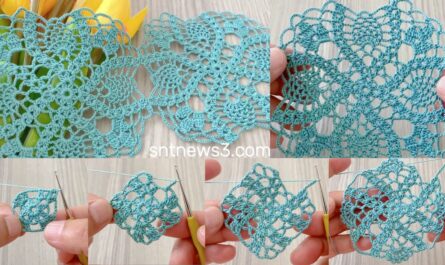
by Crocheting flowers is one of the most enjoyable ways to add charm and elegance to your projects, and among the most beloved floral motifs is the classic rose. With its spiral petals and rich texture, a crochet rose looks intricate—but it’s surprisingly simple to make, even for beginners. In this tutorial, you’ll learn how to crochet a rose with leaves quickly and easily, using basic stitches and simple techniques.

🧶 Materials You’ll Need
To get started, gather these materials:
- Yarn: Worsted weight yarn (medium #4) in two colors:
- Red, pink, or your preferred flower color
- Green for leaves
- Crochet Hook: Size H/5.0mm or suitable for your yarn
- Scissors
- Tapestry Needle: For weaving in ends
💡 Tip: Cotton yarn holds shape well for flowers, but acrylic also works great.
📚 Stitches and Techniques Used
If you’re new to crochet, here are the basic stitches you’ll use in this pattern:
- Chain (ch)
- Single Crochet (sc)
- Half Double Crochet (hdc)
- Double Crochet (dc)
- Slip Stitch (sl st)
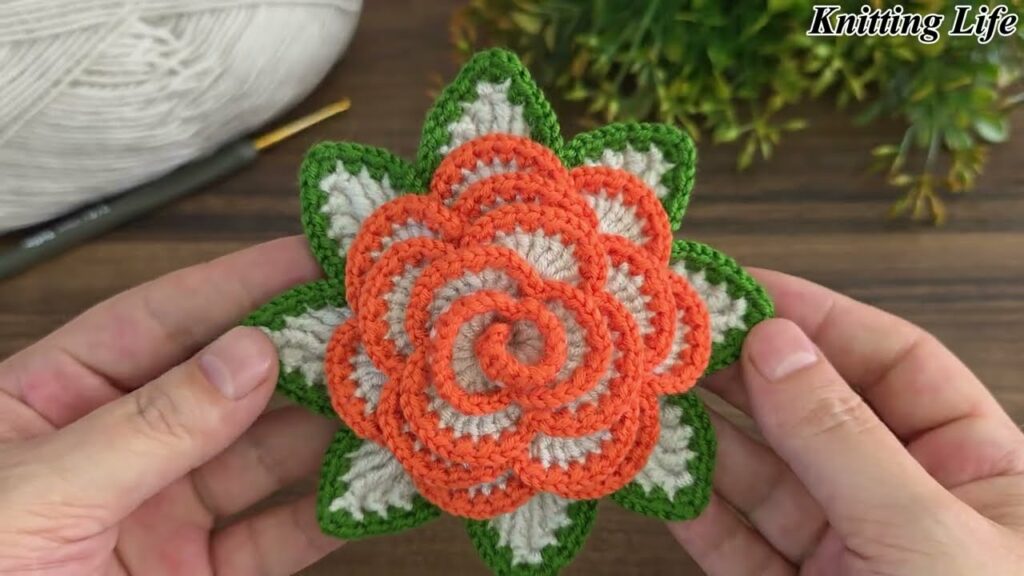
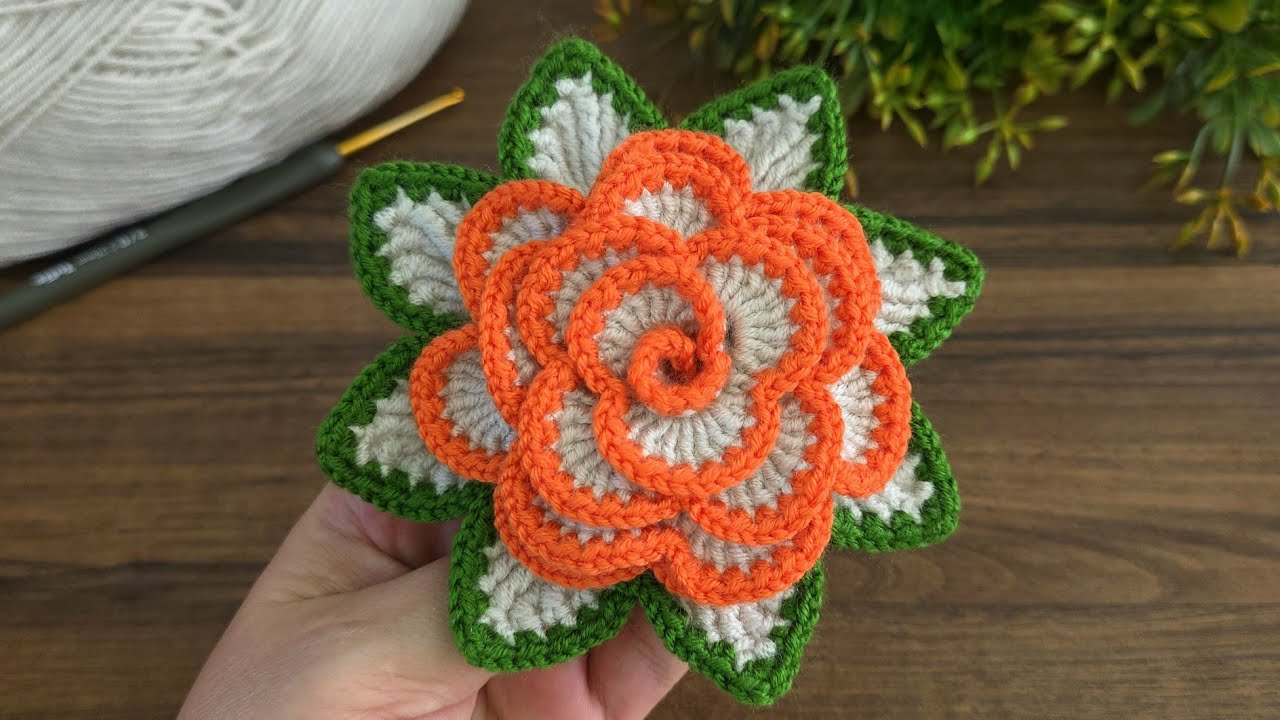
🌹 Part 1: Crochet the Rose
This rose is created by making a long strip with petal shapes, then rolling it up to form the rose.
🔸 Step 1: Make the Foundation Strip
- Chain 51 (you can adjust in multiples of 3 for a smaller/larger rose).
- Row 1: In the 2nd ch from the hook, sc in each chain across. (50 sc)
- Turn your work.
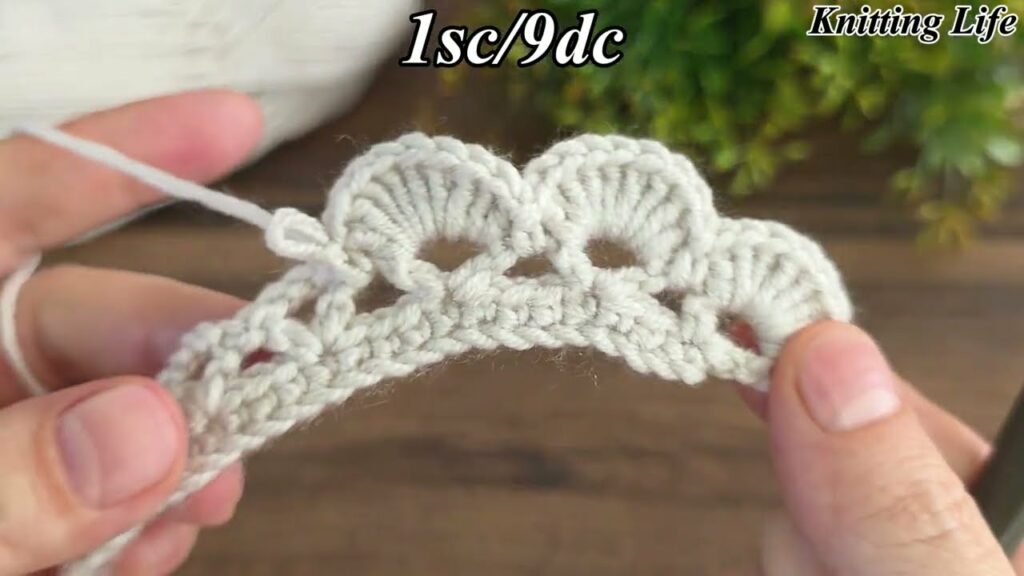
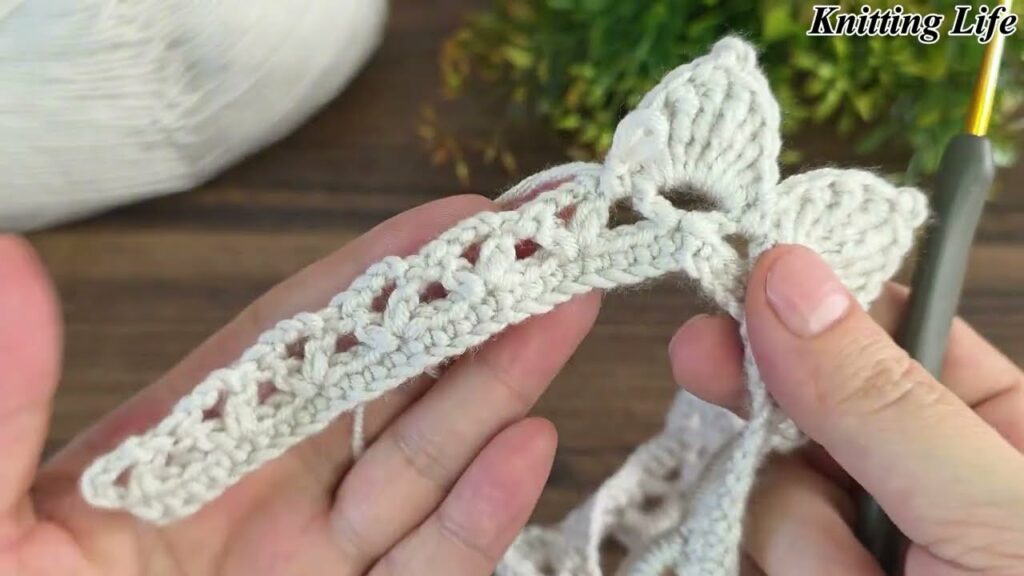
🔸 Step 2: Form the Petals
- Row 2:
- In the first stitch, make: (ch 1, dc, ch 1, sl st).
- Skip 2 stitches.
- In the next stitch, repeat: (ch 1, dc, ch 1, sl st).
- Continue this pattern across the row.
🌸 You should end up with about 16–17 small petal shapes.
🔸 Step 3: Roll Into a Rose
- Start rolling your strip from one end (tighter in the center, looser on the outside).
- Use the tail of your yarn and a tapestry needle to sew through the base of the petals, securing the spiral in place.
- Weave in any remaining ends.
✅ You now have a beautiful spiral crochet rose!
🍃 Part 2: Add Crochet Leaves
Now let’s add one or two simple leaves to complete your rose.
🔸 Crochet Leaf Pattern
- With green yarn, ch 10.
- Work the following into the 2nd ch from the hook:
- sc, hdc, dc, dc, hdc, sc, sl st (work one stitch per chain)
- Ch 1, turn the chain to work along the other side:
- sl st, sc, hdc, dc, dc, hdc, sc
- Fasten off, leaving a tail for sewing.
🍃 Each leaf takes just a minute or two to make!
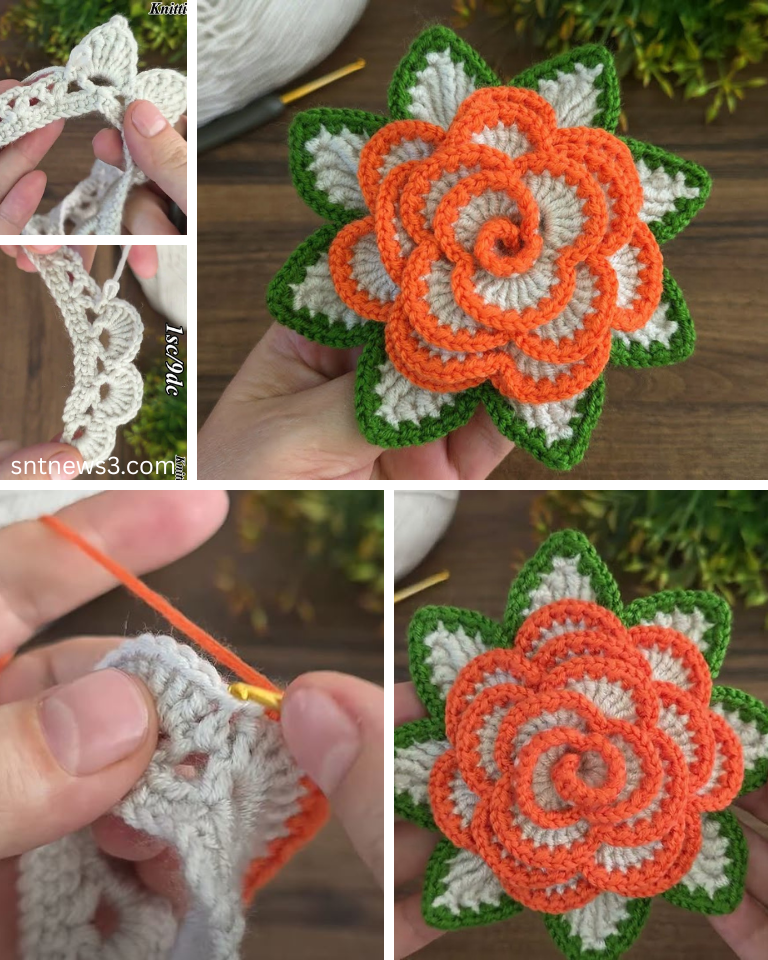
🧵 Assembly
- Position the leaves at the back or base of the rose.
- Use a tapestry needle and the yarn tails to sew the leaves to the rose securely.
- If you’re attaching your rose to another project (hat, headband, etc.), leave a long tail for sewing it on.
💡 Quick Tips for Success
- Use contrasting yarns for dramatic color effects.
- Lightly steam block the rose if it curls too tightly.
- Add a pin backing to turn your rose into a wearable brooch.
🎨 Creative Uses for Your Crochet Rose
- Hat or headband embellishment
- Hair clip or barrette
- Bag or purse accessory
- Garland or bouquet
- Gift wrap decoration
✅ Final Thoughts
Crocheting a rose with leaves is a quick, satisfying project that adds beauty to any creation. The simple spiral technique makes it approachable for beginners, yet the result looks impressively detailed. With just a few basic stitches and some creativity, you can crochet roses in every color and size for gifts, décor, or wearable art.
Video tutorial: