by
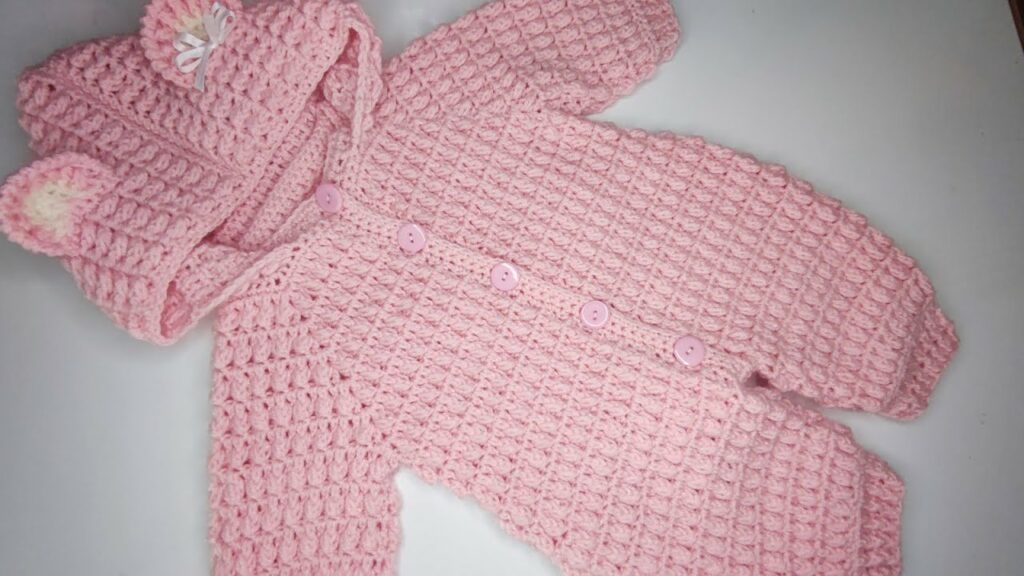
by There’s something incredibly endearing about a baby in a handmade outfit. A crocheted baby onesie or bodysuit offers the perfect blend of warmth, comfort, and undeniable cuteness. Designed to keep a baby snug and stylish, a onesie is a fantastic project that combines garment construction skills with the joy of creating something truly personal for a little one.
This detailed article will walk you through the process of crocheting a baby onesie/bodysuit, focusing on a popular and relatively seamless top-down raglan construction. This method minimizes seaming and makes adjusting the length easy. We’ll aim for a common 0-3 month size (approx. 16-18″ chest), with notes on how to adapt for other sizes. Get ready to crochet a practical and cherished gift that’s as unique as the baby who will wear it!
Why Crochet a Baby Onesie/Bodysuit?
- Ultimate Comfort & Softness: You have complete control over yarn choice, ensuring it’s gentle, breathable, and hypoallergenic for sensitive baby skin.
- Customizable Design: Endless possibilities for colors, textures, stitch patterns, and adorable embellishments.
- Practical & Functional: A onesie keeps baby’s back and tummy covered, and the crotch snaps make diaper changes a breeze.
- Unique & Cherished Gift: A handmade onesie stands out and is often treasured as a keepsake, a loving gesture from the maker.
- Skill Building: It’s a fantastic project for learning garment shaping (raglan increases, crotch shaping), working in the round, and adding functional closures.
Key Considerations Before You Start:
- Sizing (Crucial!):
- Standard Sizes: Baby sizing often goes by age ranges (Newborn, 0-3 months, 3-6 months, etc.).
- Key Measurements: For a 0-3 month size, aim for a finished garment chest circumference of approximately 18 inches (46 cm), with some positive ease for comfort.
- Positive Ease: Unlike adult garments, baby garments need a good amount of positive ease (extra room) for comfort, layering, and growth. Don’t make it too tight!
- Our tutorial will target 0-3 months. To adjust for other sizes, you’ll modify the starting chain, number of yoke increase rounds, and body/sleeve length.
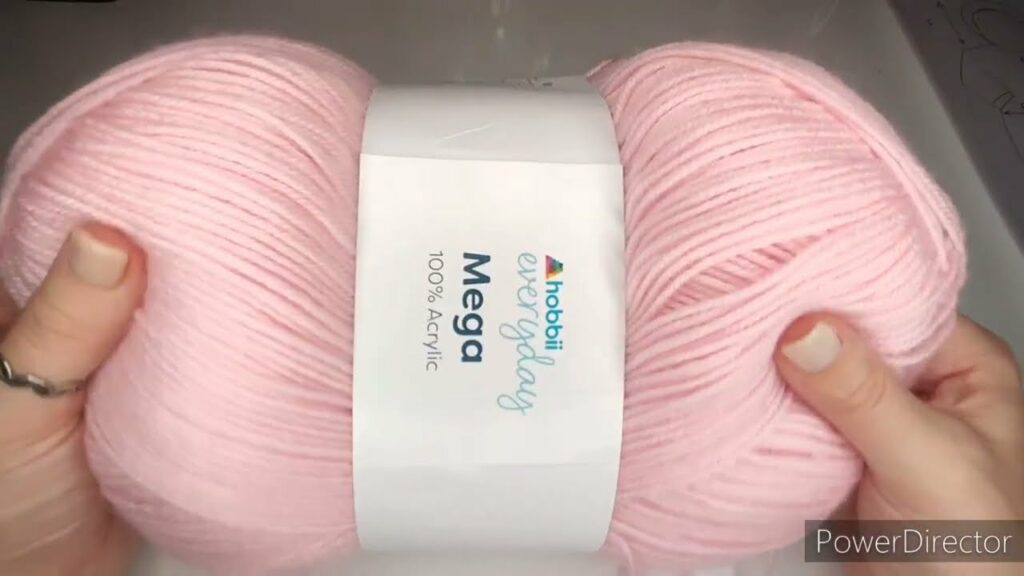
- Yarn Choice:
- Fiber: Prioritize softness, washability, and breathability.
- Baby Acrylic: Very soft, durable, budget-friendly, and highly machine washable.
- Cotton or Cotton Blends: Excellent for breathability, softness, and durability, especially in warmer climates (like Cambodia!).
- Bamboo Blends: Incredibly soft, silky, and has good drape.
- Superwash Merino Wool: Soft, naturally temperature-regulating, but check specific care instructions.
- Weight: DK (Light Worsted / Category 3) or Sport (Category 2) are ideal. They create a comfortable, not-too-bulky fabric suitable for babywear.
- Colors: Soft pastels, classic whites, or vibrant baby-friendly hues.
- Quantity: Approx. 300-500 yards for a 0-3 month size, depending on yarn weight and chosen length.
- Fiber: Prioritize softness, washability, and breathability.
- Hook Size:
- Match your hook to your yarn weight, but consider going up half a size to ensure a fabric with good drape and softness. A stiff fabric can be uncomfortable for a baby.
- For DK yarn: 4.0 mm (US G/6) or 4.5 mm (US 7).
- For Sport yarn: 3.5 mm (US E/4) or 4.0 mm (US G/6).
- Gauge (ABSOLUTELY ESSENTIAL for Garments!):
- SWATCH! SWATCH! SWATCH! This cannot be stressed enough for garments.
- Make a 4″ x 4″ (10 cm x 10 cm) swatch using your chosen yarn and hook in the main stitch pattern (e.g., double crochet). Measure your stitches and rows. If your stitch count is higher than the pattern’s gauge, your garment will be too small – go up a hook size. If your stitch count is lower, your garment will be too big – go down a hook size.
- Construction Method: Top-Down Raglan (Recommended):
- This method starts at the neckline and works downwards, increasing stitches at four “raglan” points to form the shoulders, back, and front. It’s often seamless (or minimal seaming) and easy to customize length.
- Closures:
- Snap Tape: The easiest and most common for crotch closures. You’ll need about 6-8 inches (15-20 cm) for the crotch.
- Buttons: Small, flat buttons for shoulder or crotch closures. You’ll need to create buttonholes.
- Ties: Simple crocheted ties or ribbon for shoulders.

Materials You’ll Need:
- Yarn: Approx. 350 yards of DK (Category 3) soft baby yarn (e.g., baby acrylic, cotton blend).
- Crochet Hook: Size G/6 (4.0 mm) or H/8 (5.0 mm) (adjust for gauge).
- Yarn Needle (Tapestry Needle): For weaving in ends.
- Scissors: For cutting yarn.
- Stitch Markers (4): Essential for marking raglan corners.
- Measuring Tape: For checking gauge and garment dimensions.
- Snap Tape: Approx. 6-8 inches (15-20 cm) of baby-friendly snap tape (or 3-4 small buttons and sewing needle/thread).
Essential Crochet Abbreviations:
- ch: chain
- sl st: slip stitch
- sc: single crochet
- hdc: half double crochet
- dc: double crochet
- dc inc: double crochet increase (2 dc in same st)
- st(s): stitch(es)
- sp: space
- ch-sp: chain space
- FO: fasten off
- RS: right side
- WS: wrong side
- (): indicates instructions to be worked into the same stitch/space
- ***…***: repeat instructions within asterisks
- []: indicates stitch counts at the end of a round/row
How to Crochet a Baby Onesie/Bodysuit: Step-by-Step Tutorial (0-3 Months, Top-Down Raglan)
We will use double crochet (dc) for the main stitch as it works up quickly and creates good drape.
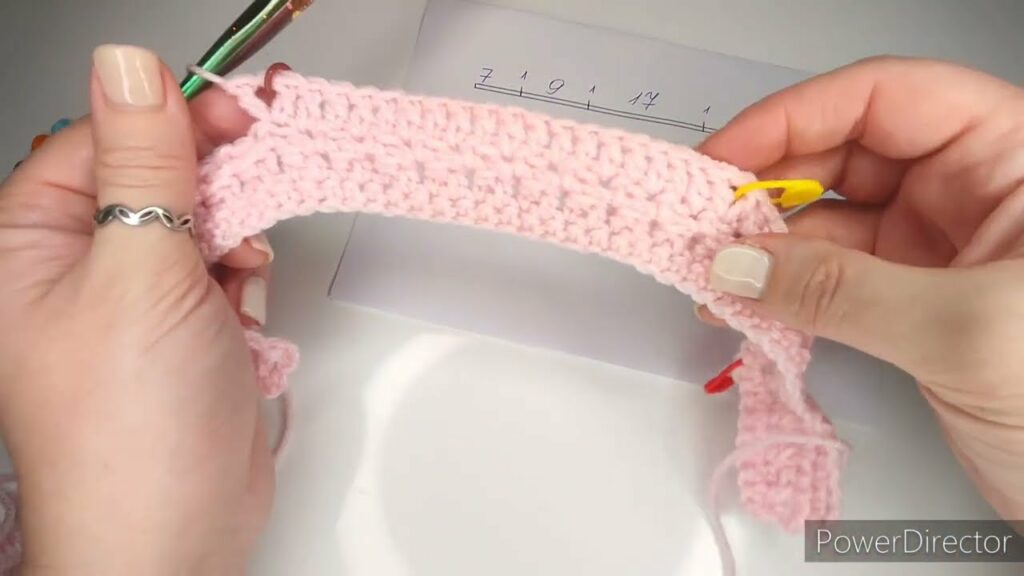
Gauge (Crucial!): Make a swatch: Ch 19. Row 1: Dc in 4th ch from hook and in each ch across. (16 dc) Rows 2-8: Ch 3 (counts as 1st dc), turn. Dc in each dc across. Measure 4″x4″ (10 cm x 10 cm). You should have approximately 16 dc and 8 rows per 4 inches. Adjust hook size if needed.
Part 1: The Yoke (Top-Down Raglan Foundation)
This section creates the neckline and gradually expands to form the shoulders, back, and front.
- Starting Chain: Ch 48. Sl st to first ch to form a ring, being careful not to twist. (This is for a neckline approx. 10-11 inches circumference. Adjust for smaller/larger necklines).
- Round 1: Ch 3 (counts as 1st dc). Dc in same st.
- (Dc in next 6 sts) – Right Back
- (2 dc, ch 2, 2 dc) in next st – Raglan Corner 1 (Mark this ch-2 sp with a stitch marker)
- (Dc in next 8 sts) – Right Sleeve
- (2 dc, ch 2, 2 dc) in next st – Raglan Corner 2 (Mark this ch-2 sp)
- (Dc in next 12 sts) – Front
- (2 dc, ch 2, 2 dc) in next st – Raglan Corner 3 (Mark this ch-2 sp)
- (Dc in next 8 sts) – Left Sleeve
- (2 dc, ch 2, 2 dc) in next st – Raglan Corner 4 (Mark this ch-2 sp)
- (Dc in next 6 sts) – Left Back (you will join to the first dc of this round).
- Join with a sl st to the top of the beginning Ch 3.
- [56 dc + 4 ch-2 sps]
- Round 2: Ch 3 (counts as 1st dc). Dc in each dc until you reach the first ch-2 sp.
- (2 dc, ch 2, 2 dc) in the ch-2 sp (increase).
- Dc in each dc until you reach the next ch-2 sp.
- (2 dc, ch 2, 2 dc) in the ch-2 sp (increase).
- Repeat this pattern for the remaining 2 raglan corners.
- Join with a sl st to the top of the beginning Ch 3.
- [Increases by 16 dc each round. Total 72 dc + 4 ch-2 sps]
- Repeat Round 2: Continue repeating Round 2 for a total of 4-5 increase rounds (including Round 2). The number of rounds depends on your desired armhole depth and the overall chest size you want. For 0-3 months, 4-5 rounds are usually sufficient.
- After 4 rounds (total of 5, including Round 1), you’ll have 56 + (4*16) = 120 dc.
- The yoke should now lay flat when placed on a table. It should measure approx. 6-7 inches from neck to armpit.

Part 2: Separating for Body and Sleeves
Now we’ll separate the front, back, and sleeves, forming the main body tube.
- Round 6 (Separate): Ch 3 (counts as 1st dc). Dc in each dc until you reach the first ch-2 sp.
- Work 1 dc in the ch-2 sp. Skip all dc stitches of the next sleeve section (from the first ch-2 sp to the second ch-2 sp).
- Work 1 dc in the next ch-2 sp (this bridges the armhole).
- Dc in each dc across the front panel until you reach the third ch-2 sp.
- Work 1 dc in the ch-2 sp. Skip all dc stitches of the next sleeve section (from the third ch-2 sp to the fourth ch-2 sp).
- Work 1 dc in the next ch-2 sp.
- Dc in each dc across the back panel until the end of the round.
- Join with a sl st to the top of the beginning Ch 3.
- [Approx. 68-72 dc for the body circumference] (Counts will vary slightly depending on initial chain and number of increase rounds, but this is your main body circumference).
- Round 7 – 12 (Body Tube): Ch 3. Dc in each dc around. Join with a sl st.
- [Maintain dc count from Round 6]
- Continue until the body measures approx. 7 inches (18 cm) from the armpit down, or desired length before crotch shaping.
Part 3: Shaping the Crotch & Legs
Now we’ll split the body to create the leg openings and prepare for the snap closure.
- Round 13 (Split for Legs): Ch 3. Dc in the first half of the stitches (e.g., if you have 70 dc, dc in first 35 sts). Turn.
- [35 dc] (This will be the back section. Place a stitch marker at the beginning and end of this row).
- Row 14 (Back Crotch Shaping): Ch 3. Dc in each dc across. Turn.
- [35 dc]
- Repeat this row for another 2-3 rows (for a total of 3-4 rows for the back crotch flap). This creates length at the back for the crotch snaps.
- FO, leaving a short tail.
- Front Crotch Shaping:
- Reattach yarn to the other side of the body, where you split.
- Ch 3. Dc in the remaining half of the stitches (e.g., 35 dc). Turn.
- [35 dc]
- Repeat this row for 1-2 rows (for a total of 2-3 rows for the front crotch flap). The front flap is usually slightly shorter than the back.
- FO, leaving a short tail.
Part 4: The Sleeves (Make 2)
Now we’ll add the sleeves directly to the armholes.
- Attach Yarn: Join yarn with a sl st into the center of the armpit (where you bridged the armhole in Round 6).
- Round 1 (Sleeve): Ch 3. Dc evenly around the armhole opening. (You should have approx. 32-36 dc, depending on your yoke increases). Join with a sl st to top of Ch 3.
- [Approx. 32-36 dc]
- Rounds 2 – 15 (Sleeve Length): Ch 3. Dc in each dc around. Join with a sl st.
- [Maintain dc count]
- Continue until sleeve measures approx. 6-7 inches from armpit to cuff (or desired length).
- Cuff (Optional Ribbing):
- Ch 2 (does not count as st). Hdc in BLO of each dc around. Join with sl st.
- Repeat this row 1-2 more times for a small ribbing effect.
- FO, leave a short tail.
- Repeat for Second Sleeve.
Part 5: Edging & Closures
This finishes the garment edges and adds the necessary snaps.
- Leg Opening Edging (Make 2):
- Attach yarn with a sl st at the crotch seam of one leg opening.
- Ch 1. Sc evenly around the leg opening. Sl st to join.
- Repeat for the second leg opening.
- FO, leaving a short tail.
- Neckline Edging:
- Attach yarn with a sl st at the center back of the neckline.
- Ch 1. Sc evenly around the neckline. Sl st to join.
- FO, leaving a short tail.
- Attaching Snap Tape/Buttons:
- Snap Tape: Align the back crotch flap over the front crotch flap. Pin the snap tape to the wrong side of the back flap and the right side of the front flap, ensuring the snaps will align. Sew the snap tape securely in place using a sewing needle and thread.
- Buttons: If using buttons, create 3-4 small button loops on the edge of one crotch flap (using a few chains), and sew the buttons onto the corresponding positions on the other flap.
Finishing Your Baby Onesie/Bodysuit:
- Weave in All Ends: Take your time to neatly weave in every yarn tail using your yarn needle. This is crucial for a clean, comfortable, and professional finish, especially for baby items.
- Blocking (Highly Recommended!):
- Gently wet the entire onesie (or steam it).
- Carefully lay it flat on a clean surface or blocking mats. Gently shape it to the correct dimensions, easing out any unevenness.
- Allow it to air dry completely. Blocking makes a huge difference in how a garment drapes and fits.
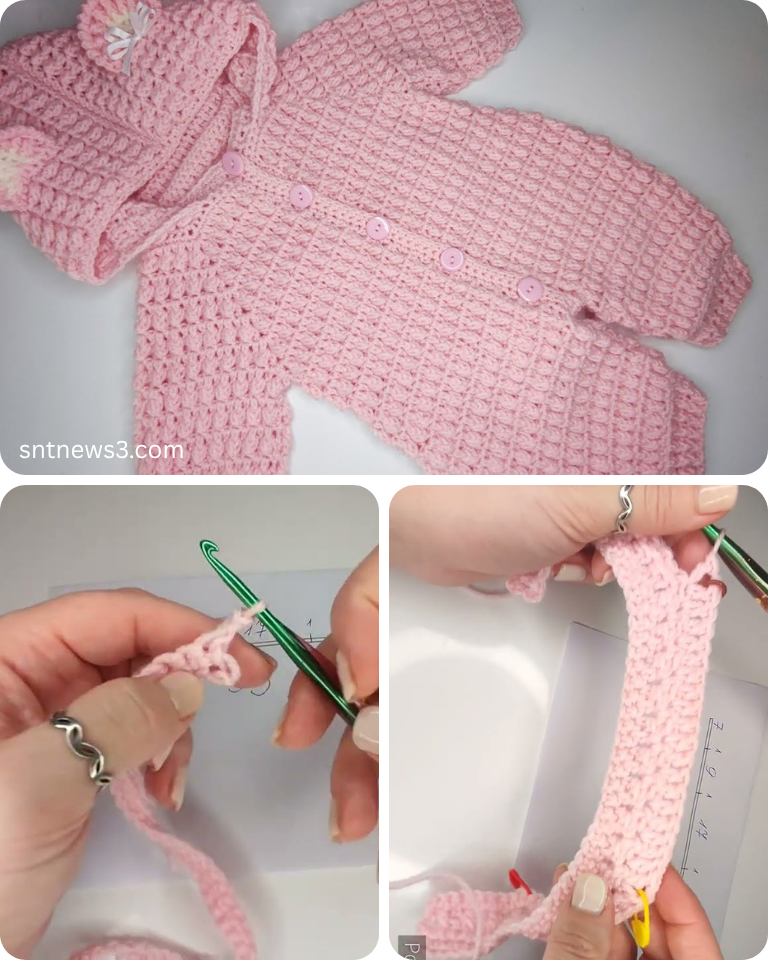
Your Crocheted Baby Onesie/Bodysuit is Complete!
You’ve created a truly special, handmade garment that will be both practical and adorable for a baby. The top-down raglan construction makes it comfortable and provides room for growth.
Tips for Success & Customization:
- Adjusting Size:
- Width: To increase width, increase the number of starting chains for the neckline (in multiples of 4 for this pattern) and/or add more increase rounds in the yoke.
- Length: To increase body or sleeve length, simply add more non-increasing rounds/rows.
- Stitch Patterns: Once comfortable with dc, try hdc for a denser fabric, or even a simple shell stitch or V-stitch pattern for a more open, decorative look. Just be sure to adjust your stitch counts for the yoke accordingly.
- Color Changes: Incorporate stripes by changing colors every few rounds/rows in the body or sleeves.
- Embellishments: Add cute crocheted appliqués (animals, stars, flowers), embroidery, or small pompoms. Ensure all embellishments are securely sewn on and baby-safe.
- Ribbing: For a tighter, more defined cuff or hem, you can work rows of front post/back post dc or hdc stitches, or alternate sc in BLO.
- Back/Shoulder Opening: For easier dressing, you could add a few rows of front/back post stitches at the top back of the yoke, and add a small button/loop closure at the top.
- Care: Always refer to your yarn label for specific washing and drying instructions. Most handmade baby garments are best hand washed or machine washed on a delicate cycle and laid flat to dry to maintain their shape.
Enjoy the warmth and love poured into your handmade baby onesie!
Video tutorial: