 by
by 🧶 Materials
- Yarn: A worsted/aran weight or similar (e.g., 100 g skein) — choose a color you like.
- Crochet hook: Suitable for your yarn (e.g., 5.0 mm if using worsted weight).
- Scissors, tapestry needle for weaving in ends.
- Optional: stitch marker to mark ends.
✏️ Abbreviations (US terms)
- ch = chain
- sc = single crochet
- dc = double crochet
- sl st = slip stitch
- st(s) = stitch(es)
- rep = repeat
🔍 Pattern Overview
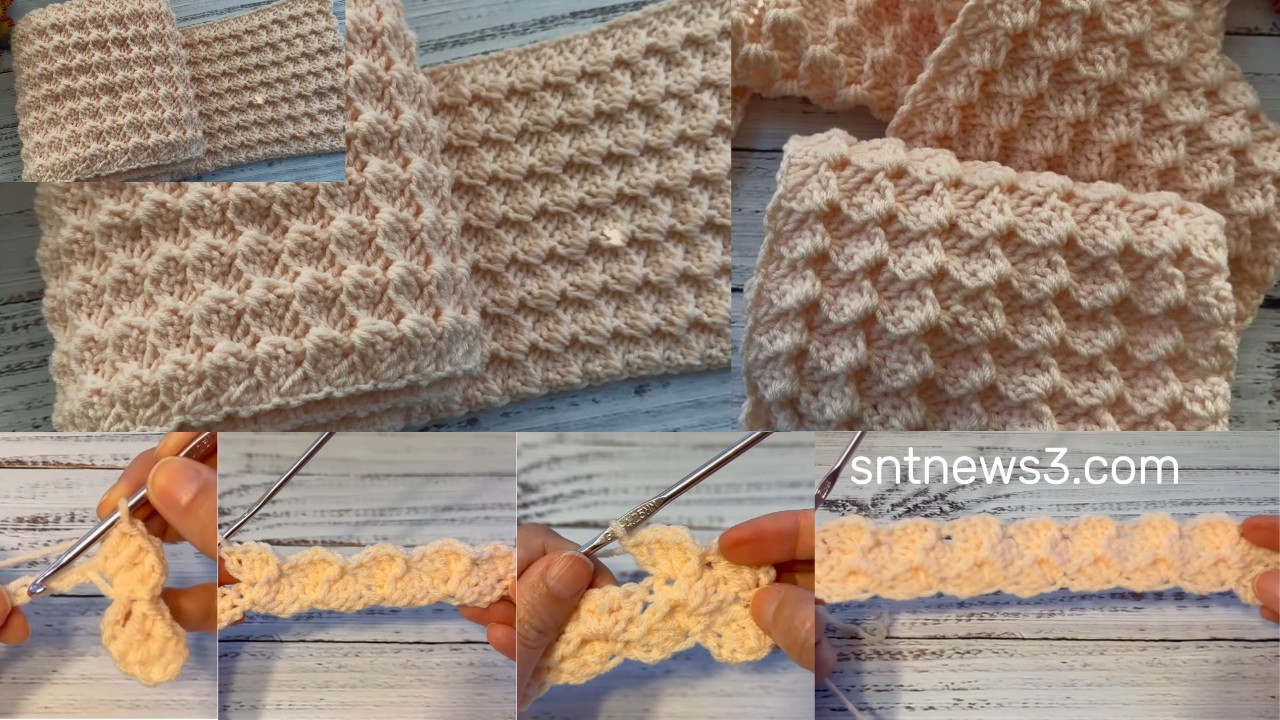
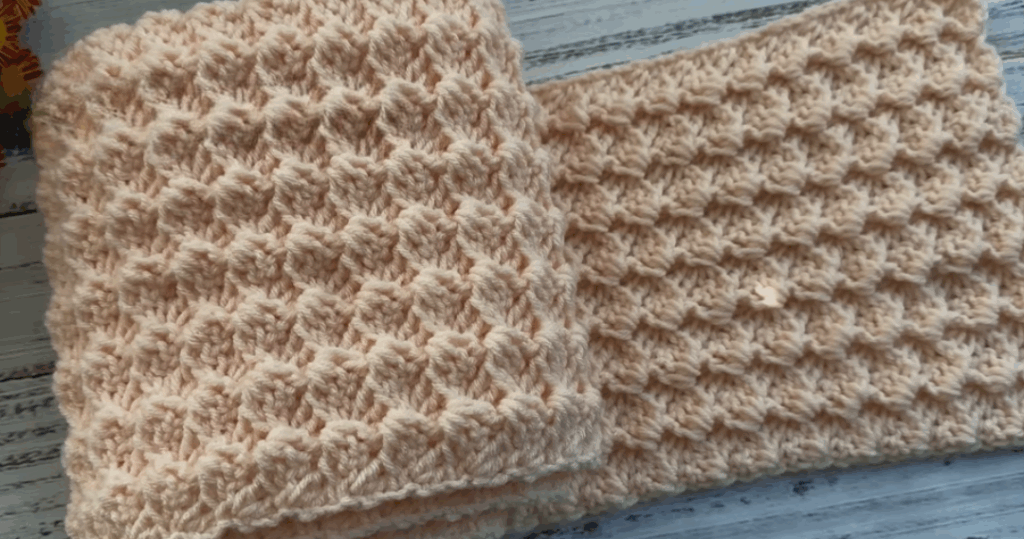
The scarf uses a one-row repeat pattern, meaning after the foundation row you repeat the same stitch row over and over until the desired length. The simplicity makes it ideal for beginners or relaxed crocheting.
✅ Step-by-Step Instructions
Step 1 – Foundation Chain
- Decide your scarf width — many beginner scarves use ~20 cm width.
- Chain the number of stitches needed — for example: ch 28 (you can adjust to wider or narrower).
- Chain 1 extra for turning if following standard method (so ch 29).
- This foundation sets your width.
Step 2 – Row 1 – Base Row
- In the 2nd chain from the hook, work 1 sc.
- Work sc in each chain across until the end.
- At the last chain, work 1 sc, then ch 1, turn your work.
- This gives you a firm first row.
Step 3 – Row 2 – One-Row Repeat Pattern
- In the first stitch, work dc (counts as first tall stitch).
- Ch 1, skip 1 stitch, dc in next stitch — repeat this across the row until you reach near the end.
- When you are 1 stitch from the end, dc in the last stitch.
- Ch 1, turn.
- This row creates alternating dc + ch1 “windows” which give texture and openness.
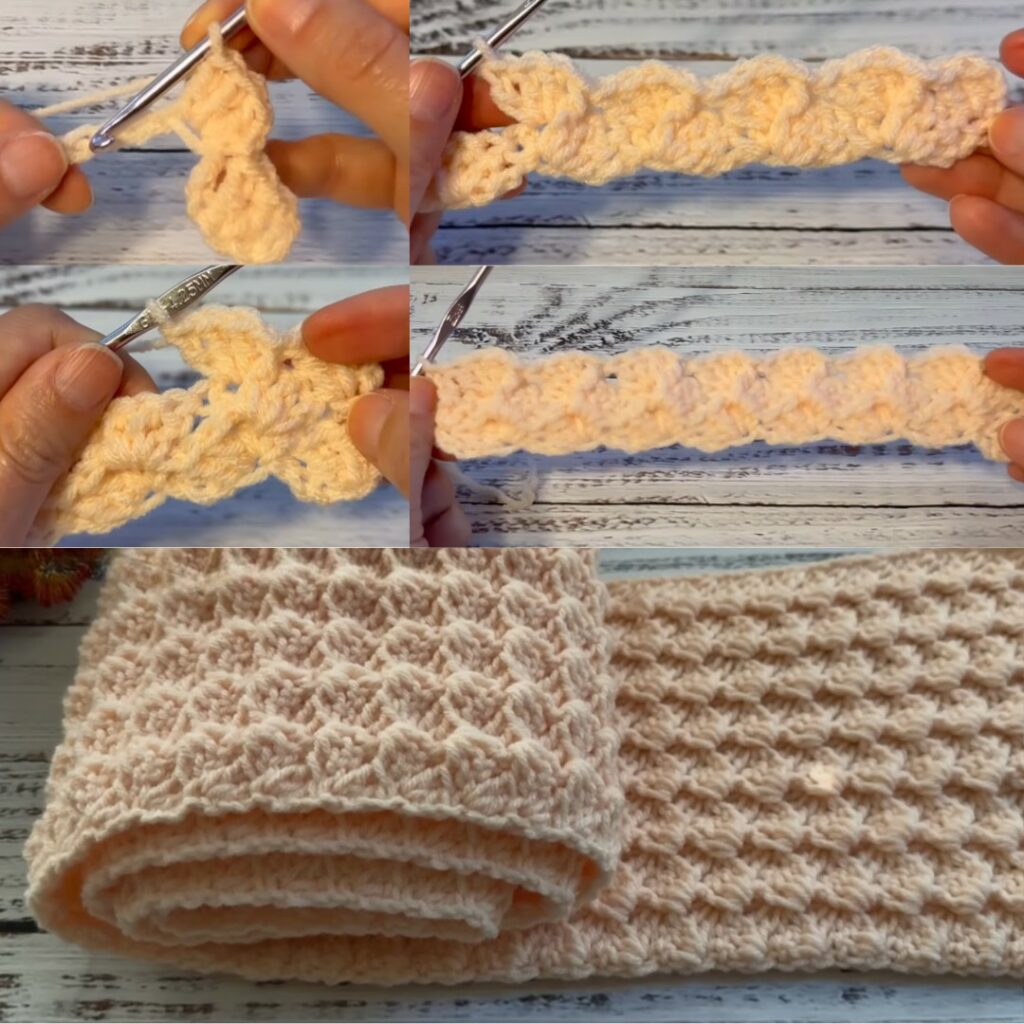
- From here on, you will repeat this same row (the one with dc, ch1 skip1 dc) until your scarf reaches your desired length.
Step 4 – Repeat Row 2 Until Desired Length
- Continue repeating the same row: dc in first stitch, ch1 skip1, dc in next stitch across; end with dc in last st; ch1, turn.
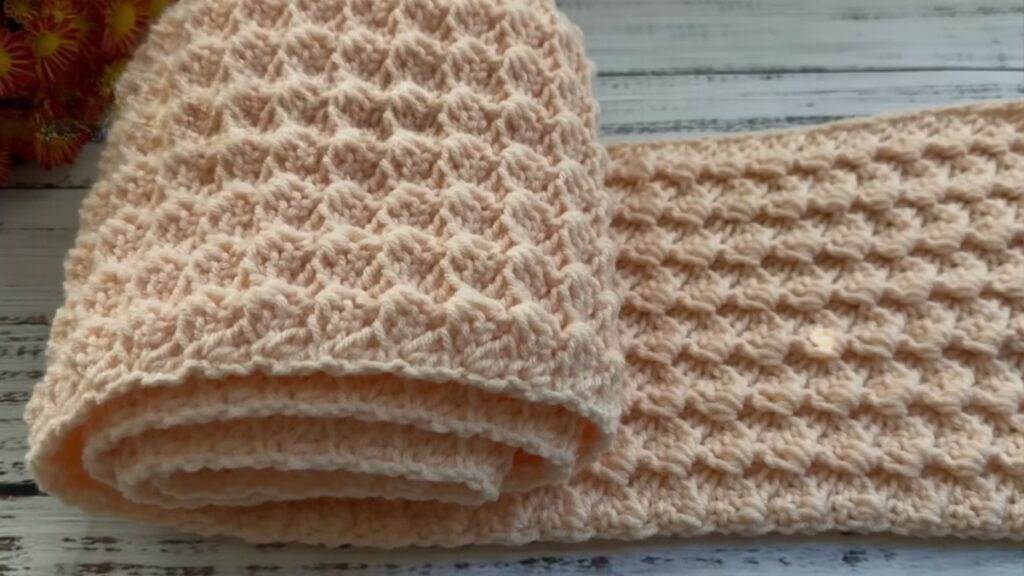
- Keep repeating this row until your scarf is as long as you like — for example ~150-180 cm for a full scarf, or shorter for a cozy cowl or wrap.
- Measure periodically as you go to check length.
Step 5 – Finishing Edge
- When you’ve reached the length you want, work one final row of sc across the row (sc in each stitch including chain-spaces/slip stitches as required) to give a neat top edge.
- Optional: add a fringe or tassels at ends for finishing.
- Fasten off, cut yarn, and weave in all loose ends with your tapestry needle.
📋 Quick Reference Table
| Part | Action |
|---|---|
| Foundation | ch desired width + turning chain |
| Row 1 | sc across, ch 1, turn |
| Row 2 (repeat) | dc, ch 1 skip1, dc … repeat to end → ch 1, turn |
| Repeat Row 2 | Keep repeating until length achieved |
| Finish | 1 row sc across → optional fringe/tassel, weave in ends |
💡 Tips & Variations
- Width Adjustment: If you want a wider or narrower scarf, adjust the initial chain count accordingly. As long as you follow the repeat (dc then ch1 skip1), the pattern works regardless of width.
- Color Change: For a striped effect, change yarn color every few rows (e.g., every 4 repeats).
- Yarn Choice: Choose a smooth yarn so the texture (dc + chain windows) shows clearly.
- Tension: Keep even tension. If your edges wave, you may have ch1 too loosely; if puckering, your ch1 spaces may be too tight.
- Fringe Option: For a fringe, cut yarn strands ~15 cm long, fold in half, attach them to each end using a lark’s-head knot.
- Quick Conversion: You could turn this into a cowl by binding ends together or make a wrap by using double width.
Video Tutorial: https://www.youtube.com/watch?v=RG3rzK80A7U