 by
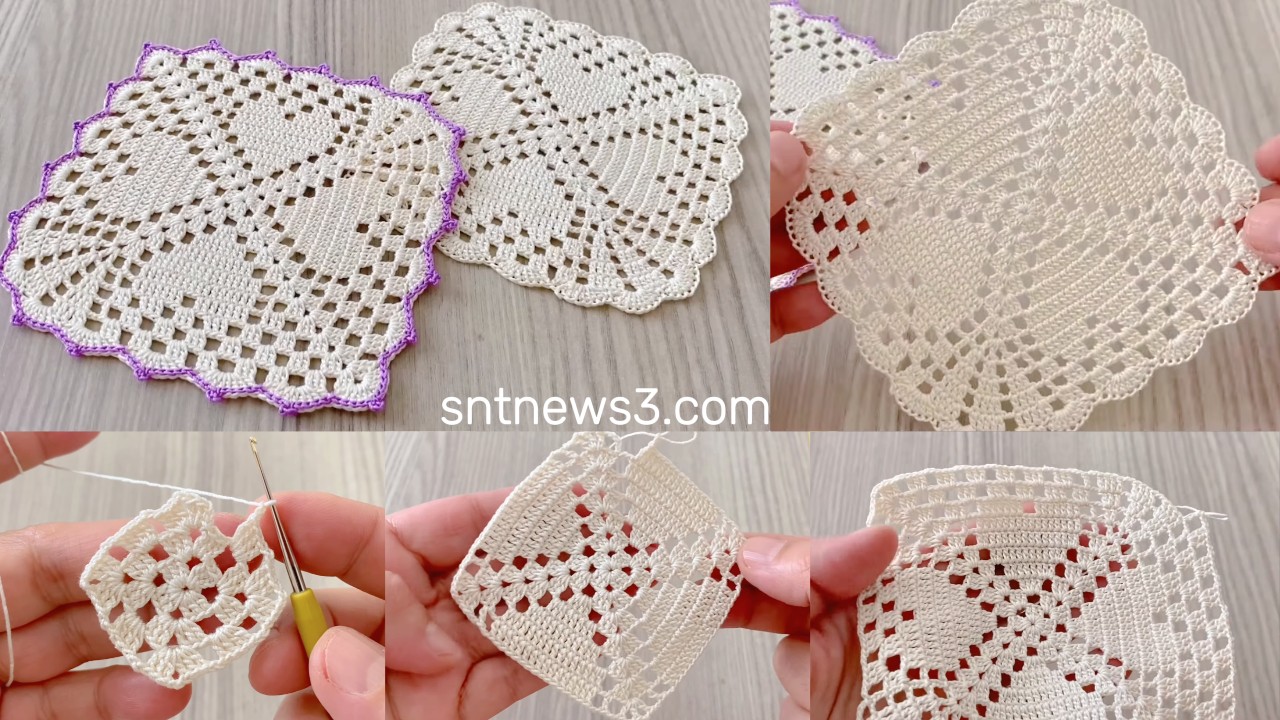
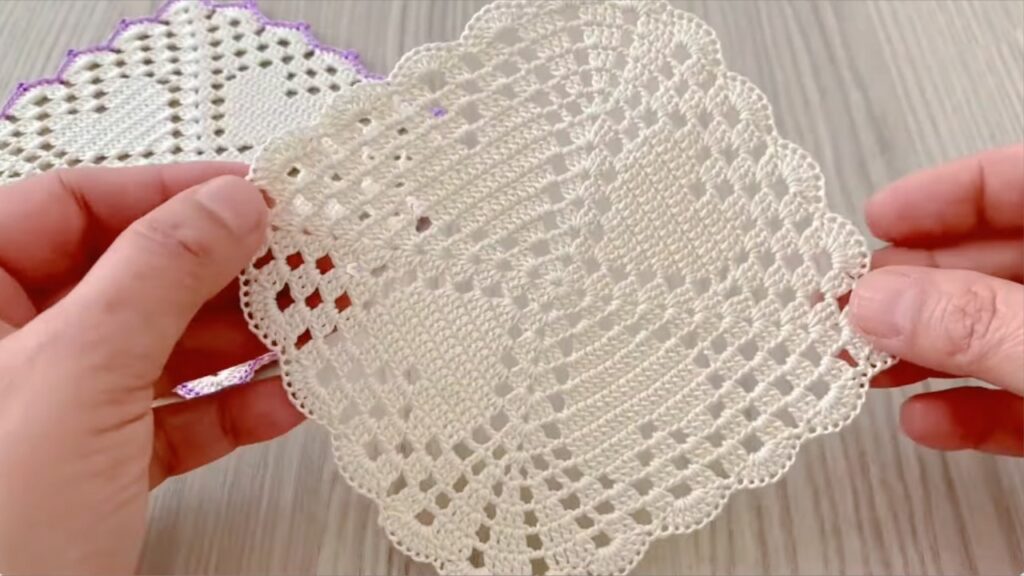
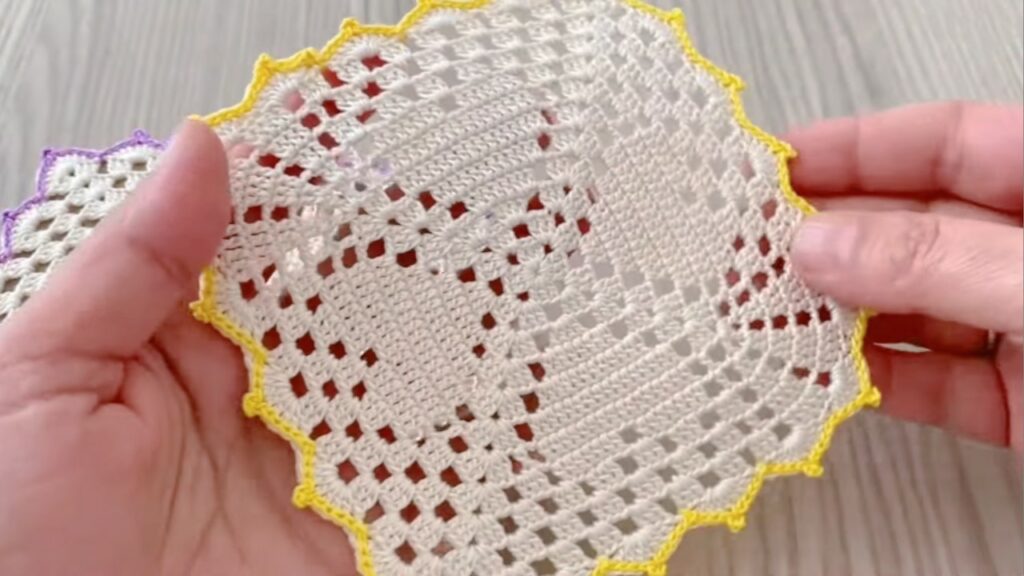
by Lovely — here’s a clear, beginner-friendly round-by-round text tutorial so you can make a heart-in-square motif that joins into runners, blouses, shawls or cushions. It’s written in US terms, includes stitch checks after major rounds, Join-As-You-Go advice, blocking/finishing, troubleshooting and quick variations.
Materials & finished size
- Yarn: sport / DK (cotton for crisp lace; cotton-blend or acrylic for softer drape)
- Hook: 3.0–4.5 mm (use size to get desired finished motif)
- Notions: tapestry needle, blocking pins/mat, scissors, stitch markers (optional)
- Finished motif (blocked): ≈ 9–13 cm / 3.5–5 in (depends on yarn & hook). Make one test motif and block to confirm.
Abbreviations (US)
- ch = chain
- sl st = slip stitch
- sc = single crochet
- hdc = half double crochet
- dc = double crochet
- tr = treble crochet
- pic = picot (ch 3, sl st into base)
- sp = space
- st(s) = stitch(es)
- rep = repeat

Pattern concept (short)
Worked from the center outward: a small center → heart shape worked into the early rounds → surrounding medallion rounds that form a square conversion (side & corner loops) → scalloped/picot outer edge used for Join-As-You-Go. The heart sits prominently in the centre of each square.
ROUND-BY-ROUND (work rounds joined with sl st unless noted)
Round 1 — small center (magic ring)
- Make a magic ring.
- ch 3 (counts as dc). Work 11 dc into ring. (ch-3 + 11 dc = 12 dc total.)
- Pull ring closed; sl st to top of ch-3 to join.
Check: 12 dc.
Round 2 — heart foundation (6 loop anchors)
- ch 4, sc in next dc — repeat 6 times around (you’ll use every other dc).
- This gives 6 ch-4 spaces with 6 sc anchors. Join with sl st.
Check: 6 loop spaces.
- This gives 6 ch-4 spaces with 6 sc anchors. Join with sl st.

Round 3 — build the heart (two lobes + point)
This round creates the heart shape centered on the motif.
- Into the first ch-4 loop: sc, hdc, 3 dc, hdc, sc — this makes the left lobe.
- Move to the next ch-4 loop (skip one anchor space) and repeat: sc, hdc, 3 dc, hdc, sc — right lobe.
- Now, working into the stitches between those lobes (the small sc anchors), create the point under the lobes by working: ch 3, sl st into the sc between lobes (or work a small cluster: sc, ch 2, sc to make a more pronounced point).
- Continue the round placing the two lobes and small point so the heart is centered. Fasten the round with sl st and join.
Check: a clear heart shape with two rounded lobes on top and a pointed base centered in the circle.
Tip: if you’d like the heart more pronounced, use
5 dcin each lobe instead of3 dc.
Round 4 — tidy round (frame the heart)
- Rejoin in a comfortable spot. Work sc evenly around the heart clusters and the small spaces to make a smooth circular boundary. Distribute roughly 8–10 sc per petal/section so the round lies flat. Join with sl st.
Check: a neat round frame that makes the heart sit centered and stable.
Round 5 — lacy arches (decorate around heart)
- From near the top of a heart lobe: sl st to outer edge → ch 7 → sl st to corresponding spot on next lobe/space — repeat to form 6 large arches around the heart (one per earlier loop).
- If ch-7 looks long with your yarn/hook use ch-6 or ch-8 to balance spacing. Join.
Check: 6 graceful arches forming a ring.
- If ch-7 looks long with your yarn/hook use ch-6 or ch-8 to balance spacing. Join.

Round 6 — arch ribs (texture)
- Into each ch-arch: sl st to arch base → ch 3 → dc, ch 1, dc, ch 1, dc → ch 3 → sl st into arch base.
- Repeat for all arches. (Simpler: 3 dc separated by ch-1 in each arch.) Join.
Check: each arch has 3 ribs and the motif looks floral-lace.
Round 7 — convert circle → square (side & corner loops)
(Recommended if you want joinable squares.)
- Mark four quarter points roughly every 1–2 arches to make four sides (use the same method as in other tile patterns). Rejoin at a quarter marker.
- Work each side between corners with an even layout. Example layout (adjust counts to your motif size):
sc 8, (sc, ch 4, sc) × 2 (side loops), sc 8 → ch 6 (corner loop).- Important: keep the same sc and loop counts on all four sides so every square lines up when joining.
- Repeat for all four sides and join. Fasten off or continue to outer edging.
Check: you should now have 4 ch-6 corner loops and identical side loop distribution — motif blocks to a square.
Round 8 — outer scallop & picot finish (join round)
- Rejoin at an outer sc. Work a neat scallop across each small side element such as: sc 3, (pic: ch 3 + sl st into same st), sc 4 (adjust counts to make scallops lie flat).
- Place picots regularly to create pretty dotted points. This is the round you’ll use to Join-As-You-Go: when working a new motif next to a finished one, replace the picot/sl st at the meeting point with sl st into the corresponding stitch/picot of the finished motif. Join, fasten off and weave in ends.
Check: scallops even; motif blocks flat and square.
Blocking & stiffening
- Pin motif to blocking board or towel into a square. Pull corner loops outward, shape the heart and pin every picot to sharpen points. Mist with water or use light steam and allow to dry fully. Blocking gives the heart definition and makes joining much easier.
- For household items you can spray/starch lightly; for wearable items avoid heavy stiffening.
Joining motifs — recommended methods
Join-As-You-Go (JAYG) — best for garments & flat seams
- Crochet the first square fully. For each new square make rounds 1–7 then begin Round 8. Whenever you reach a scallop/picot that corresponds to a finished neighbour, sl st into the corresponding stitch/picot of the finished motif instead of making that picot. Attach at side loops and corner loops. JAYG yields tidy, nearly invisible joins and minimal sewing.
Sew-after (block then sew)
- Make and block all motifs. Lay them out, pin, and sew using a tapestry needle and matching yarn through the outer sc rounds or side loops (mattress stitch or whipstitch). This allows rearrangement before final joining.
Troubleshooting & tips
- Heart shape not centered: make sure you place the two lobe clusters and the point symmetrically across Round 3; use a stitch marker at the first lobe to orient placement.
- Motif cups (edges pull up): loosen tension on arch rounds or go up 0.5 mm hook; block firmly.
- Motif ripples/waves: shorten arch chain length (ch-7 → ch-6) or reduce sc count in Round 4.
- Tiles not lining up when joining: ensure Round 7 side sc/loop counts are identical in every motif — mismatched counts cause misalignment.
- Gaps at joins: use slightly firmer sl st tension when JAYG or add an extra sl st at join points.
Variations & styling ideas
- Pronounced heart: increase dc in lobes to
5 dcand use ch-8 arches for a larger, bolder heart square. - Delicate heart: use fingering yarn + smaller hook and reduce the lobes to
2 dcor use3 dcbut smaller hook. - Two-colour: work center heart in color A and the rest of the motif in color B — heart will really pop.
- Runner / shawl / blouse: join squares in strips for runners or assemble in panels for a blouse (JAYG recommended for one-piece garments).
- Appliqué hearts: skip rounds 5–8 and use the small heart (Rounds 1–3) as appliqués on hats, bags or collars.
Quick stitch-count checks
- Round 1: 12 dc.
- Round 2: 6 ch-4 spaces.
- Round 3: heart lobes formed (2 lobes + point).
- Round 5: 6 arches.
- Round 7: 4 corner ch-6 loops and equal side loop counts (user defined).
If a count is off, undo to the previous round and correct before proceeding — that keeps join alignment perfect.
VIDEO: