 by
by 🧶 Materials
- Fine or lace-weight cotton yarn (or light worsted if you want a larger flower).
- Crochet hook matched to your yarn (for lace yarn maybe 1.5 mm–2.5 mm; for thicker yarn maybe 3.5 mm).
- Scissors and tapestry needle to weave in ends.
- Optional: small bead or button for flower center.
✏️ Abbreviations (US terms)
- ch = chain
- sl st = slip stitch
- sc = single crochet
- hdc = half-double crochet
- dc = double crochet
- tr = treble (or triple) crochet
- st(s) = stitch(es)
- rep = repeat
- … * = repeat instructions inside
- ( … ) = work all inside same stitch or space
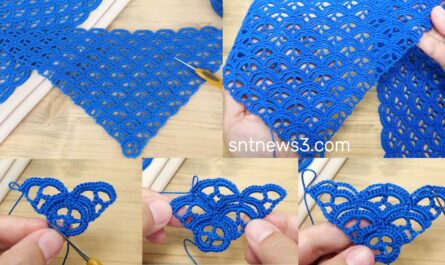
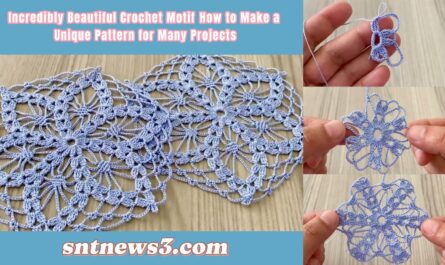
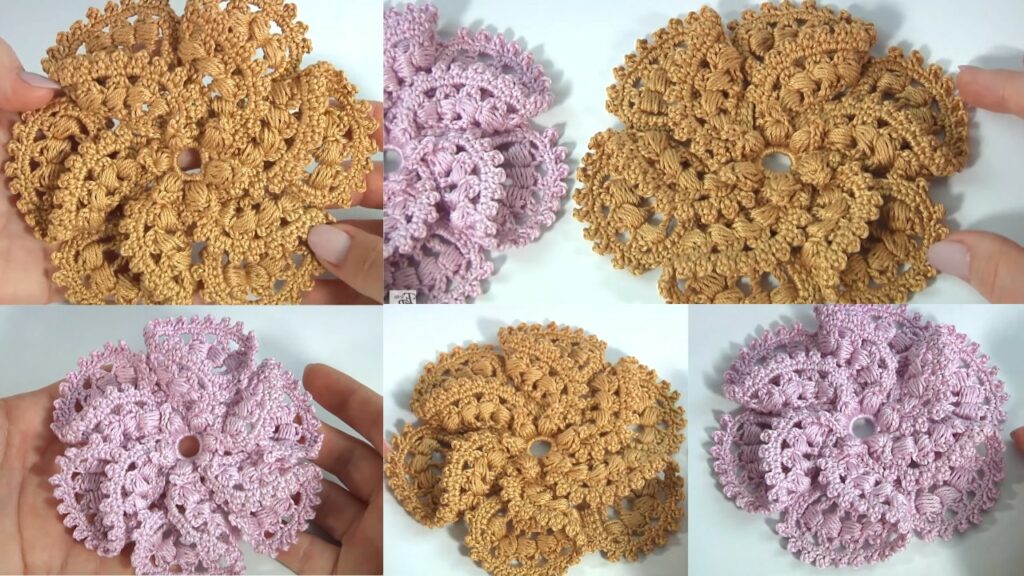
🌺 Overview of the Flower
- Starts with a small circular foundation (magic ring or ch loop).
- Build rounds to form the center.
- Then create lacy petals around the center.
- Finally, add extra texture or outer loops if you like.
- This design gives a raised 3D look because petals are worked on top of previous rounds rather than just flat.
✅ Step-by-Step Tutorial
Here’s the pattern adapted from the video; counts are approximate and you may adjust based on yarn/hook gauge.
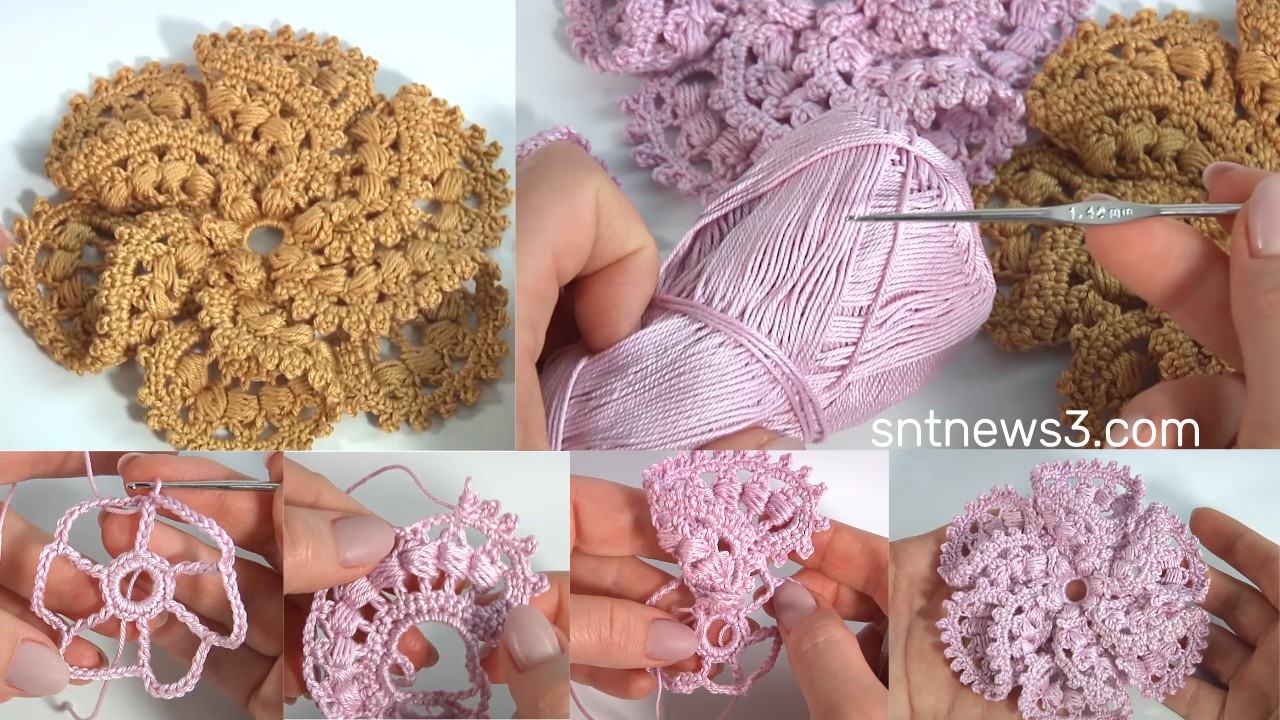
Round 1 – Foundation
- Make a magic ring (or ch 4 and sl st to form a ring).
- Ch 3 (counts as first dc), then work 10 more dc into the ring. (Total ~11 dc including ch-3).
- Pull ring tight, sl st into top of ch-3 to close the round.
- If using thicker yarn, you might work ~12–14 dc instead.
Round 2 – Build center
- Ch 1, sc in same stitch as join.
- Ch 2, skip next stitch, sc in next stitch — repeat around until you have ch-2 loops around the circle.
- Join with sl st into first sc.
- You now have little chain spaces for petals to attach.
Round 3 – First layer of petals
- Sl st into one ch-2 loop.
- In the loop work: (ch 1, 3 dc, ch 1, sl st in same loop) – this forms a small petal.
- Move to next ch-2 loop, repeat the petal: ch 1, 3 dc, ch 1, sl st.
- Continue around until you have a petal in each loop.
- At the end join with sl st to base of first petal.
- Now you have a ring of petals around the center.
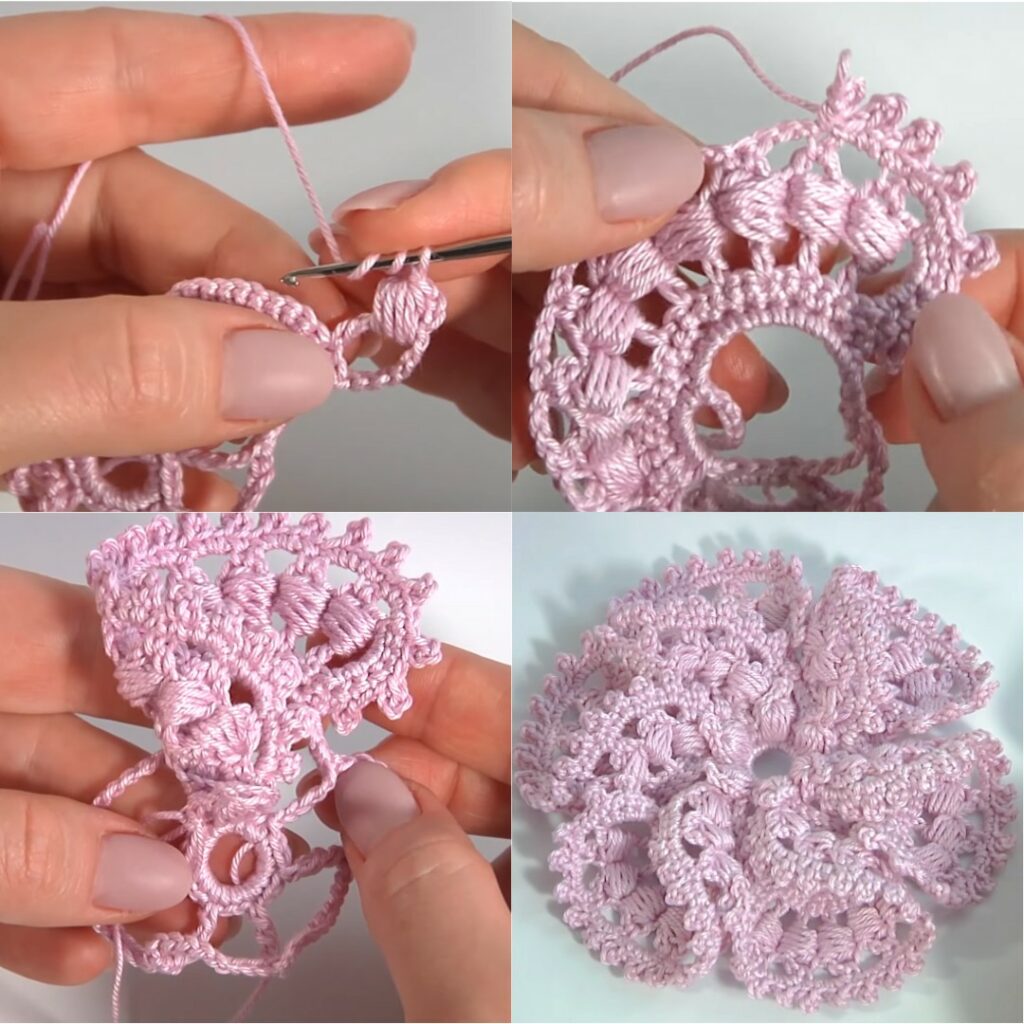
Round 4 – Lacy petal extension
- Ch 3 (counts as dc), turn your work so you are working on the back or side of petals (to give 3D effect).
- In the next petal base (for example the top of the 3 dc cluster) work: dc x2, ch 3, dc x2.
- This makes a larger petal “lobe” behind the first petal.
- Skip to next petal base, repeat: dc-dc, ch 3, dc-dc.
- Continue around. Join with sl st to top of initial ch-3.
- The flower will now have two layers of petals: inner small ones + outer larger ones.
Round 5 – Finishing touches & optional loops
- Ch 1, sc in the same stitch.
- Ch 4, skip 2 stitches, sc in next stitch — repeat around to form decorative loops between petals.
- At the end join with sl st.
- Fasten off and weave in ends.
- If you like, attach a button or bead in the center for extra flair.
🎨 Quick Reference Table
| Round | Action |
|---|---|
| 1 | Magic ring → ~11 dc → join |
| 2 | ch-2 loops around with sc between loops |
| 3 | Petals: (ch 1, 3 dc, ch 1, sl st) in each ch-2 loop |
| 4 | Larger petal layer: dc x2, ch 3, dc x2 in each petal base |
| 5 | Decorative loops: ch 4, skip 2, sc (repeat) |
| Finish | Sl st join, cut yarn, weave in ends |
✨ Tips & Variations
- Size change: Use thicker yarn + bigger hook for a larger flower; or finer yarn + smaller hook for a delicate one.
- Color change: Use a different color for petals than center — e.g., center in one color, petals in another — for visual contrast.
- Use as applique: Sew the finished flower onto hats, bags, cushions, or garments.
- Cluster multiple flowers: Make several flowers in different sizes/colors and group them for a fuller floral panel.
- 3D effect: To boost the “pop” of the petals, don’t flatten the flower after finishing — let petals stand up. If you want flatter, block lightly under weight.
- Edge finish: The ch-4 loops (Round 5) give a lacy fringe. You can increase to ch-5 or ch-6 loops if you want even more decorative effect.