 by
by 🧶 Materials
- Fine yarn or thread suitable for lace (e.g., cotton lace-weight or light cotton yarn)
- Crochet hook to match your yarn (for lace thread maybe ~1.5-2.5 mm)
- Scissors and tapestry needle for weaving in ends
- Optional: a piece of fabric or towel to attach the lace ribbon to
✏️ Abbreviations (US terms)
- ch = chain
- sl st = slip stitch
- sc = single crochet
- dc = double crochet
- tr = treble (if used)
- st(s) = stitch(es)
- rep = repeat
- … * = repeat instructions inside
- ( … ) = work all inside same stitch or space
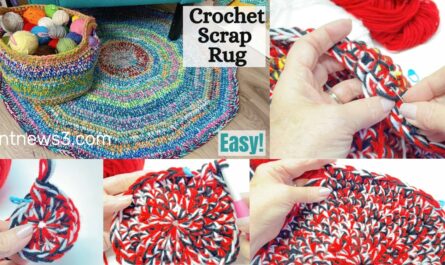
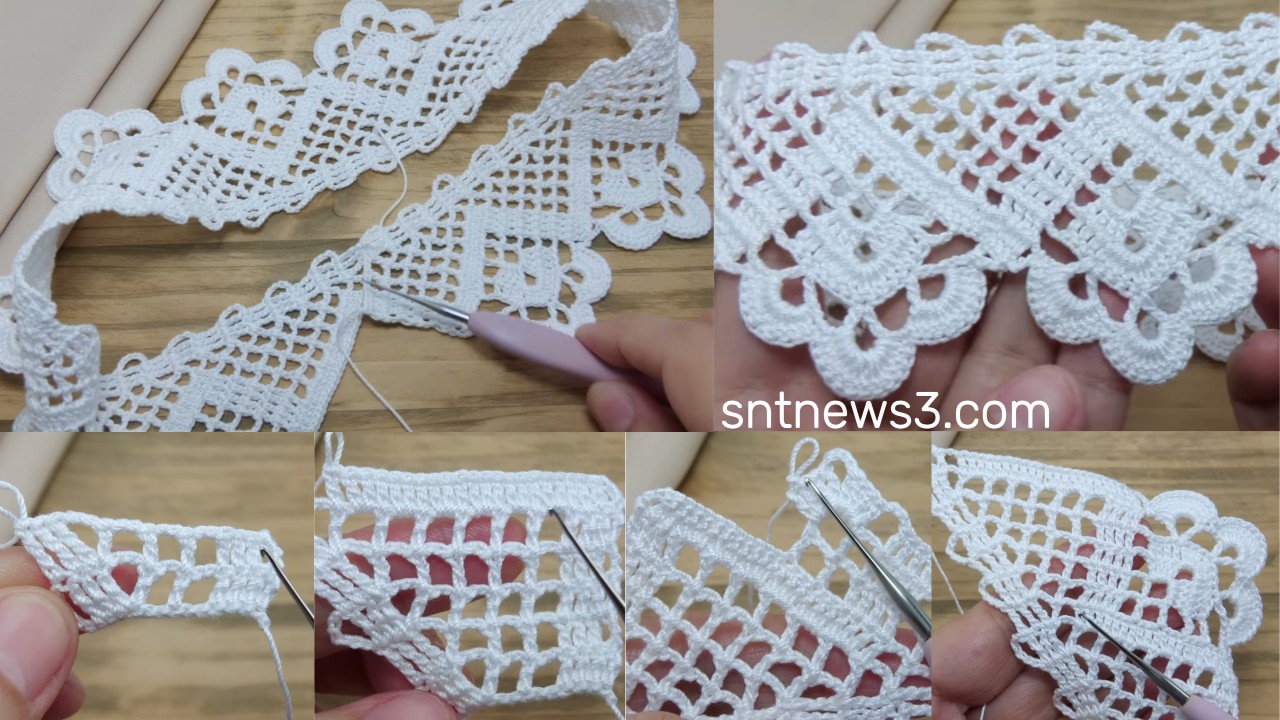
🌿 Pattern Overview
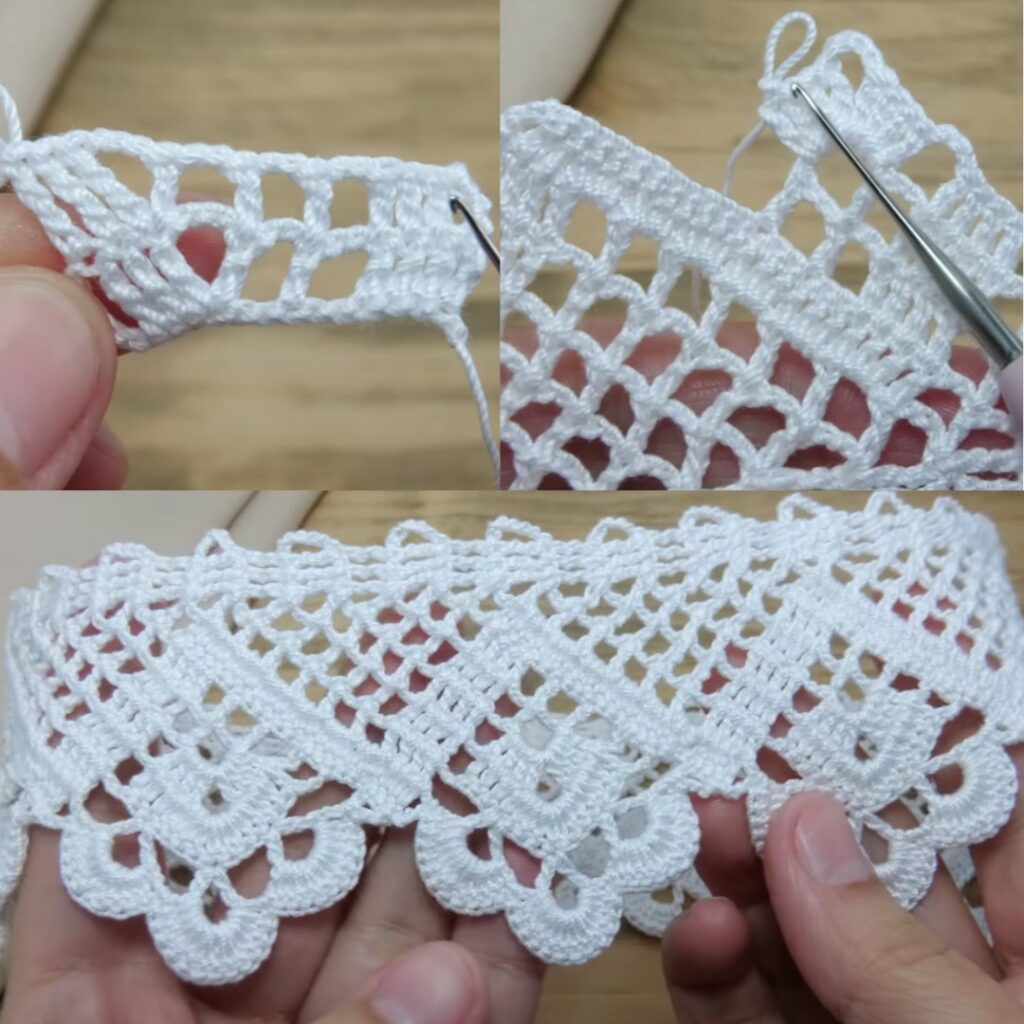
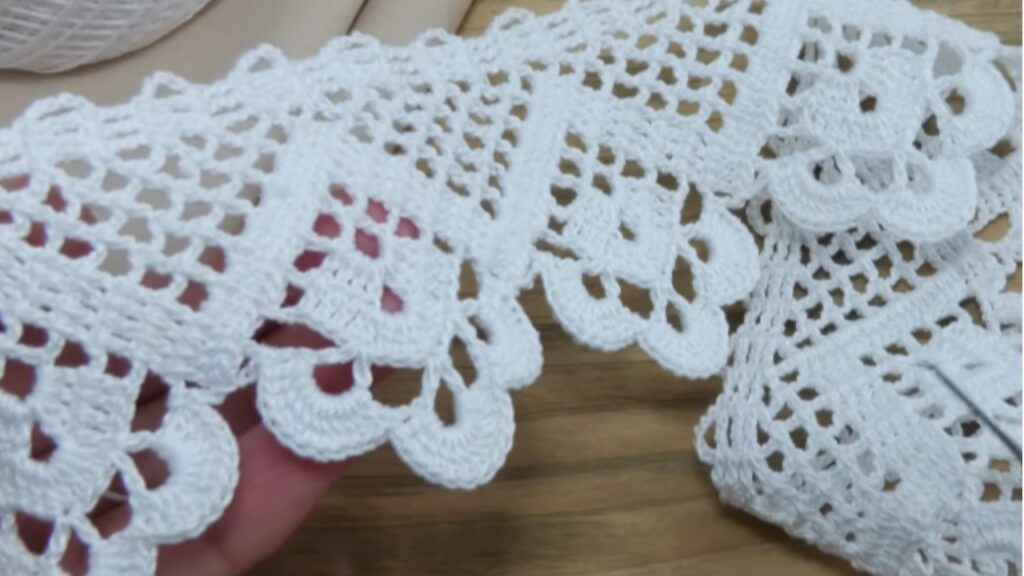
The lace ribbon (кайма) is worked in multiple rows, building up a narrow strip with a repeating motif of chain loops and shell/fan clusters. Because it’s a ribbon, you work one row after another, turning each time, and can adapt the width by repeating more or fewer motif rows.
The tutorial video demonstrates how to work this ribbon and shows how simple it is.
✅ Step-by-Step Instructions
Here’s a practical adaptation of the video’s pattern. You may adjust counts for your yarn/thickness.
Step 1 – Foundation Chain
- Decide desired width of lace strip—for example about 3-4 cm wide when done.
- Chain a number of stitches that will form the base and turning chain. For example: ch 30.
- If using thicker yarn, fewer chains may be needed; if very fine thread, you might chain more.
- Turn (ch 1 if needed for sc start).
Step 2 – Row 1 – Base Row
- Starting in the 2nd chain from the hook, work sc in each chain across. (If ch30, you’ll have ~29 sc).
- At end, ch 1, turn.
- This row establishes a stable base.
Step 3 – Row 2 – Loop/Space Row
- Work sc in next 2 sts.
- ch 4, skip 1 stitch, sc in next stitch.
- sc in next 2 sts, ch 4, skip 1 st, sc in next st — repeat across the row until near end.
- At end, sc in last stitch.
- ch 1, turn.
- This gives you a row of chain-4 loops which will hold the lace motif in next row.
Step 4 – Row 3 – Motif Row
- sc in first stitch.
- In each chain-4 loop from previous row work: (dc 3, ch 2, dc 3) — making a fan or shell cluster inside each loop.
- After each fan cluster, sc in the next base stitch ( between loops ) to anchor.
- Repeat across: fan cluster in loop, sc in next base st.
- At the end: sc in last stitch.
- ch 1, turn.
- You now have a row of fan shells along the loops.
Step 5 – Row 4 – Alternate Loop Row (Optional)
- sc in first stitch.
- ch 4, skip next cluster or appropriate number of stitches, sc in next anchor stitch.
- Repeat across: loop above cluster, sc in anchor.
- At end: sc in last st.
- ch 1, turn.
- This row gives extra open loops above motifs — optional depending on width/enclosure desired.
Step 6 – Repeat Motif & Loop Rows
- Continue alternating Motif Row (Row 3) and Loop/Space Row (Row 4) until your ribbon reaches the desired length or you have the width you want.
- The ribbon can be made longer by repeating motif rows and loop rows in succession.
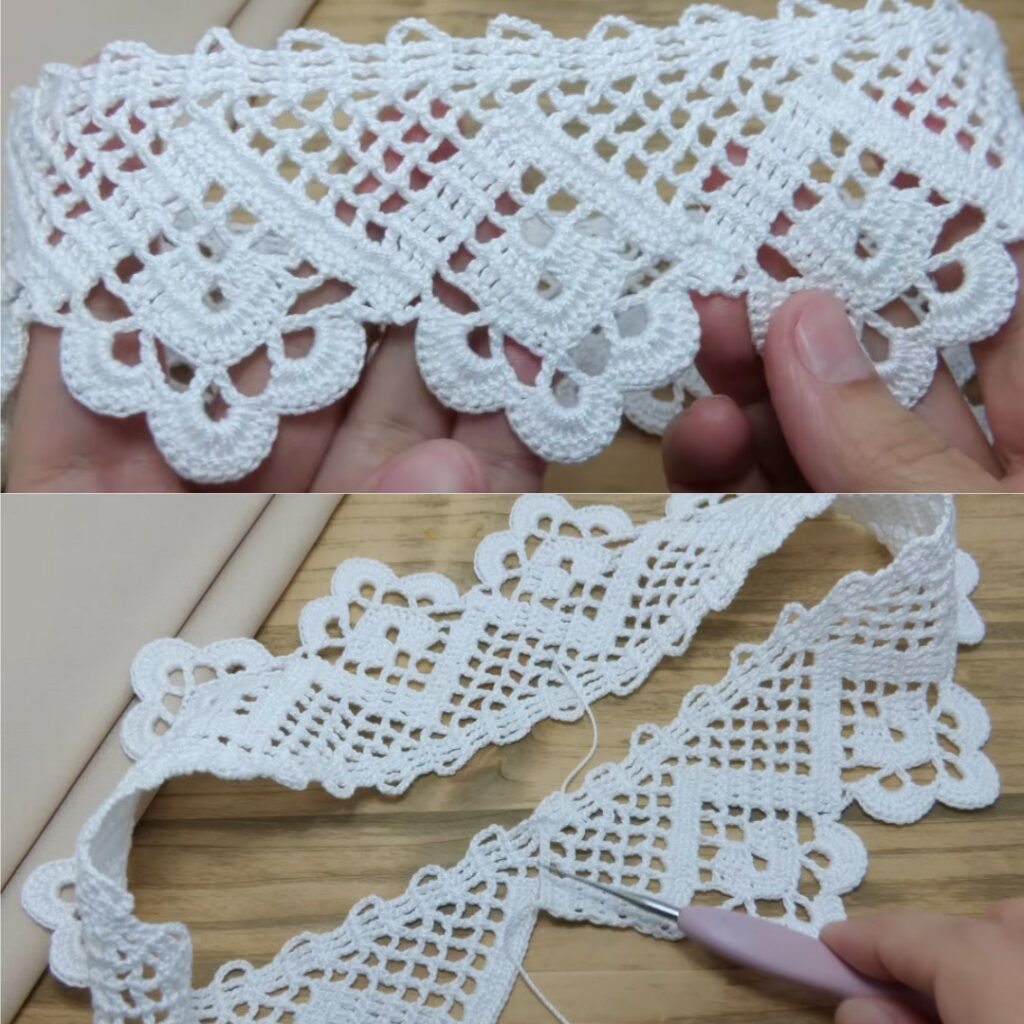
Step 7 – Finish Edge
- After you complete the last motif row (or loop row if you end there), work 1 row of sc across for a clean, stable edge.
- Fasten off yarn, cut tail.
- Weave in all loose ends with tapestry needle.
- If you intend to use this lace as an edging, sew it onto your fabric/towel/garment along the bottom row (Row 1 base) using a matching thread or slip stitch with same yarn.
📋 Quick Reference Table
| Row | Action |
|---|---|
| Row 1 | sc across foundation chain; ch 1 turn |
| Row 2 | sc x2, ch 4 skip 1, sc … repeat across; ch 1 turn |
| Row 3 | sc first; (dc 3, ch 2, dc 3) in each loop, sc in next anchor; ch 1 turn |
| Row 4 | sc first; ch 4 skip cluster, sc in next anchor; ch 1 turn |
| Repeat | Alternate Row 3 & Row 4 until desired length/width |
| Finish | 1 row sc across + fasten off + weave in ends |
✨ Tips & Adaptations
- For a narrower lace strip, you might skip the loop row (Row 4) and just repeat motif row multiple times.
- Use fine thread and small hook for very delicate lace — great for collars, trim; use thicker yarn and bigger hook for decorative border for blanket or cover.
- Keep chain-4 loops consistent in length so lace width stays even. If loops seem too long or saggy, use ch 3 instead.
- To attach to fabric, pick up stitches into the fabric edge or sew after finishing.
- Because this is ribbon style (lentá – ленточное), you work width first then length by repeating across.
Video: