by
by Nice day! Below is a clear, step-by-step English crochet tutorial (US terms) “Incredibly Beautiful Motif Pattern for Beginners” and shows two finished projects you can make from it: a blouse and a lightweight jogger (pants) built from motif panels. I wrote everything so you can work straight from the text: materials, a single motif worked round-by-round, blocking and joining, how to assemble a blouse and how to make a comfy motif jogger (elastic waist). I include sizing guidance (S/M/L), yarn estimates, and troubleshooting.
Make one test motif first and block it — measure its width and weight, then use those numbers to scale the garment and compute yarn.
Quick facts
- Skill: beginner → easy-intermediate
- Terms: US crochet terms
- Projects: motif blouse (panel method) and motif jogger (motif panels → legs → waistband)
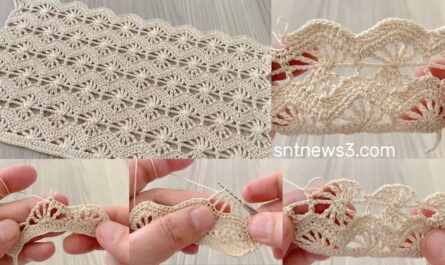
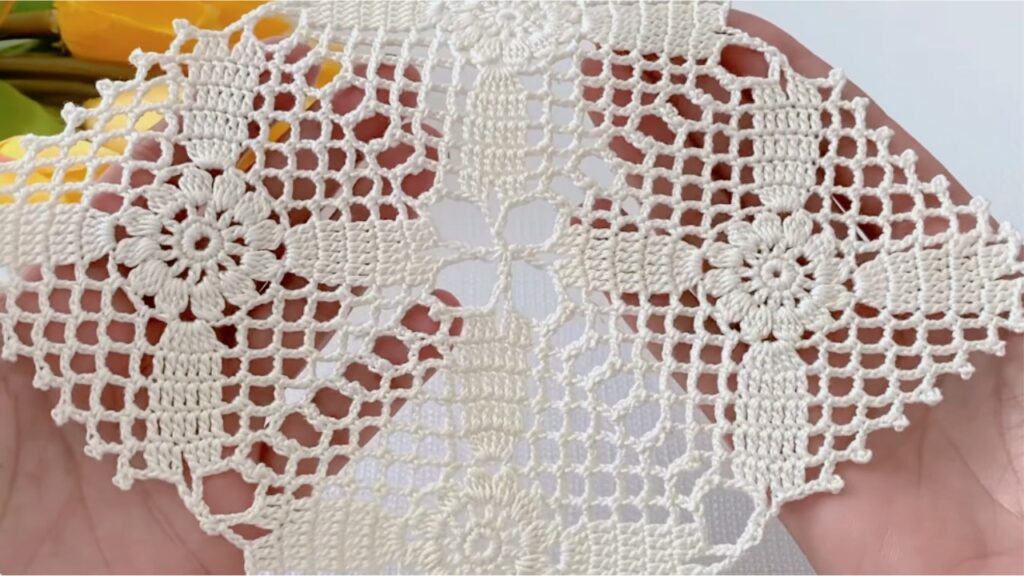
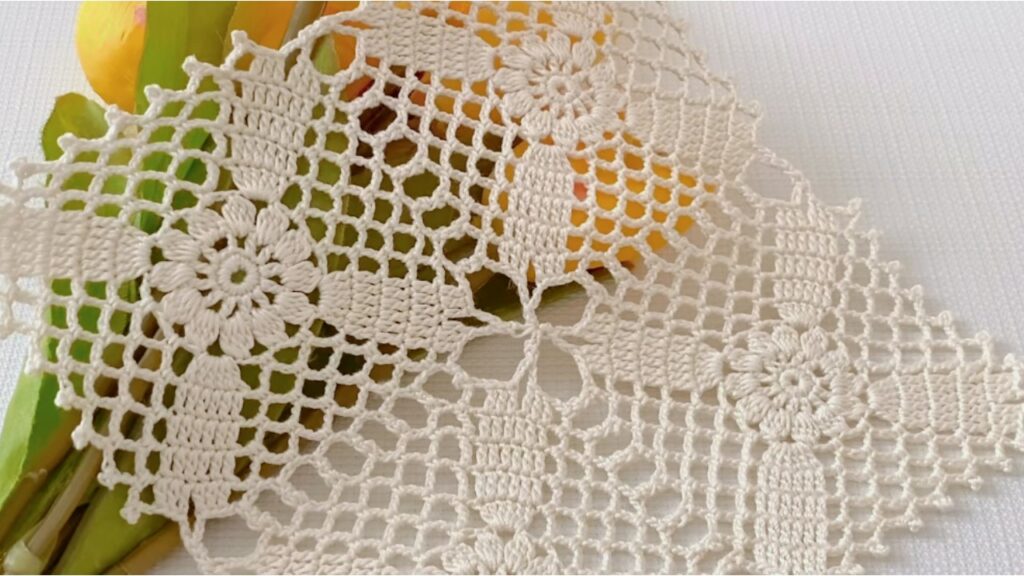
- Working motif: round → squared lacy motif that tiles neatly
Materials
- Yarn: sport / DK (cotton or cotton blend recommended for garments). Use a softer yarn for comfy joggers.
- Hook: 3.0–3.5 mm (adjust to yarn & gauge)
- Elastic for waistband (width 2–4 cm) and safety pin for threading elastic (jogger)
- Tapestry needle, blocking pins / mat, scissors, stitch markers.
- Optional: small buttons, narrow ribbon for ties, drawcord.
Approx yarn (very rough):
- Blouse (S/M/L): 300–700 g DK depending on size & length.
- Jogger (S/M/L): 700–1400 g DK (pants need more yarn). Always weigh a motif to estimate accurately.
Abbreviations (US)
ch, sl st, sc, hdc, dc, tr, sp, st, rep, Rnd, RS = right side, JAYG = join-as-you-go
The Motif — worked round by round (one motif)
Make 1 motif, block it, measure W cm (width across flats) and weigh it (g). Those two values let you compute motif counts and yarn.
R1 — center ring
- Magic ring. ch 3 (counts as dc), work 11 dc into ring (12 dc total). Pull tight. Join with sl st to top of ch-3.
R2 — anchor loops
- ch 1, sc in next dc, ch 3 — rep around (12 sc + 12 ch-3 loops). Join.
R3 — small petals
- Sl st into first ch-3 loop.
- In each loop work: (sc, ch1, hdc, 3 dc, hdc, ch1, sc) — one tapered petal. (12 petals) Join.
R4 — arch connectors
- ch 1, sc in outer sc of petal, ch 5 — rep around (12 ch-5 arches). Join.
R5 — large fans (alternate)
- Into every other ch-5 arch work (sc, ch1, hdc, 5 dc, hdc, ch1, sc) (big fan).
- Into the alternate arches work (sc, ch3, sc). Join.
R6 — tall loops
- ch 1, sc in first sc, ch 7, sc in next sc — rep around (12 ch-7 loops). Join.
R7 — top fans
- In each ch-7 loop: (sc, ch2, 3 dc, ch2, sc). Join.
R8 — make 6 corners (hex → square conversion)
We have 12 top fans; to square the motif into a 4-sided tile, group 3 top fans per side and create 4 corner ch-3 spaces:
- ch 3 (counts dc), 3 dc in next fan, 3 dc in next fan, in the third fan of the group work (3 dc, ch 3, 3 dc) (corner).
- Repeat the [3dc,3dc,corner] sequence 4 times. Join.
Tip: if motif looks a little off, shift which top fan becomes the corner so the 4 corners are evenly spaced.
R9 — tidy sc (join round)
- ch 1, sc evenly around; 3 sc in each corner ch-3 to round them. Join. Keep yarn attached if you plan JAYG. Optional R10 scallop: skip 2 sc, 5 dc in next sc, skip 2, sc next sc.
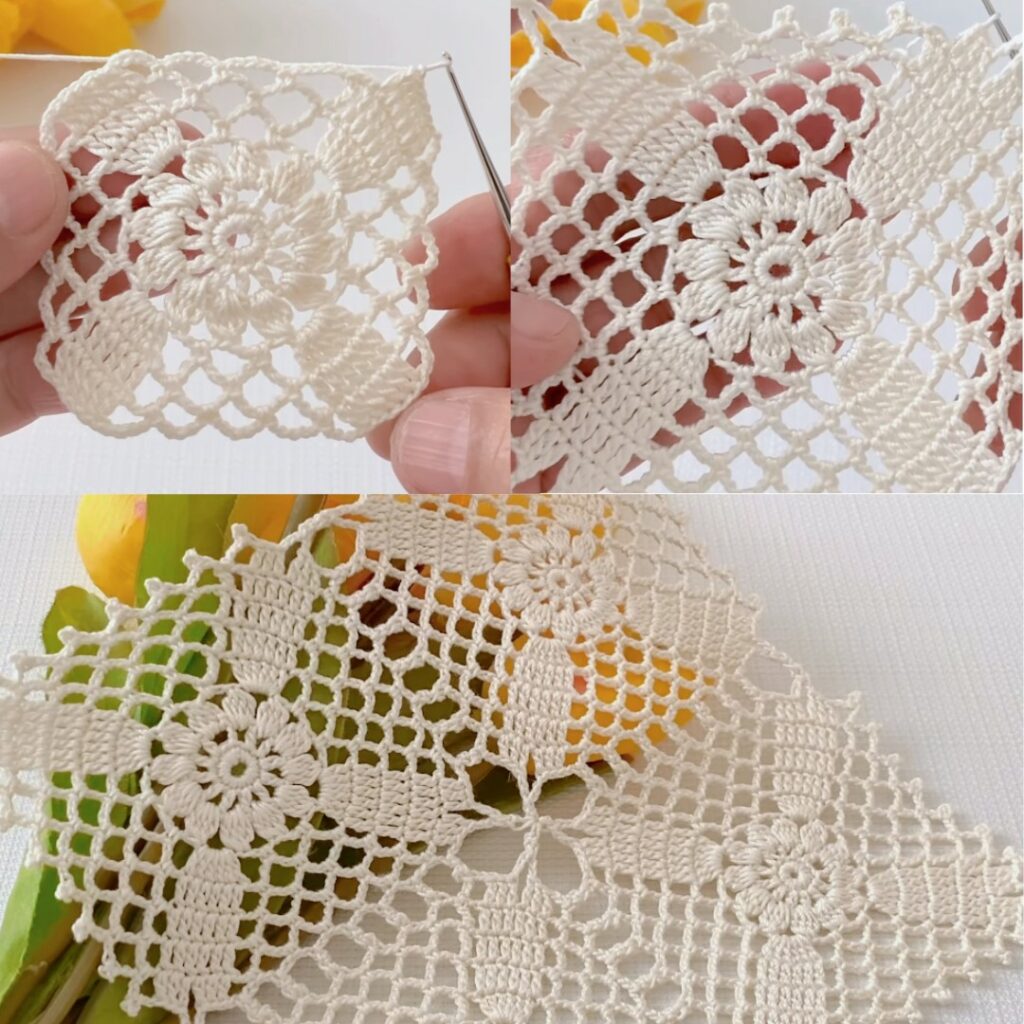
Block the motif to final size.

Join motifs — recommended method (Join-As-You-Go)
Do joins during R9 for flat seams.
JAYG micro-rule: when the new motif’s R9 reaches a stitch that meets a finished neighbor: replace the plain sc with:
sc in your motif stitch, ch 1, sl st into corresponding sc (or corner sc) of neighbor, ch 1
- For corner joining to two neighbors: sl st into both neighbors’ corner ch-3 spaces, spacing sl sts with ch-1 so corner stays open.
- Build rows left→right; for each new row join to motif above and to left as you go. Pin motifs for alignment if needed.
Alternative: Sew after blocking with mattress stitch (back loop only) for flat seams.
Blocking & sizing
- Block motifs pinned to the same W to get an even grid. Measure W and use these formulas:
motifs_across = round(desired_panel_width_cm / W)motifs_down = round(desired_panel_height_cm / W)total_motifs = motifs_across × motifs_down
Use motif weight to calculate yarn:total_yarn_g ≈ g_per_motif × total_motifs + 10–15%.
Project 1 — Motif Blouse (panel method)
Simple, comfortable blouse made from motif rectangles.
Design choices
- Make two identical rectangular panels (front & back) and seam shoulders & sides, OR make front as two halves for open front. Crop or full length: choose rows of motifs height accordingly.
Sample S/M/L layouts (blocked motif W ≈ 10 cm example)
- S (bust 86 cm): motifs across ≈ 9 total → front = 4 + back = 5 across; rows = 2 (crop) or 4 (full)
- M (bust 96 cm): motifs across ≈ 10 total → front 5 + back 5; rows = 2–3
- L (bust 106 cm): motifs across ≈ 11 total → front 5 + back 6; rows adjust to length
(Use your W to compute exact counts.)
Steps
- Make motifs: total = front_motifs + back_motifs + extras for straps/adjustments. Block them.
- Join motifs into two panels (JAYG recommended). Arrange so pattern radiates evenly.
- Shoulder seams: join top row motifs leaving neck opening centered. Example: leave 1–2 motif widths unjoined in middle for neckline (measure on body). Pin & try on before final seam.
- Side seams: seam from hem up to desired armhole (leave 1 motif height or so open for sleeve opening).
- Neck & armhole finishing: pick up stitches along opening and work 1 round sc, then optional scallop (skip2 sc, 5 dc, skip2 sc, sc). Weave ends.
- Optional straps / short sleeves: add 1–2 motifs at shoulder edges for cap sleeves or crochet narrow straps (ch 60, sc back) and sew.
Fast tips
- If blouse feels too open: add a light lining or wear a camisole underneath.
- To alter fit: add or remove motif columns (across) for width, rows for length.
Project 2 — Motif Jogger (lightweight motif pants)
Make a comfy jogger built from motif panels. This approach makes a loose, lacy summer jogger — add a lining or wear leggings underneath if you want more coverage.
Design idea: build two front leg panels and two back leg panels (each panel = column(s) of motifs), seam into tubes, join tubes at crotch, add elastic waistband.
Basic measurements & planning
You need:
- Waist circumference (Wc), hip circumference (Hc), desired rise (distance from waist to crotch), and desired inner leg length.
- Decide motif width W (blocked). Compute how many motifs across to cover hip comfortably:
motifs_across_total = round(Hc / W)→ divide by 2 for front/back halves and by 2 again for left/right leg panels depending on layout. Practically: make 2 panels per leg (left & right) or 1 panel per leg depending on motif width.
Simple layout (comfortable, looser jogger)
- Make four panels: front-left, front-right, back-left, back-right. Each panel is a rectangle
motifs_across_panel × motifs_down(height = leg length + waistband allowance). - Example (W = 10 cm, hip 100 cm): motifs_across_total = 10 → per half (front) = 5 motifs across; split into 2 panels per leg → each panel ~ 2–3 motifs across (round to integers). For more precise, you can use 1 panel per leg if motif is wide.
Steps to make jogger
- Decide motif grid per panel: compute motifs across and down based on hip and leg length. Add extra row(s) at top for waistband fold/elastic casing (~4–6 cm). Add hem allowance for bottom (~2–3 cm) if desired.
- Make motifs and join into rectangles for the four panels. Block.
- Sew panel seams:
- For each leg: seam the inner side seam of front-left to front-right (or seam each panel into a tube), then seam the front and back panels together at the side seams forming each pant leg tube.
- Join the two leg tubes at the crotch: turn one tube inside out and align to insert the other, seam across crotch (simple method: position tubes RS together and seam from center front to center back). Alternatively, fold the two tubes and seam the inner leg seam across both at once. (If uncomfortable with this step, sew panels into two long rectangles and follow standard pant tube join method — pin and try on as you go.)
- Waistband:
- Fold top edge down to make an elastic casing: fold over enough to accomodate elastic width + 0.5–1 cm (e.g., fold 3–4 cm). Sc around to make casing, leaving a small opening to insert elastic. Or sew a separate fabric/elastic band and stitch to top inside.
- Measure elastic to waist minus ~2 cm for stretch; attach safety pin and thread through casing, overlap and sew elastic ends securely, close opening.
- Add drawcord/tie if desired (use chain cords or purchased drawcord).
- Hem: finish bottom edge with 1–2 rounds sc or narrow shell. Optionally add ribbing: work hdc BLO for 4–6 rounds for a cuff effect.
- Final block & try-on: lightly block and adjust seam tension if needed.
Fit tips
- Ease: for a relaxed jogger, add 10–15 cm ease at hips (i.e., hip measurement + ease). For fitted, use 4–6 cm ease.
- Crotch depth: make sure the rise is comfortable — you can add extra rows at top to increase rise.
- Coverage: motifs are lacy — add lining or wear leggings if you want modesty.

Sewing & finishing notes (both garments)
- Use mattress stitch for invisible joins when sewing seams by hand. For seams that will take stress (waistband), secure with stronger backstitch or use a sewing machine.
- Always weave in ends on the wrong side and tie securely for elastic areas.
- Block assembled garments to open lace and even seams before final finishing.
Yarn & yardage method (accurate)
- Crochet and block one motif. Weigh it (grams).
- Compute
total_motifsfor your project. total_grams ≈ g_per_motif × total_motifs + 10–15%(joins, edging)- Convert grams to skeins by label weight.
Example: motif = 10 g, blouse needs 30 motifs → 300 g + 10% ≈ 330 g → buy 350–400 g.
Troubleshooting & tips
- Motifs slightly different sizes? Block them evenly; add an extra sc round to small motifs.
- Joins pulling? Use ch-2 in JAYG joins or sew with mattress stitch.
- Jogger waistband too large or small? Re-measure elastic length; you can remove or add elastic easily by re-opening casing.
- Motifs lopsided: shift which top fan becomes corner in R8 so four corners are even. This is normal for the first motif.
- Want more coverage for jogger? Add a cotton lining or sew a lightweight fabric tube inside as a lining.
Quick checklist before you start
- Make 1 motif → block → measure W (cm) and weight (g).
- Plan layout (panels) using formulas above.
- Crochet motifs in batches, block them.
- Join motifs into panels (JAYG recommended) and assemble garment panels.
- Sew seams, add elastic or bands, finish edges, final block.
VIDEO: