by
by Great — here’s a clear, follow-by-step text tutorial you can use at the sewing machine to recreate Matt’s “Curvy Log Cabin” quilt from the Jordan Fabrics video. I’ve written it as a practical workshop: materials, cutting strategy, exact sewing sequence, layout, quilting and finishing tips. I also call out the parts where the official pattern gives exact measurements (use the pattern if you want the exact finished sizes and counts).
At-a-glance facts (quick references)
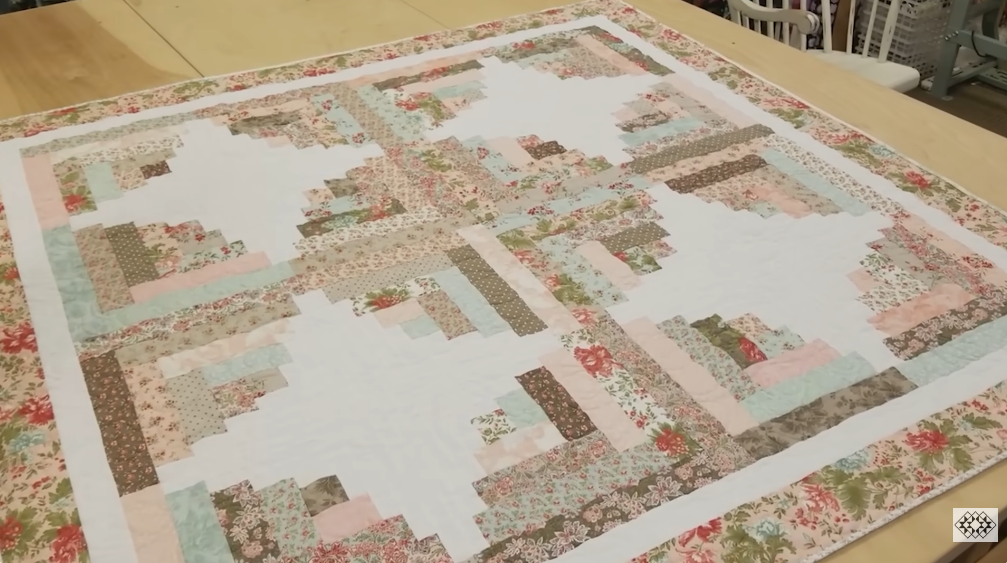
- Pattern name: Curvy (Curvy Jelly Roll) Log Cabin — a jelly-roll friendly log-cabin variation demonstrated by Matt at Jordan Fabrics.
- Typical working strip width: 2½” (jelly roll / strip friendly) — the project is designed to show a full jelly-roll used for a single quilt in many demos.
- The free pattern example is often shown at about 68″ × 68″ (throw / lap) in Jordan Fabrics material and demos — check the pattern for alternate sizes.
Materials (make one throw; scale per pattern)
- 1 jelly roll (40 × 2½” pre-cuts) or equivalent cut 2½” strips from fat quarters/yardage. Use a mix of lights and darks if you want the classic log-cabin contrast
- Background / neutral fabric — about 2–3 yards (for setting pieces, borders). Exact yardage depends on chosen finished size.
- Backing — about 3.5–4.5 yards (or larger to fit the finished quilt plus 4–6″ ease).
- Batting — slightly larger than finished top (e.g., 72″ × 72″ for a 68″ quilt).
- Binding — about ½–1 yard (depends on width of binding and quilt size).
- Notions: rotary cutter, long ruler (24″ recommended), 6½” or 8½” square ruler (for trimming), sewing machine with ¼” foot, pins/clips, iron & pressing surface, marking tool.
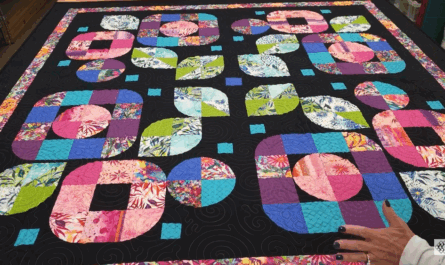
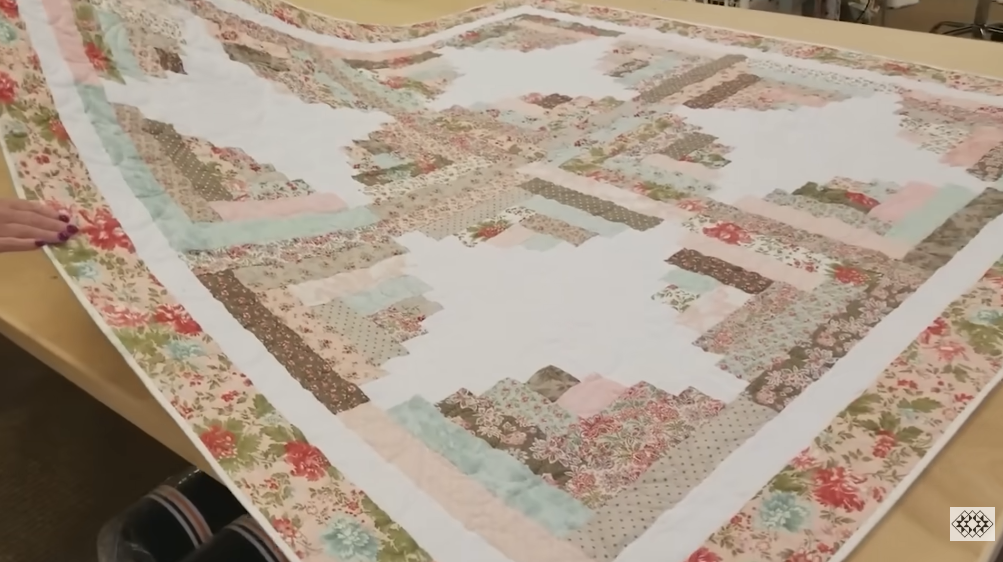
What makes it “curvy”
The visual “curvy” movement in this Log Cabin layout comes from how the blocks are built (light vs dark sides), how blocks are trimmed/offset, and especially how the blocks are laid out and rotated in the field — not from sewing literal curved seams. Matt’s demo uses strip-pieced log-cabin blocks (built in numeric strip order) and a strategic on-point / offset layout so the light/dark paths read like flowing curves across the quilt. Follow the pattern and the layout photos in the video to reproduce the same flowing effect.

Step-by-step tutorial (follow this at your machine)
1) Watch the demo once
Watch Matt’s Curvy Log Cabin video to see his rhythm and how he lays blocks out. The hands-on demo shows how he decides which strips go on the light side vs the dark side as he builds the blocks — that choice is what produces the flowing lines.
2) Prep & organize strips
- If using a jelly roll, press the strips lightly so they lie flat. Sort the strips into light and dark/medium piles. The classic log-cabin look depends on alternating these when you build blocks.
- If cutting your own, cut 2½” WOF strips from fat quarters or yardage and stack them into light/dark piles.
3) Make center squares (block starts)
- Decide your center square size (pattern uses a small center — the pattern PDF gives the exact measurement; 2½” or 3″ centers are common). Cut the center squares from a neutral or a focal fabric.
4) Build log-cabin strip sets (numeric order)
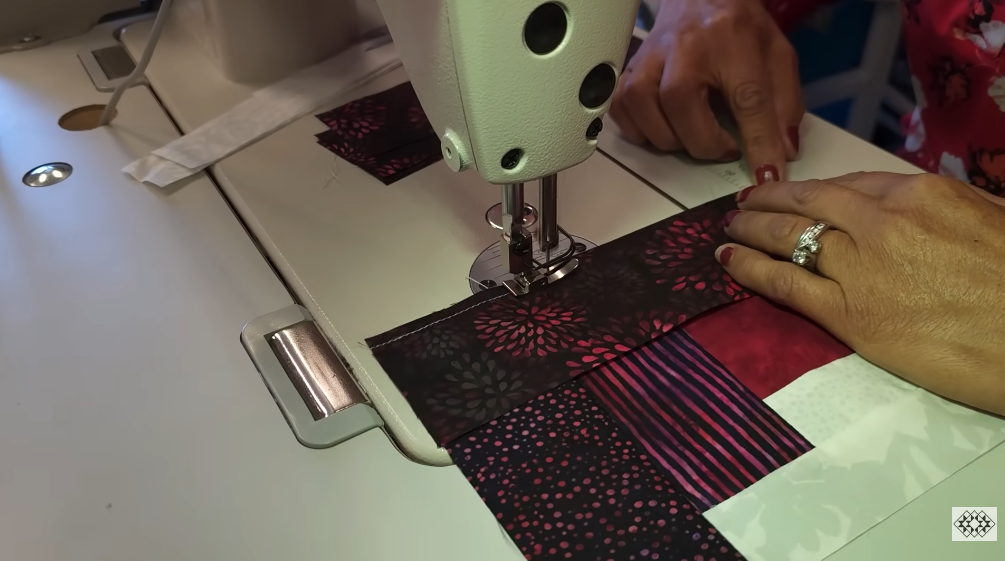
- Log-cabin blocks are built by adding strips in sequence around the center square. For each block:
- Sew a strip to one side of the center square (press seam away from the square).
- Turn the unit and sew a strip to the adjacent side (the pattern assigns the order — typically you add side, top, side, bottom in numeric order).
- Continue adding strips around the square, using the same order for every block, alternating light and dark sides so one pair of adjacent sides reads light and the other pair reads dark. This contrast is what makes the “logs” read as paths.
- Chain-piece many blocks: sew many strip additions in a continuous chain to speed the process, then cut the chain apart and press. Matt demonstrates batch work so you end up with many complete log-cabin blocks quickly.
5) Make blocks uniform & trim
- After building each block to the required number of strips (the pattern indicates final block size), trim/square each block to the uniform unfinished block size (pattern will give finished/block sizes). Trimming is crucial — consistent block size is what allows a flowing layout later. Use a square ruler and a ¼” seam allowance reference for accuracy.
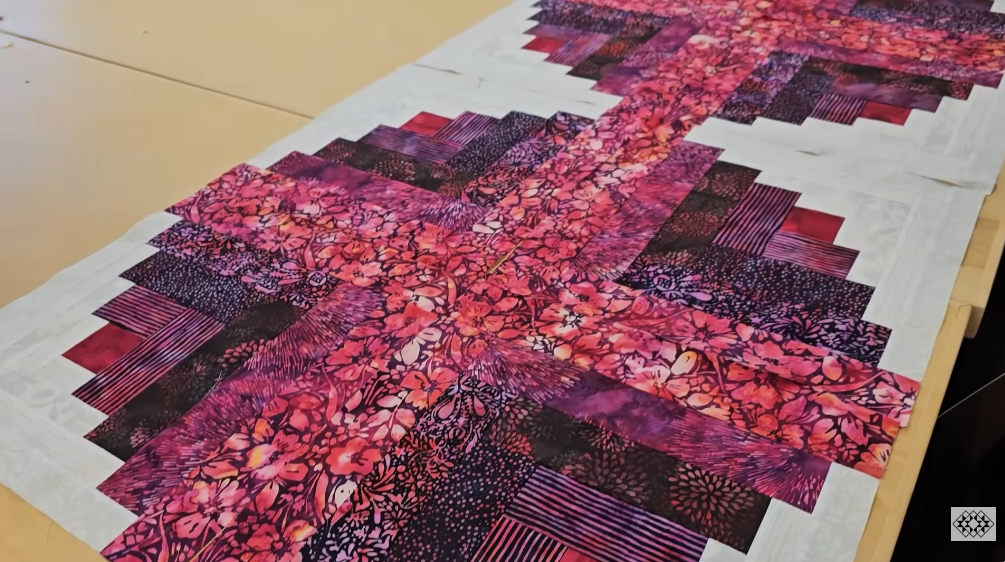
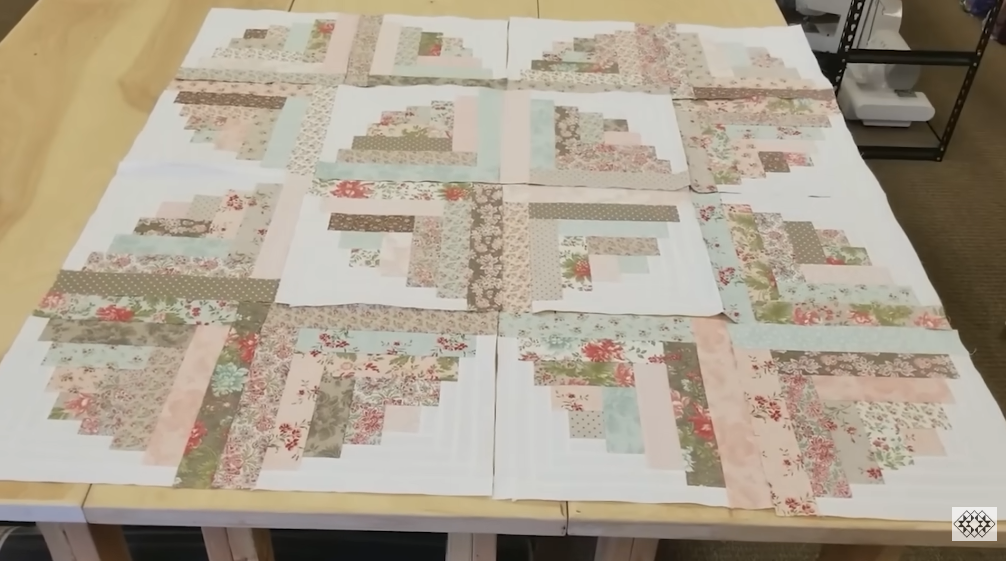
6) Arrange blocks to create the curvy effect
- Lay out all trimmed blocks on a design wall or floor. The Curvy Log Cabin effect is achieved by:
- Rotating blocks so that the light sides and dark sides form continuous bands, and
- Offsetting rows (shifting every second row half a block, or using on-point / staggered layouts) so the bands flow like curves rather than straight lines.
- Matt’s demo experiments with different rotations and offsets until the “curve” movement reads across the top — copy his layout choices or play with your own until you’re happy.
7) Sew rows & join the top
- Sew blocks into rows, nesting seams where possible. If you’ve offset rows, pay attention to seam matching at offset seams — pin generously at joining points. Press rows after sewing. Join rows to finish the quilt top. Double-check overall measurements and square the top.
8) Add borders (optional)
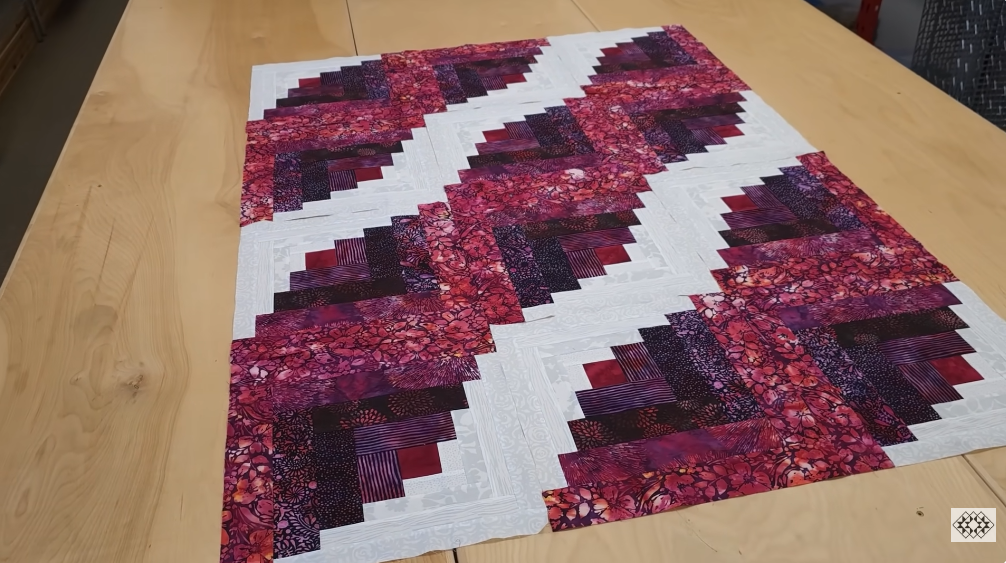
- Add one or more borders to frame the curvy field. A narrow inner border of neutral fabric helps the log bands read clearly; a wider outer border finishes the quilt to the desired dimensions. Measure the assembled top and cut border strips to fit exactly (allowing ¼” seam allowances).
9) Baste the sandwich
- Baste backing + batting + quilt top using spray basting or safety pins. Smooth layers carefully so the curved visual lines aren’t distorted.
10) Quilt — motif suggestions
- Choose quilting that enhances the flowing bands:
- Echo / channel quilting that follows the light/dark bands will emphasize the curvy movement.
- Diagonal or wavy machine quilting across the whole top can enhance motion without competing with the piecing.
- For a simple finish, an all-over meander keeps texture without distracting from the strips.
- Matt typically shows gentle echoing or channel quilting in his demos so the strip paths remain the star.
11) Trim, bind & finish
- Trim batting/backing even with the quilt top, make binding strips (2½” is common), attach binding, and finish by machine or hand as you prefer. Label your quilt and enjoy!
Practical tips & shortcuts Matt shows in the video
- One jelly roll = 1 quilt workflow: using a single jelly roll simplifies fabric selection and ensures coordinating prints. Matt demonstrates how a jelly roll can fill the whole quilt.
- Batch work: chain-piece multiple strip additions, then sub-cut and square — much faster than making one block at a time.
- Consistent ¼” seam is essential for tidy blocks and clean flowing bands. Use a ¼” foot and test stitch length on scrap.
- Trim liberally during practice — if you’re new to the pattern, allow a little extra fabric when cutting setting pieces and trim down after assembly rather than cutting too tight at the start.
When you want exact measurements
The Jordan Fabrics Curvy Log Cabin pattern and product pages include precise cutting lists, block sizes and recommended finished sizes — use the free pattern for accurate block dimensions or if you want to make a specific size other than the throw example. The video demonstrates the same steps but the printed pattern gives the numeric cut list you’ll need for exact yardages.
VIDEO: