by
by Kitty Kitty — step-by-step tutorial
(How to recreate the “Beautiful ‘Kitty Kitty’ Patchwork Quilt” shown in the Jordan Fabrics video)
Nice choice — the Kitty Kitty quilt is a strip-friendly patchwork design (Cozy Quilt Designs) that Jordan Fabrics demos using 2½” strips and a simple, repeatable assembly flow. Below I’ve written a machine-ready, numbered tutorial you can follow start-to-finish: materials, cutting, batch workflows, exact sewing order, trimming notes, layout, borders, quilting and finishing. I tested the steps against the pattern details shown on the shop’s pattern page and the Jordan Fabrics demo so this matches how the video builds the quilt.
Quick facts you should know before you start
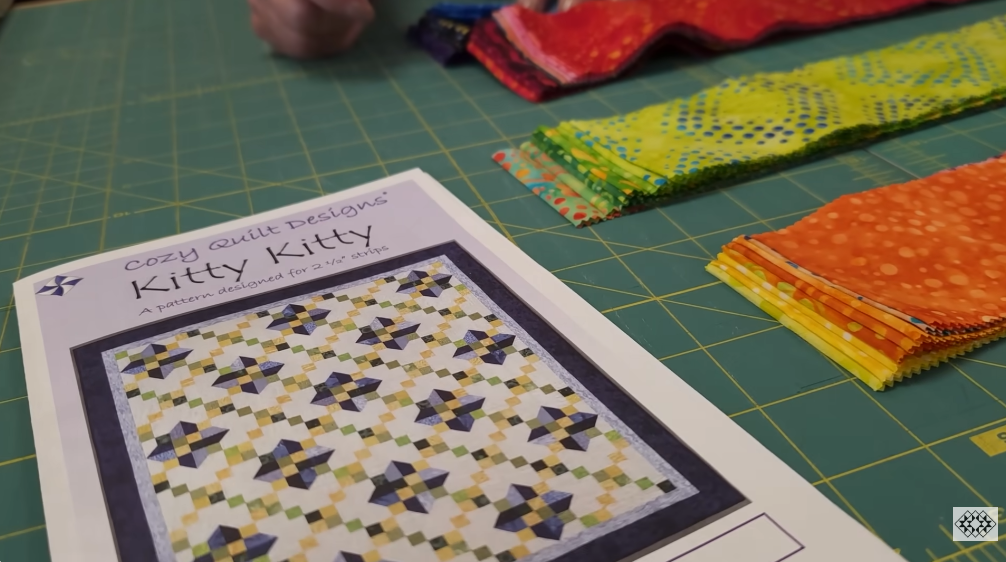
- Pattern: Kitty Kitty (Cozy Quilt Designs). The pattern is written for 2½” strips (jelly-roll width) and includes a large lap size example (72″ × 84″).
- Technique used in the video: strip-piecing → sub-cut → assemble small patch units in batches → trim → lay out → add setting/borders → quilt. The Jordan Fabrics demo follows that exact rhythm.
Materials (sample—makes approx 72″ × 84″ lap as shown)
- Main fabrics: 2½” strips — number depends on how scrappy you want; pattern/sample uses multiple strips (a jelly-roll worth, plus extras for variety).
- Background / neutral (setting & sashing): ~3–4 yards (adjust by size).
- Border fabric: ~1–1½ yards.
- Backing: ~5 yards (or piece to size).
- Batting: a piece slightly larger than finished top (e.g., 76″ × 88″).
- Thread, rotary cutter, cutting mat, rulers (24″ and square), sewing machine with a reliable ¼” foot, iron/pressing surface, pins/clips, basting pins or spray baste.
Prep (do this first)
- Press all strips flat. Sort strips into value groups (lights/mediums/darks) if you want a controlled look; leave them mixed for scrappy.
- Confirm the strip width — 2½” — you will build long strip sets then sub-cut them.
Step-by-step construction
1 — Decide your block & strip formula
The video makes small patch units from strip-sets. A common, reliable formula (and the one used in the demo) is:
- Sew BG (background 2½”) + Color (2½”) + BG (2½”) to form a 7½” wide strip set — this gives a balanced color + background band that will be sub-cut into the patch pieces.
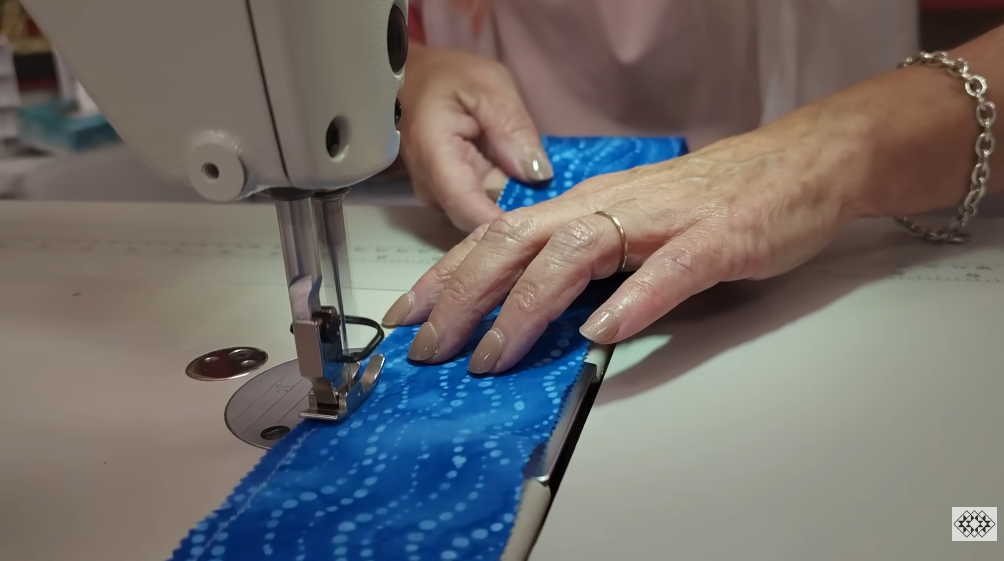
2 — Chain-piece long strip sets (batch)
- Chain-piece many of these 7½” strip sets at once, using a consistent ¼” seam. Press seams the same way on every set (press toward background or open — be consistent so pieces nest later).
3 — Sub-cut stacked blanks
- Stack several strip sets and sub-cut them into identical squares/rectangles (for example, cut 7½” squares from the strip set). Cutting stacked pieces keeps everything uniform. Cut a few extras for trimming allowance.
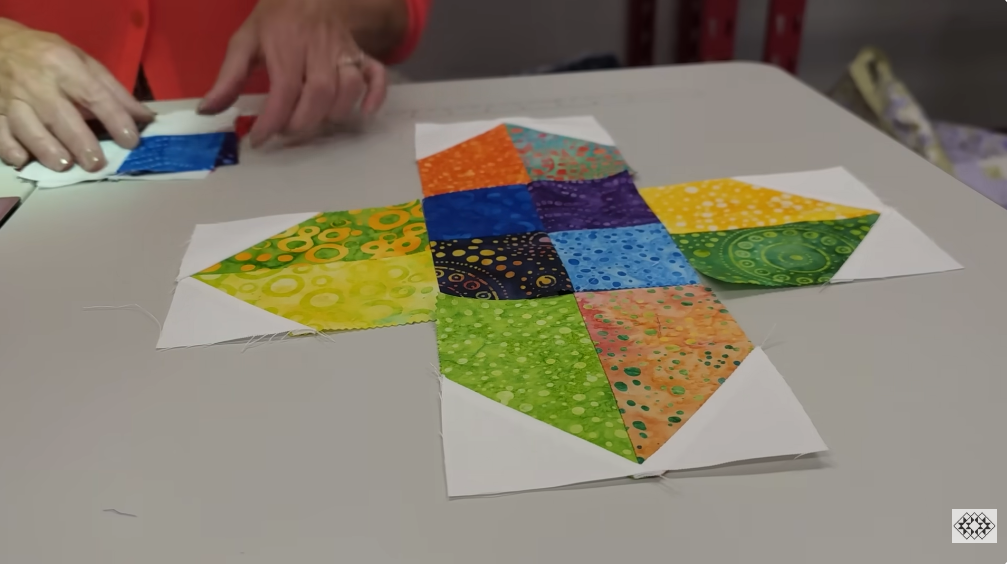
4 — Make the small patch units
- The Kitty Kitty block is assembled from those strip-set blanks plus a few small background pieces (the video shows making the repeating patch units in batches):
- Pair or group strip-set squares/rectangles according to the block diagram (i.e., some pieces will form short two-strip sections, others will act as linking units).
- Sew those small components into the block’s sub-units (chain-sew many identical sub-units). Press seams after each sub-unit.
- Assemble sub-units into a finished block and trim the completed block to the pattern’s block dimension (trim early & often — the demo emphasizes accuracy).
Practical batching tip: make all like sub-units at once (e.g., every “left half” in one stack, every “right half” in another) so assembly becomes simple joining.

5 — Trim each block to uniform size
- Use a square ruler and trim each finished block to the same unfinished dimension required by the pattern. Accurate trimming here prevents cumulative error when joining dozens of blocks.
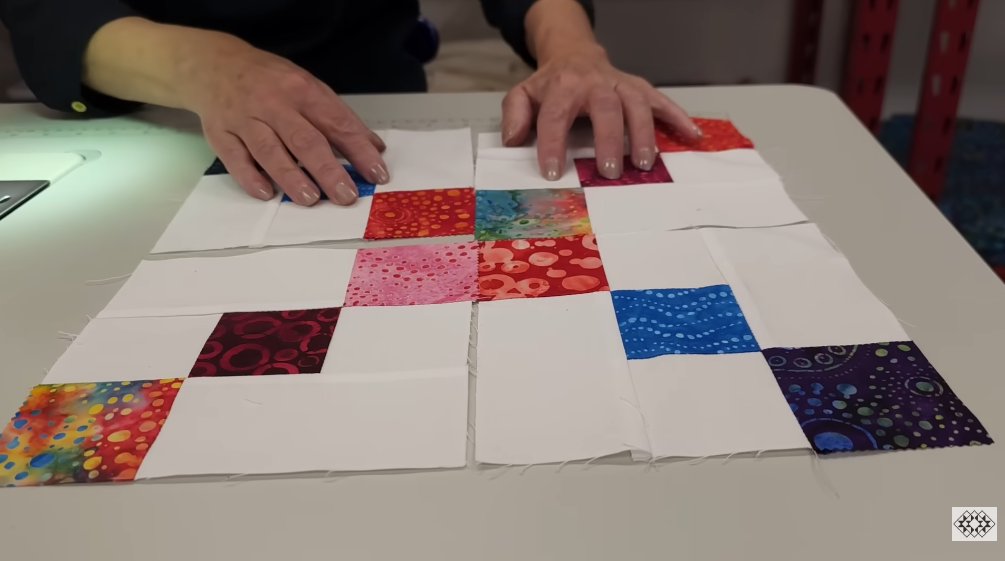
6 — Layout & color balance
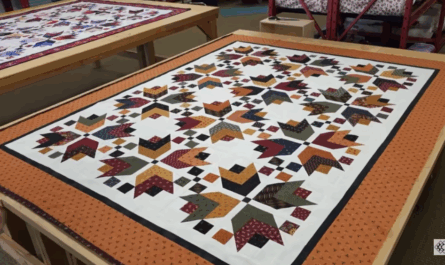
- On a design wall or the floor, lay out all trimmed blocks in the grid the pattern shows. Shuffle units until color/value balance is even across the top — step back and view from a distance to catch hotspots. The Jordan Fabrics video shows Matt and Donna adjusting blocks for even color flow.
7 — Join blocks into rows
- Sew blocks into rows with a ¼” seam allowance, pressing seams in alternating directions where possible so seams nest when joining adjacent rows. Pin intersections where many seams meet.
8 — Add setting strips / sashing (if the pattern uses them)
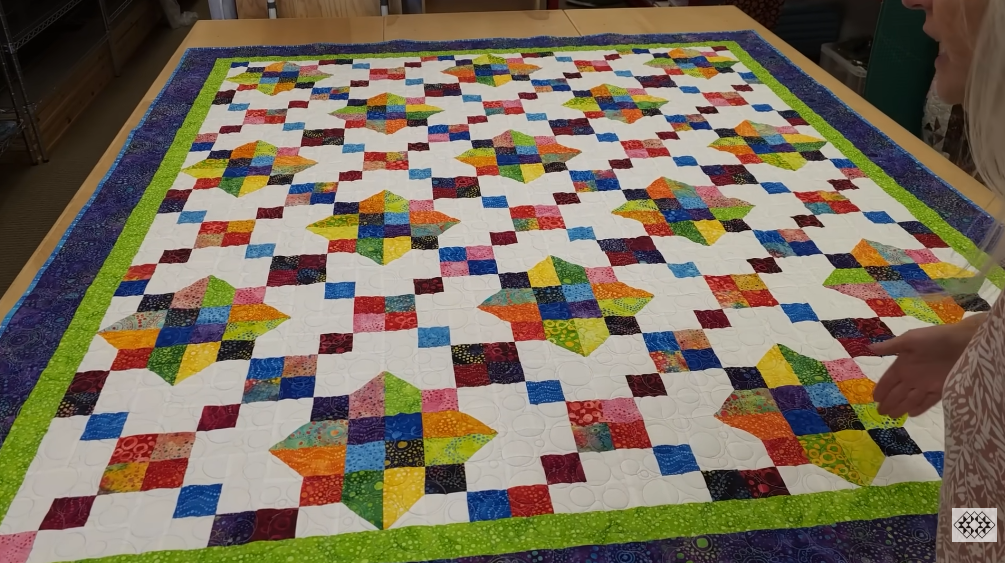
- If Kitty Kitty’s layout includes narrow background sashing or spacer strips, sew them between rows now (or follow the pattern diagram for exactly where to insert setting strips). The background strips help the patchwork read as repeating “kitty” motifs.
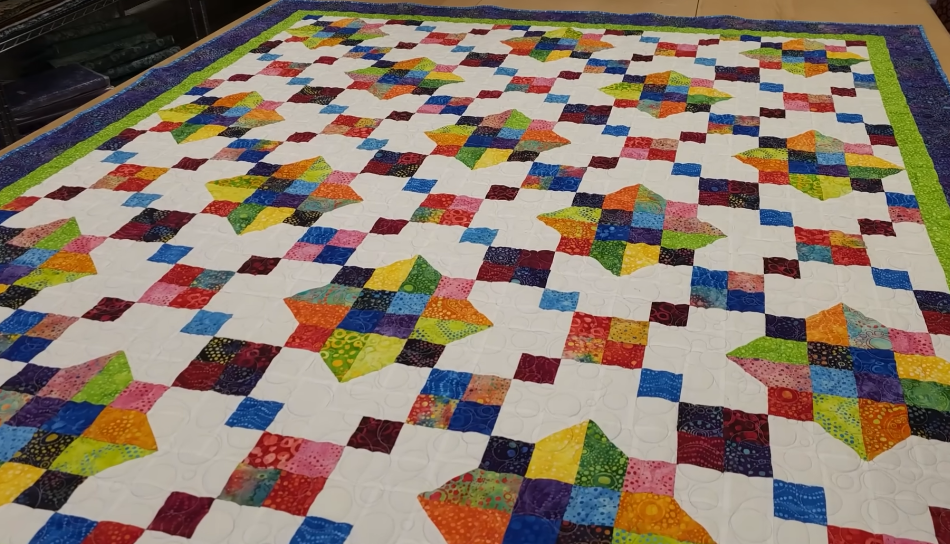
9 — Join rows to make the quilt top; add borders
- Join the rows to complete the quilt top. Measure the assembled top and add inner and outer borders as desired (narrow inner frame + wider outer border is common). Press and square the top after each border sewn.
10 — Baste the quilt sandwich
- Layer backing + batting + top, baste using spray basting or safety pins spaced evenly. Smooth to remove wrinkles and ensure bands stay flat.
11 — Quilting suggestions
- Quilting options that complement this patchwork:
- Echo quilting around motifs emphasizes the repeating shapes.
- Straight-line quilting across the bands (either vertical, horizontal or diagonal) gives a modern graphic finish.
- All-over meander for cozy texture that won’t compete with the busy patchwork.
- Choose a thread color that either blends (subtle texture) or contrasts slightly (stitch definition), depending on the look you prefer.
12 — Trim, bind & finish
- Trim the batting and backing even with the quilt top. Prepare binding strips (2½” strips joined on the diagonal or straight grain). Attach binding, fold to the back and stitch down by hand or machine. Label your quilt and give it a final press.
Accuracy & time-saving tips (from the video demo)
- Use a consistent ¼” seam allowance — this is the single most important thing for accurate blocks.
- Chain-piece and batch every operation (sew many strip sets, then sub-cut many blanks, then sew many identical sub-units). Jordan Fabrics emphasizes the batch rhythm for speed.
- Trim early & often — trim each block to exact dimensions before joining rows to avoid cumulative errors.
- Keep a few spare sub-units cut and ready so you don’t stop mid-assembly if a piece is out of square.
VIDEO: