 by
by Apple Jack — Quick facts
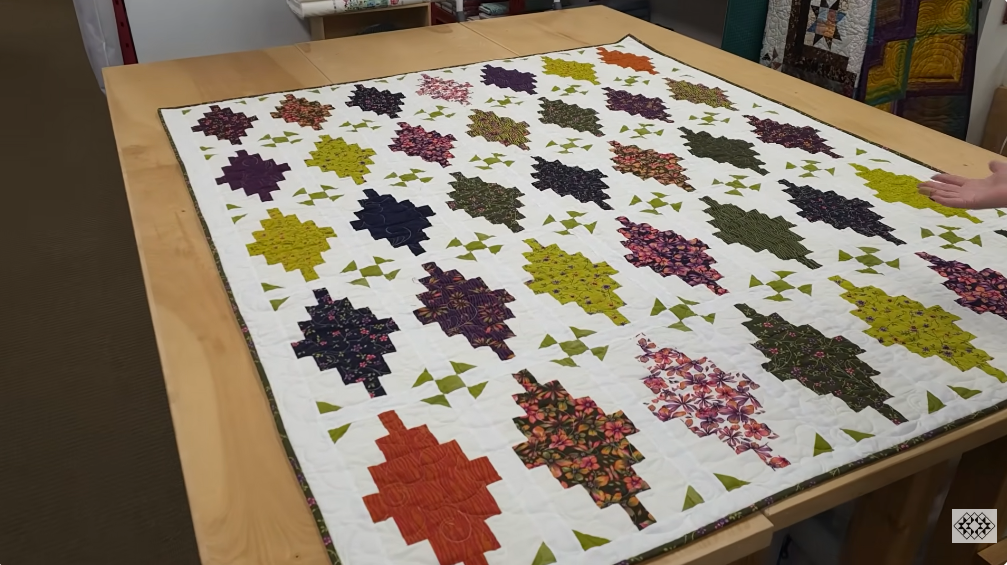
- Pattern designer: BasicGrey / Audrey Tanke (sold via Jordan Fabrics).
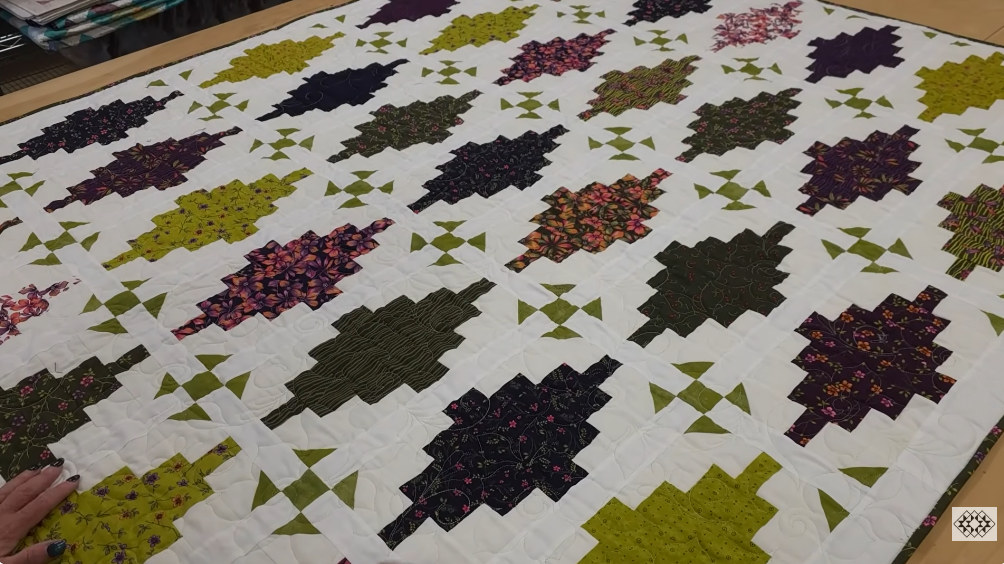
- Shown sample finished size: 62½” × 78½” (lap/throw).
- Finished block size: 7″ × 14″.
- Fabric friendly: 1 jelly-roll (2½” strips) + background & borders.
Materials (make the 62½” × 78½” sample)
- 1 jelly-roll (40 × 2½” strips) — assorted coordinated prints for the pieced rails.
- Background / setting fabric — ~2½–3 yards (for block spacers, triangles and some borders).
- Border fabric — ~1–1½ yards (outer border; may vary if you add multiple borders).
- Backing — ~4.5–5 yards (or piece to fit 62½” × 78½” plus 4–6″).
- Batting — slightly larger than finished top (approx 66″ × 82″).
- Thread, rotary cutter, cutting mat, rulers (24″ and square), sewing machine with ¼” foot, iron/pressing surface, pins/clips, safety pins or spray baste.
Before you start (prep)
- Watch the Jordan Fabrics video once to see their assembly rhythm, pressing choices, and how Matt/Donna chain-piece blocks — the demo shows helpful orientation for the exact sequence.
- Press your jelly-roll strips and background yardage. Sort strips into tonal groups (optional) so you can plan banding/color flow.
Overview of construction
Apple Jack is a strip-pieced design: sew jelly-roll strips into long strip-sets, sub-cut into block parts, assemble into 7″×14″ finished blocks, square/trim, layout in a grid, add borders, then baste/quilt/bind. The pattern is written to be jelly-roll friendly (one jelly roll + background).
Step-by-step tutorial
1 — Cutting & organization
- From your jelly roll: open the roll and press strips flat. Keep them as 2½” × WOF strips. (No initial cutting into smaller pieces yet.)
- From background: cut several 2½” × WOF strips for spacers/frames and cut a few wider background strips (e.g., 3½”–7″) if you plan inner borders or setting pieces. Reserve about 2½–3 yards total.
- Note: the pattern gives the exact number of background pieces for the sample; if you want to follow the pattern exactly, consult the printed/digital pattern for the cutting list
2 — Make the primary strip sets
- Decide how you’ll group strips for the block bands. A common, fast approach that matches the demo:
- Sew jelly-roll strips together in chains in the order you like (no sashing between them) to create long multi-strip sets. For Apple Jack you’ll create strip sets that later are sub-cut and paired to form the 7×14 block units.
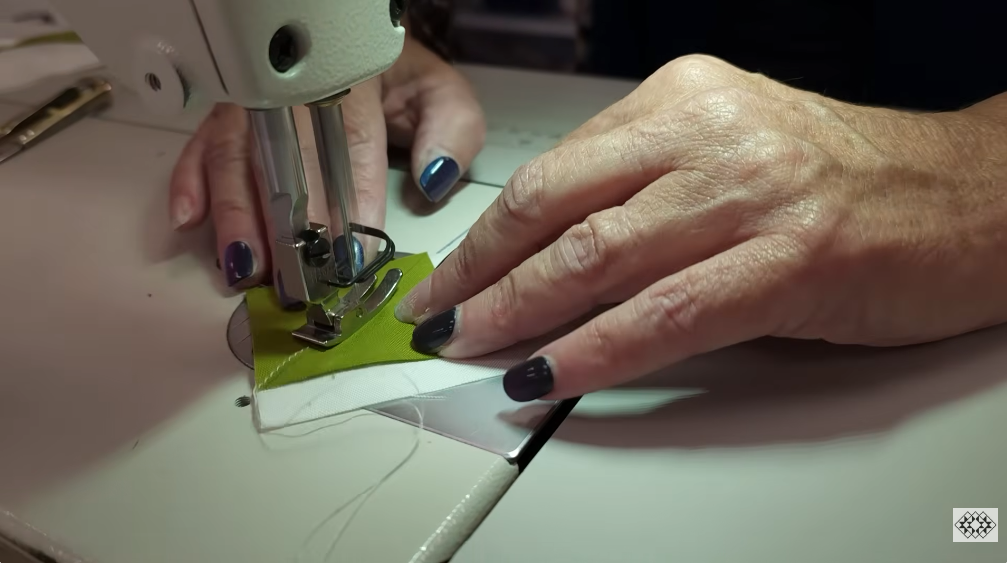
- Chain-piece: stitch long strips end-to-end or in repeated sequences to get several long strip sets (press seams in the same direction or open — be consistent).
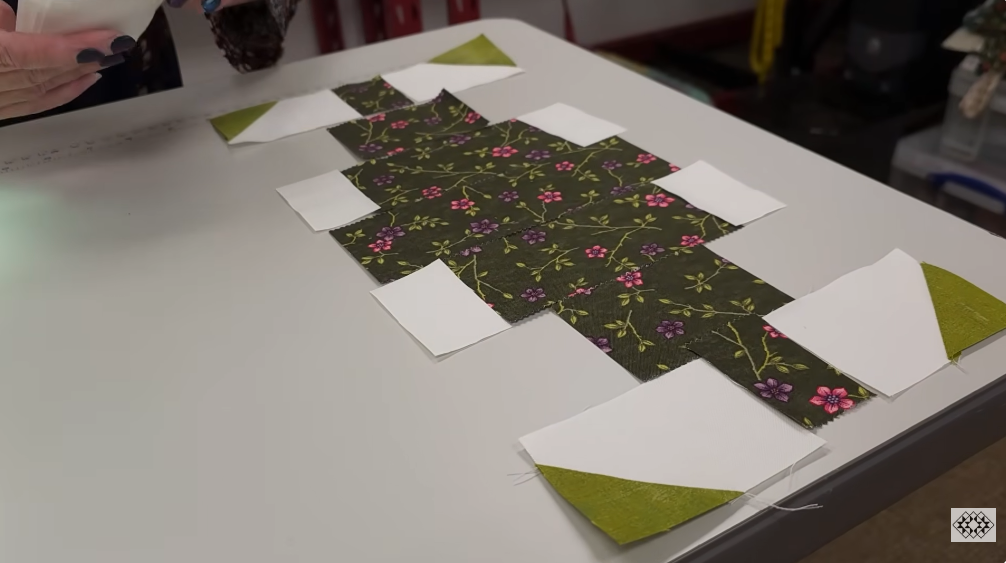
3 — Sub-cut strip sets into block components
- From the long strip sets, sub-cut segments to the length required by the pattern for the block halves (pattern block finishes 7″×14″; you will cut the appropriate sized segments so when joined they become that dimension). If you are improvising:
- A reliable practical flow is to sub-cut long strip sets into 14½” (or the pattern specified unfinished length) long segments that will become the 14″ finished length after allowances and assembly — follow the pattern for exact sub-cut lengths.
- Stack like pieces and cut several at once for accuracy.
4 — Assemble block halves and complete blocks
- Each Apple Jack block is a rectangular unit composed of pieced rails. Sew the paired sub-cut segments together (short edge to short edge) to form the 7″×14″ block unit. Press seams and then trim/square to the block size the pattern specifies (trim so each block is consistent — pattern’s finished block size is 7″×14″).
- Work in batches: assemble multiple identical halves at once, then pair them into full blocks.
5 — Trim & square every block
- After you assemble each block, square it up so it measures the same unfinished size across your entire batch. Accurate trimming prevents cumulative error when joining blocks into rows.
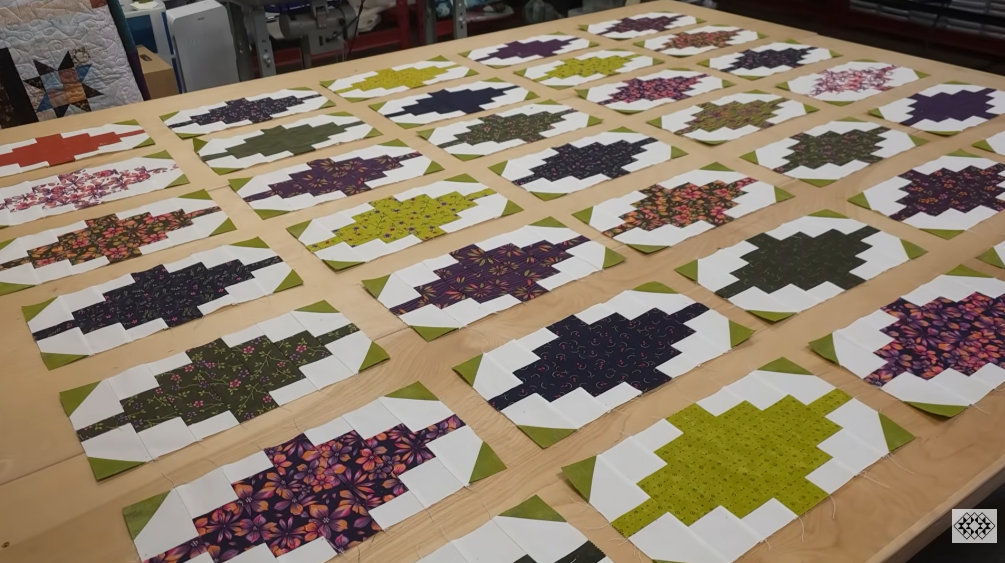
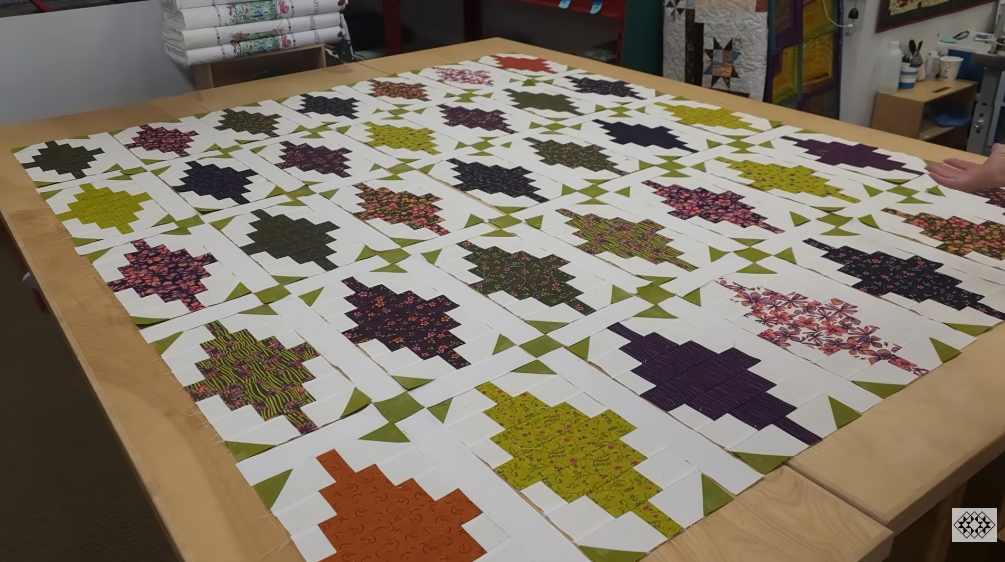
6 — Lay out blocks and plan color flow
- Lay out the finished 7×14 blocks on a design wall/floor in the grid shown in the video/pattern. Shuffle blocks until color & value balance is even across the top — the demo shows stepping back and moving blocks to avoid color “hot spots.”
7 — Join blocks into rows
- Sew blocks into rows using a steady ¼” seam; press row seams so they nest when joining adjacent rows. Pin intersections where multiple seams meet. Continue joining rows until the quilt center is assembled to the pattern layout.
8 — Add setting strips / borders
- Measure the quilt center and add the pattern-specified borders. Apple Jack samples often show an inner narrow frame and a wider outer border — cut border strips to match the measured lengths and sew onto the quilt (sides then top/bottom or vice versa).
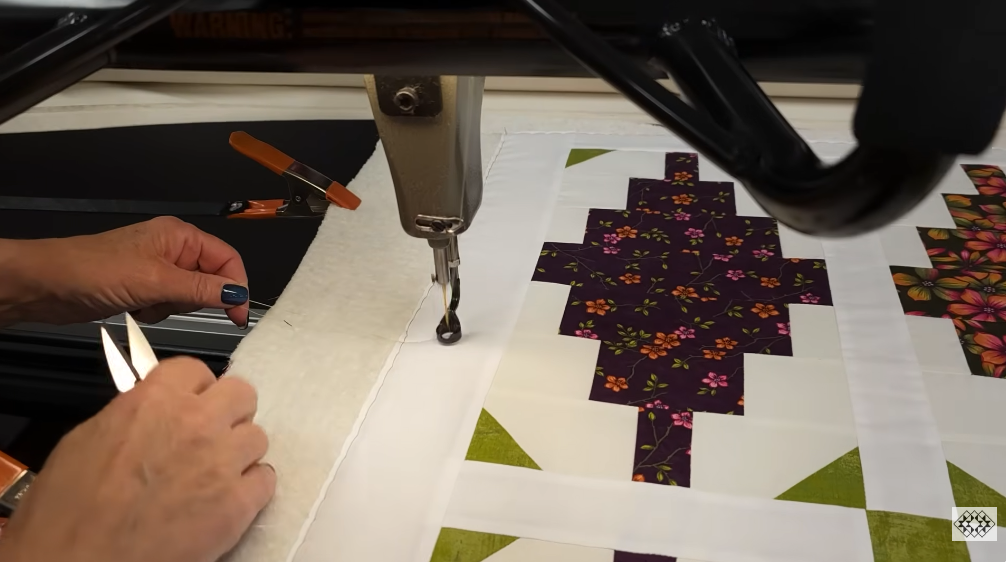
9 — Baste the quilt sandwich
- Layer backing + batting + quilt top. Baste using spray basting or safety pins spaced every 4–6″. Smooth and remove any wrinkles.
10 — Quilt
- Quilting suggestions that complement the linear strip look:
- Straight-line quilting in the rail direction to emphasize the bands.
- Diagonal echoing to add movement across the rectangular blocks.
- All-over meander for a cozy, fast finish if you don’t want quilting to compete with the piecing.
- Choose thread and quilting density appropriate to your batting and desired drape.
11 — Trim, bind & finish
- Trim the quilt sandwich even with the quilt top. Prepare binding strips (2½” standard or your preferred width), sew binding to front, fold to back and hand-stitch or machine stitch to finish. Add a label and press.
Tips & troubleshooting (from the video/pattern practice)
- One jelly-roll friendly: Apple Jack is written to use a single jelly roll — plan strip order before sewing for a pleasing flow.
- Consistent ¼” seam is critical — use a ¼” foot and test seam on scraps.
- Batch processing speeds the project: chain-piece strip sets, stack-cut segments, trim stacked blocks, then assemble blocks in batches (the Jordan Fabrics demo follows that rhythm).
- Trim early & often — square each block before joining rows to avoid cumulative fit problems.
- If a row is slightly short/long: check seam allowances first; very small differences can be eased by small adjustments in pressing or by trimming adjacent blocks.
VIDEO: