by
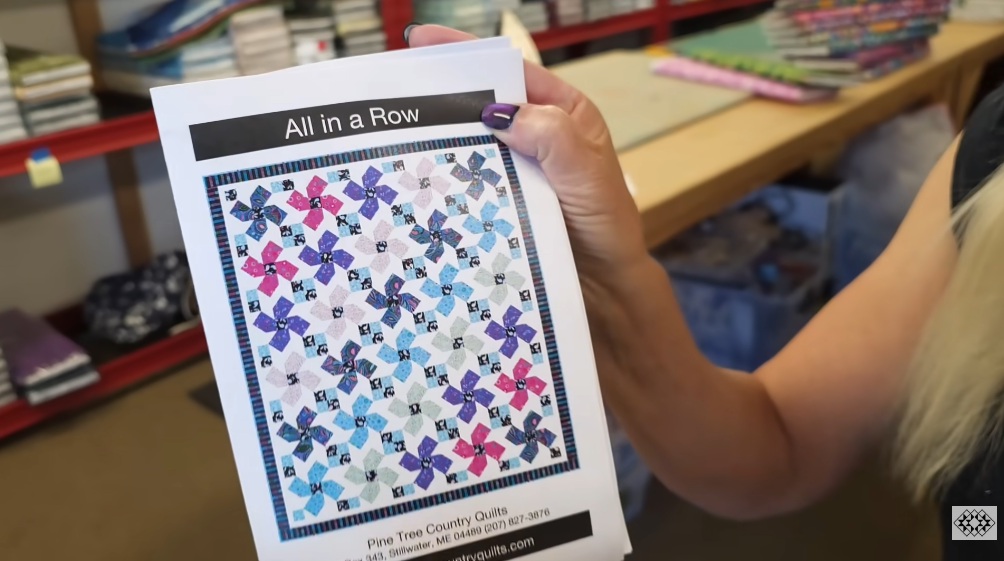
by ALL IN A ROW — Step by Step Sewing Tutorial
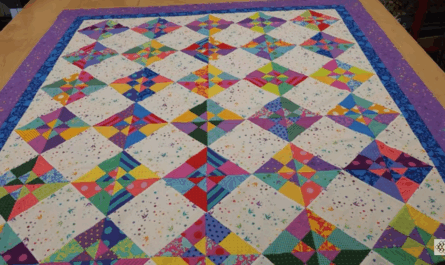
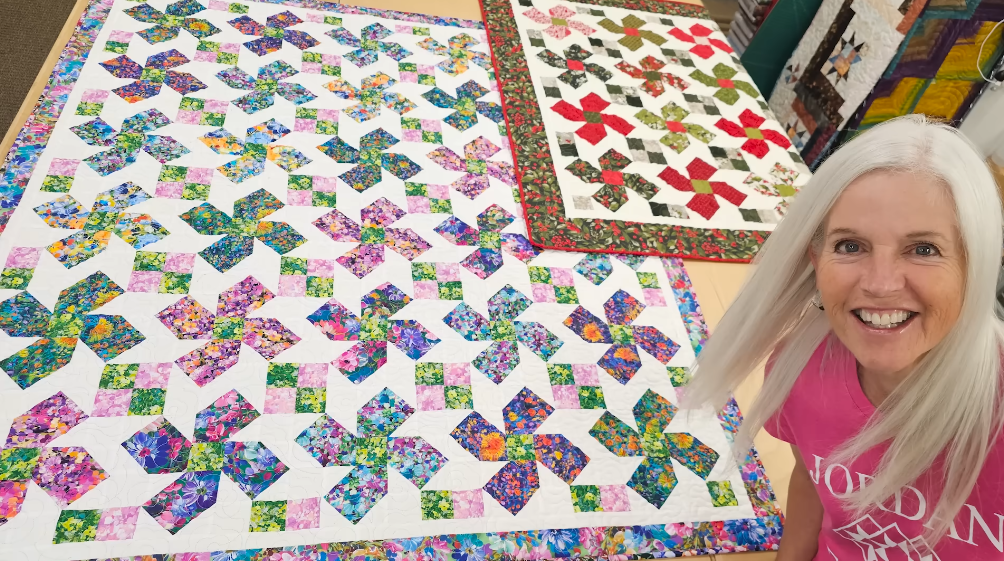
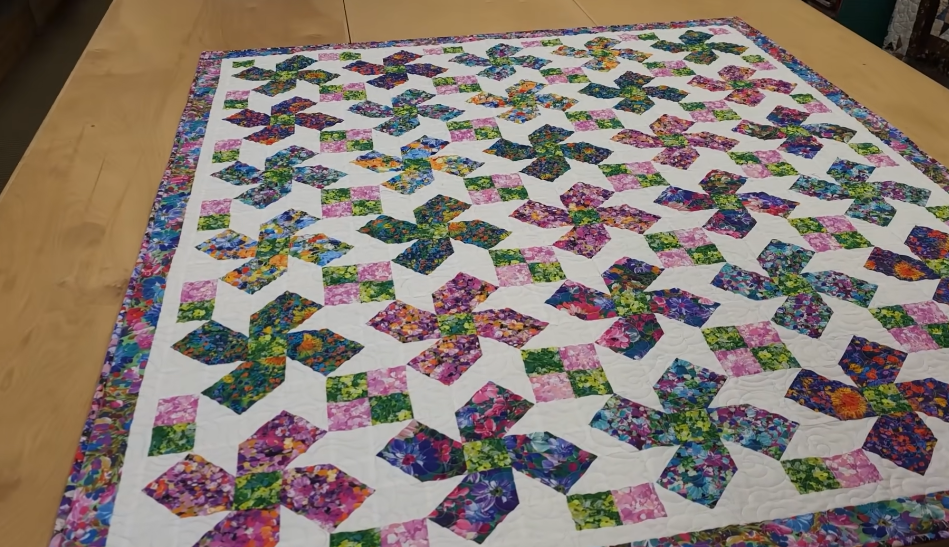
Finished quilt (example): ~56″ × 66″ (pattern size from Pine Tree Country Quilts).
Materials (suggested)
- Assorted prints (row fabrics) — jelly-roll friendly or fat quarters work great. Aim for 8–12 coordinating prints for variety.
- Background / neutral fabric (for sashing/frames) — ~2–2½ yds (depends on how wide your sashing/frame strips are).
- Border fabric — ~1 yd (or more if you prefer wider borders).
- Backing — ~4 yds (for 56″×66″).
- Batting sized ~60″×70″.
- Binding fabric — ~½–¾ yd (or 2.5–3 strips 2.5″×WOF for standard binding).
- Basic tools: rotary cutter, 24″ ruler (or at least 6½”×24″), cutting mat, sewing machine, pins/clips, iron.
- Thread to match.
Notes: Jordan Fabrics often makes quilts “jelly-roll friendly” (2½” strips) — using pre-cuts speeds the process. The Pine Tree pattern lists the 56″×66″ size.
Overview of method
This quilt is a row quilt built from pieced strip units that are trimmed and sewn together into horizontal rows; the rows are then joined to make the quilt top. No curved seams — everything is straight sewing. The steps below follow that flow: cut → make strip units → subcut & assemble rows → join rows → add borders → quilt & bind.
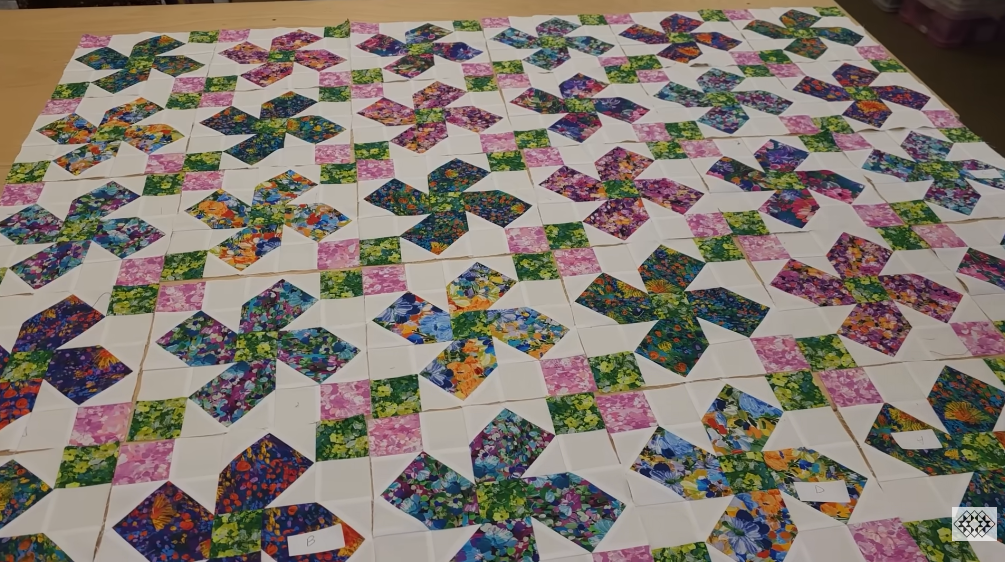
1) Planning & layout
- Decide number of horizontal rows you want. For the 56×66 example you’ll often see about 8–10 rows of piecing (you can adapt).
- Choose the order of fabrics — you can alternate light/dark, random mix, or repeat a set palette for rhythm. Lay fabrics out before cutting so you like the progression.
2) Cutting (jelly-roll / strip friendly method)
(I’ll give measurements using 2½” finished strips — that works with jelly rolls. If you’re using yardage, cut equivalent widths.)
- From each print fabric, cut strip sets: cut strips 2½” × WOF (width of fabric). For variety, you can cut multiple strips from the same print (1–4 strips each depending on how many rows/blocks you want).
- From background/neutral, cut wider strips for sashing/framing. Example: cut 2½” strips for inner sashing and 4½”–6½” strips for outer framing borders (adjust to taste).
- If the pattern requires any squares or special subcuts, reserve some strips to be subcut into squares (e.g., 8½” or 10″ subcuts) — the pattern’s finished block heights determine subcut lengths. The Pine Tree “All in a Row” pattern is yardage-friendly and shows quantities for a 56″×66″ quilt.
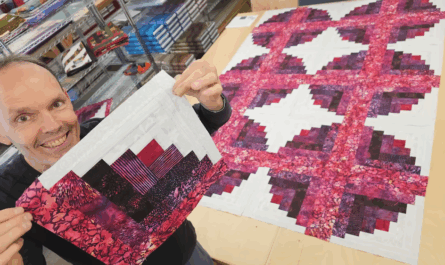
3) Make strip sets (fast piecing)
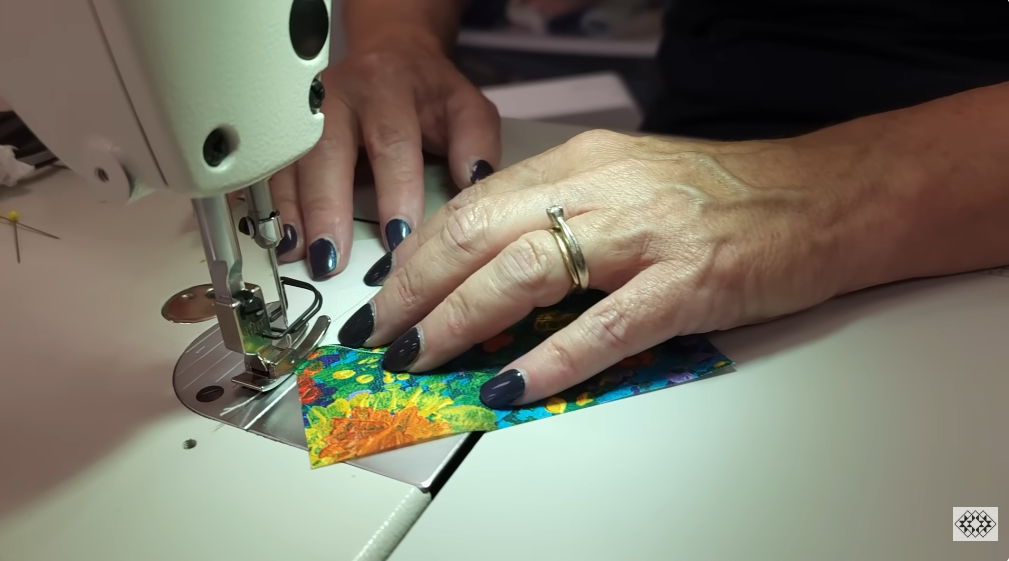
- Pair different 2½” print strips to create strip sets: stack strips (right sides together or wrong sides together depending on desired seam nesting) and sew a ¼” seam along the long edge to make multi-strip units. Press seams open or to one side (Jordan Fabrics often presses to the side).
- For variety, sew 2–4 strips together into multi-strip sets (e.g., 3-strip or 4-strip units). These become the pieced portions of row blocks.
4) Subcut units
- From each strip set, subcut crosswise to the height needed for your rows. For example, if each pieced row band needs to be ~8″ tall (finished), cut strip set segments a little larger than that to allow for seam allowances and trimming (e.g., 8½” raw). (The exact subcut length depends on your desired finished row height.)
- Mix and match subcut units so each row contains several different pieced segments that will be joined across the width of the quilt.
5) Assemble rows
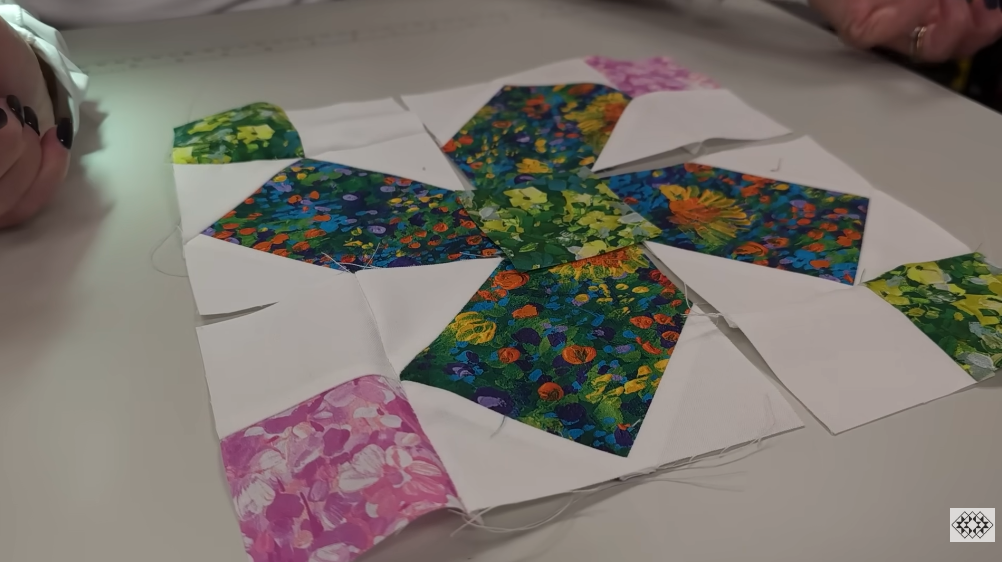
- Lay out the subcut pieced segments for one horizontal row in the order you like. Alternate prints and neutrals so the row reads visually balanced.
- Join segments end-to-end with a ¼” seam, pressing seams open or to one side. Keep a consistent seam direction for easier nesting.
- If the pattern has sashing strips between row segments, stitch the sashing (neutral strips) between the pieced segments as directed. Jordan’s videos frequently add narrow neutral strips to frame rows — do a test row and adjust sashing width for the look you want.
6) Trim and square rows
- After assembling a full row that is at least as long as the quilt width plus a bit extra, trim the row straight across so the ends are square and the row is the correct width for joining to neighbors. Use a long ruler and rotary cutter for a clean edge.
- Repeat for each row so every row has the same finished width.
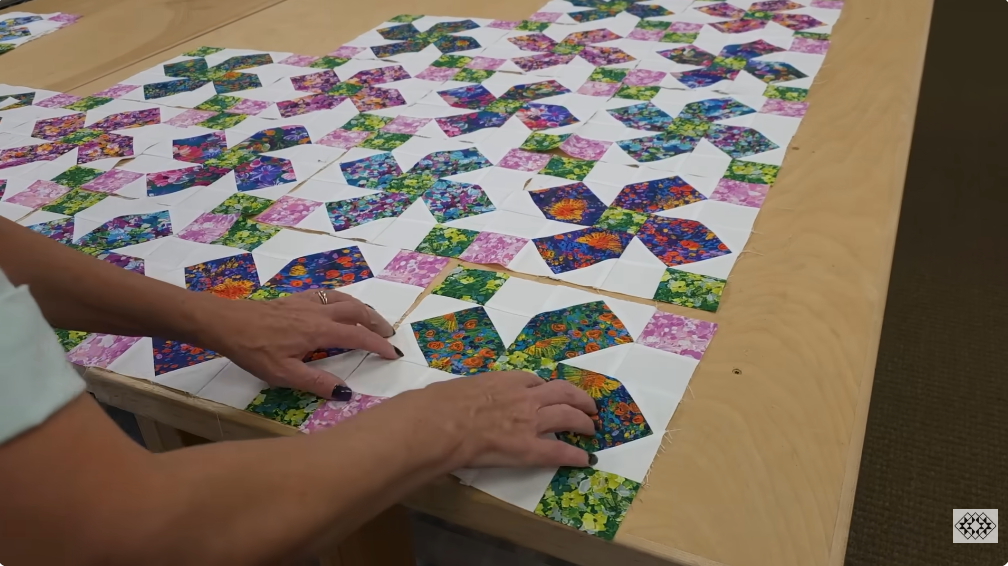
7) Join the rows into the quilt top
- Place two rows right sides together, match seams (pin if needed), and sew a ¼” seam across the full width. Press seam. Repeat until all rows are joined.
- Take care to match seam intersections for a neat look — if you pressed seams open earlier, matching is easier; if pressed to the side, nest seams in alternating directions.
8) Add borders / corner treatments
- Add any inner edging (narrow neutral frame) if the design calls for it — sew on narrow strips around the assembled center.
- For outer borders, cut border strips long enough for each side (measure quilt top). Press seams where borders join and square the corners. The Pine Tree pattern typically shows simple single or double borders for a clean finish.
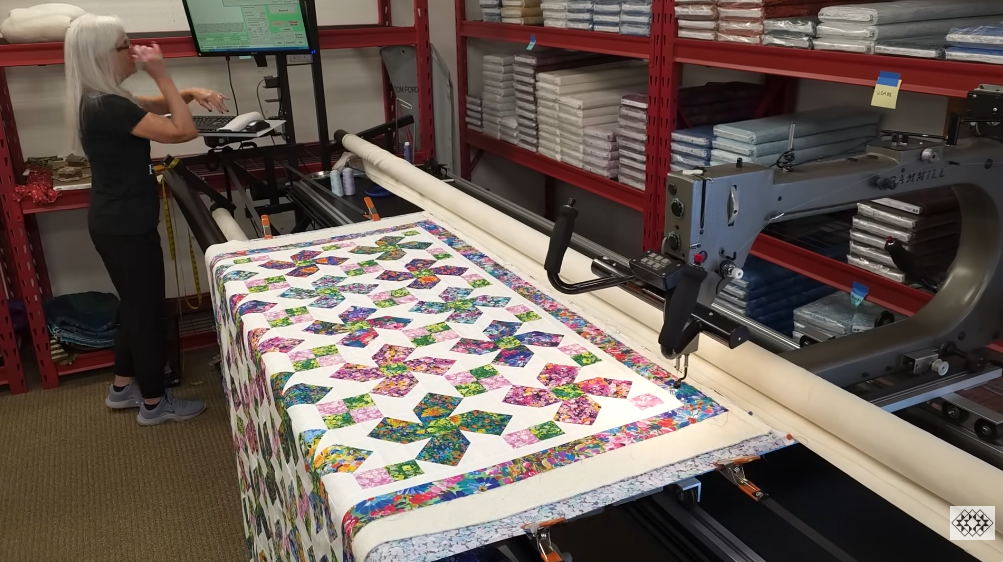
9) Basting & quilting
- Make the quilt sandwich: backing (right side down) → batting → quilt top (right side up). Smooth and baste (spray, pins, or large safety-pin baste).
- Quilt by hand or machine. Jordan Fabrics often recommends straight-line quilting to keep the “all in a row” look — stitch in the ditch along rows or choose an even vertical/horizontal straight line pattern to accent the rows. If you prefer free-motion motifs, do that as desired.
10) Trim & bind
- Trim excess backing and batting even with the quilt top edges using a long ruler and rotary cutter.
- Prepare binding strips (e.g., 2½” × WOF strips seamed together to make continuous binding). Fold and press binding in half lengthwise.
- Attach binding: sew to the front with a ¼” seam, fold to the back and hand-stitch or machine-stitch to finish.
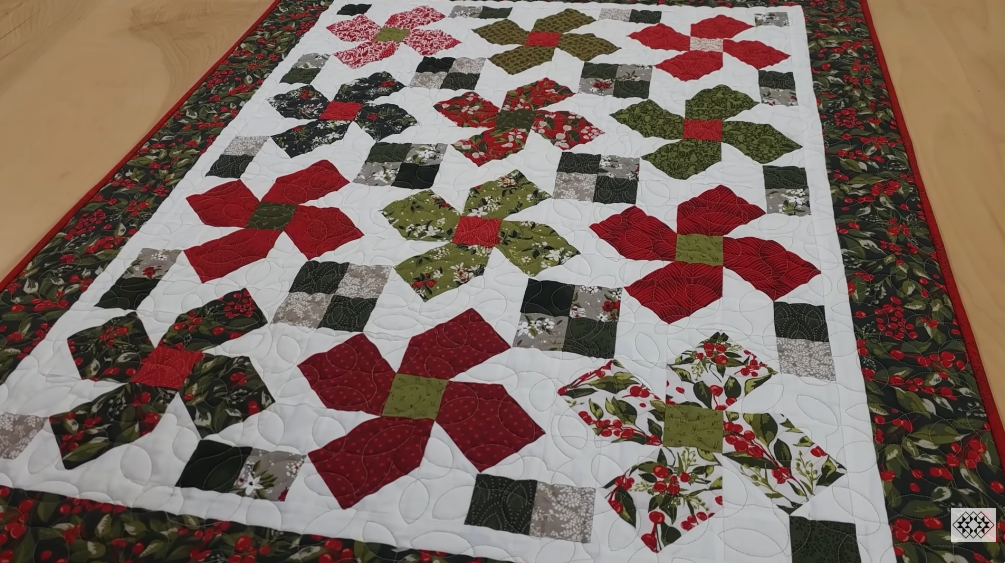
11) Finishing touches
- Label your quilt with name/date.
- Wash & dry if desired (prewash fabrics reduce further shrinkage).
- Block or square if necessary.
Alternate — Jelly roll shortcut (if you have a jelly roll)
If you have a jelly roll (40 strips of 2½” × WOF), you can:
- Use the strips as your pieced units, sew them into multi-strip sets, subcut and assemble rows as above.
- Use a neutral background cut from yardage for sashing and borders. This is fast and is exactly the kind of speed method Jordan Fabrics often demonstrates in their “no curved edges” straight-sewing tutorials.
Tips and troubleshooting (from Jordan Fabrics style)
- Consistent ¼” seam is key for blocks and rows to line up. Use a seam guide or ¼” presser foot.
- Chain-piece repeated pairs or strip sets to speed sewing.
- Press carefully (open vs. to one side) and be consistent to help match intersections.
- Trim liberally when subcutting strip sets — trim to exact measurement before joining rows to keep edges square.
- If a row ends up slightly longer, trim the row instead of easing fabric — accurate trimming gives the clean row look shown in the video.
Where to get the pattern & extras
- Pine Tree Country Quilts — ALL IN A ROW digital pattern (56″ × 66″) — pattern page with yardage and specific cutting instructions. Use that pattern for exact block sizes and yardage if you want to match the video quilt exactly.
- The YouTube video (Jordan Fabrics) — watch for visual demonstrations of pressing, chain-piecing, and the exact order of assembly Jordan uses.
VIDEO: