by
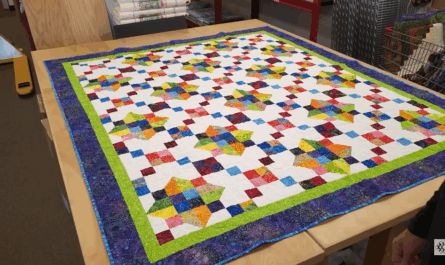
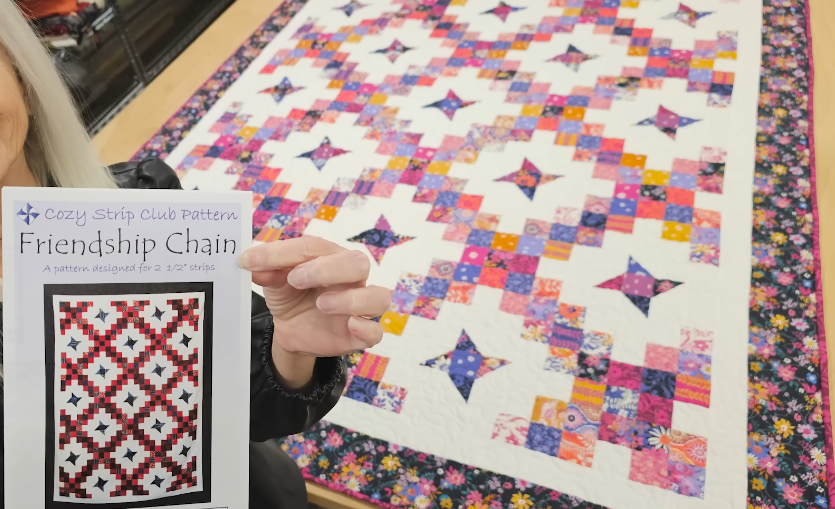
by Friendship Chain — step-by-step tutorial
(How to recreate the Lovely “Friendship Chain” quilt shown in Jordan Fabrics’ video)
I watched the Jordan Fabrics demo and checked the Friendship Chain pattern page so this follows the exact strip-friendly workflow Donna demonstrates and the pattern’s sizing/strip requirements. Citations show where key pattern facts came from.
Quick facts (what this pattern uses)
- Designed as a strip/2½” friendly quilt (works great with jelly-rolls or 2½” strip scraps).
- Pattern includes multiple finished sizes (examples shown in the pattern: 42″ × 42″ crib, 62″ × 82″ lap, 82″ × 102″ twin/full, 102″ × 102″ queen/king).
- Construction style in the video: strip-piecing → sub-cut → chain assembly → layout → borders (Donna’s usual fast, batch-work rhythm).
Materials (example — make the 62″ × 82″ lap shown as a typical throw)
- 2½” strips (jelly-rolls or cut strips) — number depends on size; the pattern lists exact strip counts (this tutorial uses strip technique described in the pattern).
- Background / setting fabric — ~2–4 yards depending on size (used for sashing/frames, corner/setting triangles and borders).
- Border fabric — ~1 yard (adjust by size).
- Backing fabric — ~4–6 yards (or piece to fit finished size + 4–6″ ease).
- Batting — larger than finished size (e.g., 66″ × 86″ for a 62″×82″ top).
- Thread, rotary cutter & mat, long ruler (24″), square ruler (6½” or 9″), ¼” presser foot on your machine, iron/pressing board, pins/clips, safety pins or spray basting.
Prep (before you sew)
- Press and stack strips by color/value (organize darks, mediums, lights). Decide if you want scrappy or controlled color placement.
- Decide which finished size you want; if you want the exact cut list, use the pattern’s cut list (it contains strip counts and background yardages).
Step-by-step construction
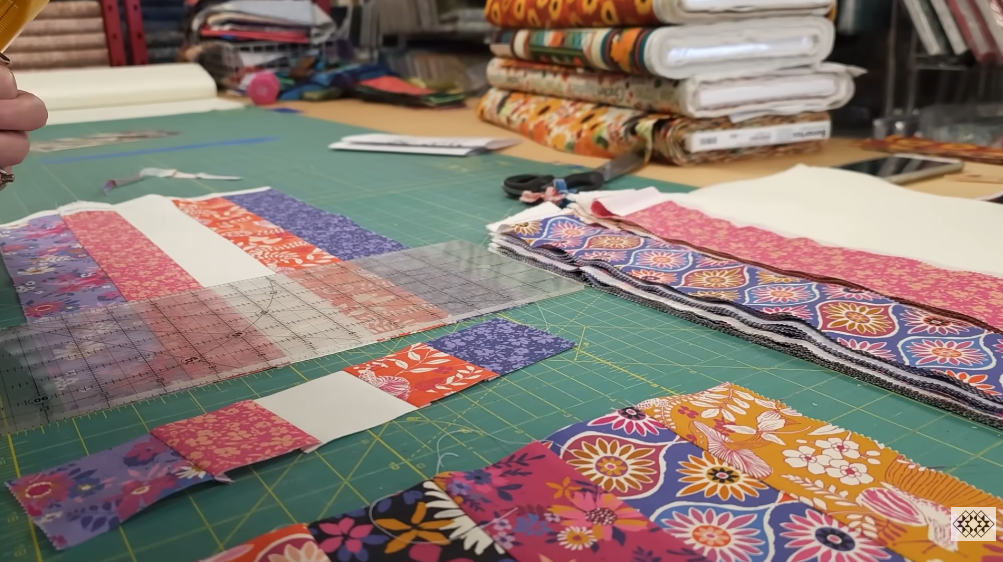
1 — Make strip sets (batch work)
- Select groups of printed strips and background strips in the order you want them to read in the chain unit. The Friendship Chain design is built from alternating printed strips and background pieces to create linked chain motifs.
- Sew strips together longwise (right sides together) using a consistent ¼” seam allowance to create long strip sets. Chain-piece many sets without cutting threads — this is the fastest approach.
2 — Sub-cut the strip sets into blanks
- From each long strip set, sub-cut identical length blanks (the pattern specifies exact sub-cut lengths for each size; if you’re improvising, choose a consistent length and cut all blanks the same). Stack several strip sets and cut them together to keep pieces uniform.
3 — Construct small chain units (sub-units)
- Sew the sub-cut blanks together in the short direction or according to the block diagram Donna shows — you’ll make many identical small chain units that look like short linked bars. Press seams consistently.
- Where the pattern calls for half-square triangles or corner background pieces, make those now (HSTs or flying-geese made with squares cut on the diagonal are common). The video shows making small HSTs in batches and trimming them to size.
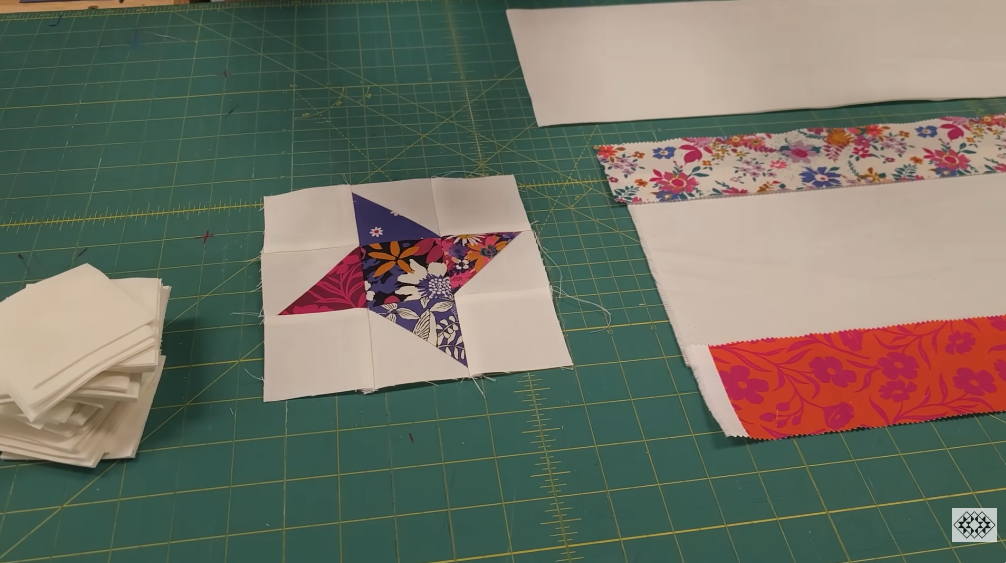
4 — Assemble blocks
- Join small chain units and any HST/triangle pieces into the pattern’s block unit. Each block is built from several strip-formed pieces that create the “link” and a background area that separates links so the chain motif appears.
- Trim each finished block to the precise block dimension called for in the pattern. Donna emphasizes trimming early and often so rows match cleanly.
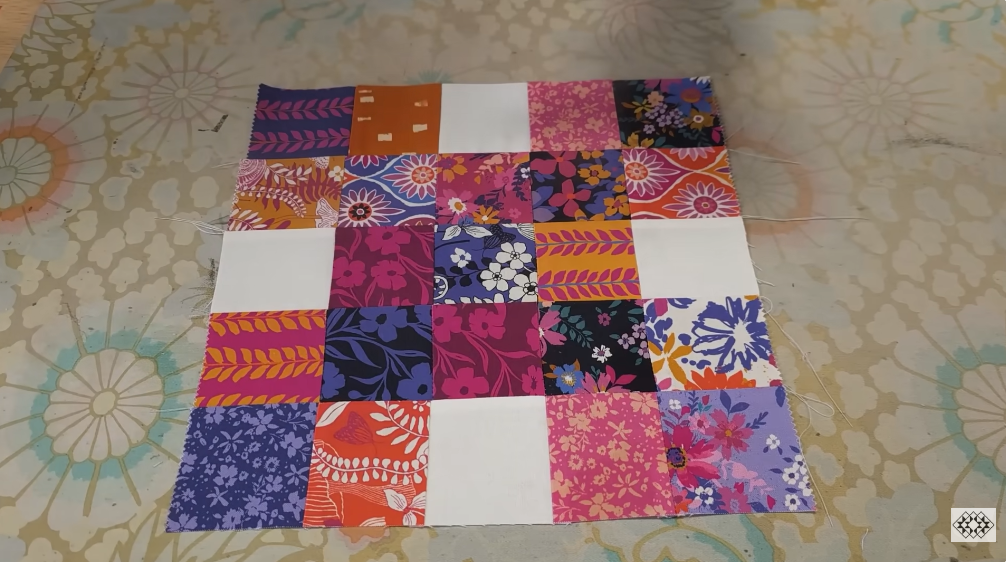
5 — Layout & color balance
- Lay out all trimmed blocks on a design wall or floor. Shuffle blocks until the overall distribution of color/value reads balanced — step back often to see how the chains flow across the field. The video shows several layout adjustments to get an even read.
6 — Join blocks into rows; add setting pieces if needed
- Sew blocks into rows with a ¼” seam allowance, pressing seams so they nest where possible. If the pattern uses sashing or on-point setting triangles, add those now per the diagram.
- Join rows to form the quilt top; measure and square the top before adding borders.
7 — Add borders
- Add any inner frame or narrow border first (this frames the chain field), then add the outer border(s) to reach final size. Cut border strips to the top’s measured lengths plus seam allowance and sew on (sides first, then top/bottom).
8 — Baste, quilt, bind
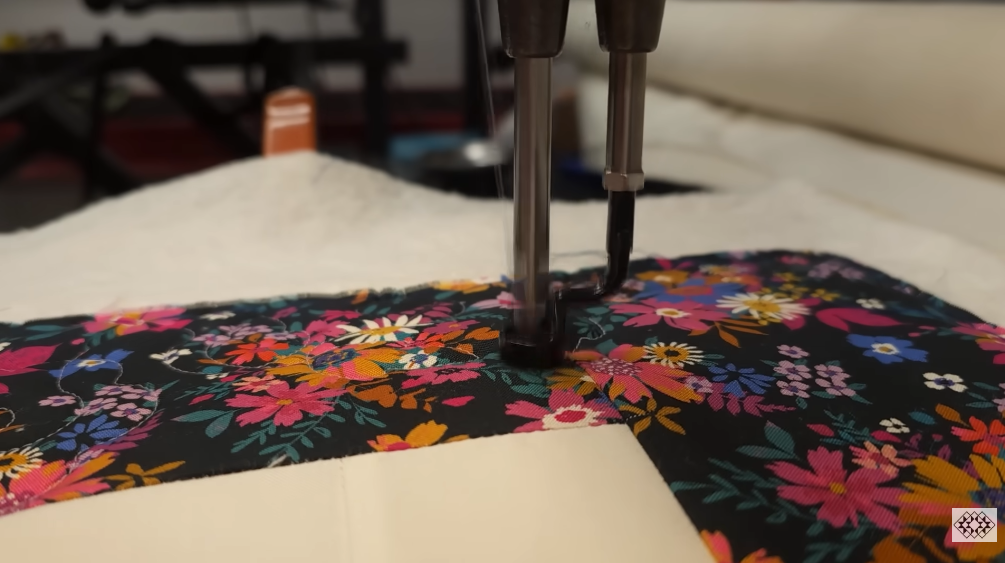
- Baste the quilt sandwich with pins or spray.
- Suggested quilting for Friendship Chain: gentle echo quilting around the chain units to emphasize the links, straight-line channel quilting that follows the chains, or an all-over meander for cozy texture. Keep quilting density appropriate for your batting and desired drape.
- Trim, attach binding (2½” strips are common), finish by machine or hand.
Accuracy & pressing tips (from the video)
- Use a reliable ¼” seam allowance — consistent seams are the single most-important accuracy control.
- Chain-piece and stack-cut: sew long strip sets and sub-cut stacks of blanks rather than piecing individual small units. It’s faster and more accurate.
- Trim as you go: trim HSTs and block units to the pattern measurement before final assembly to avoid cumulative error.
Troubleshooting common spots
- If chain links look uneven: check seam allowance (a scant vs full ¼” will change finished size). Re-trim blocks if needed.
- If rows don’t meet at seams: press seams in alternating directions so intersections can nest. Pin intersections when joining rows.
VIDEO: