 by
by Nice — that Jordan Fabrics video is a compilation of Donna’s scrap-friendly FREE patterns, so instead of one single quilt it shows a whole toolkit of scrap methods and several finished quilt designs you can recreate. Below I turned that compilation into a practical, step-by-step playbook you can follow at the machine to make any of the quilts shown in the video (plus short, specific recipes for the most commonly featured scrap patterns). I used the Jordan Fabrics compilation video and the Jordan Fabrics free-patterns pages as my sources.
First — quick orientation
- The video is a roundup (every free scrap pattern Donna has released), and the shop keeps all of those free patterns available in its Free Patterns section. If you want to make any single design exactly, download the specific free PDF for that pattern before you cut.
Below you’ll find:
- A universal scrap-quilt workflow you can use for any Donna scrap pattern in the video (follow this first).
- Short, pattern-specific recipes (cutting approach + step sequence) for the most common scrap designs featured in the compilation so you can start sewing right away.
- A short checklist and finishing tips.
1) Universal scrap-quilt workflow (use this for every design in the video)
Follow this order on every Donna scrap pattern — it’s the exact rhythm the video shows and is the fastest, most reliable way to turn scraps into a tidy quilt top.
- Watch the segment once. The compilation video shows a quick demo for each pattern — watch the segment for the pattern you picked to learn pressing and layout tips.
- Gather & sort scraps. Group by width (2½” strips, 5″ squares, small odd scraps), then by value (light/medium/dark). Many of Donna’s scrap patterns are strip-friendly (2½” jelly-roll strips) or charm-friendly (5″ squares).
- Decide scale & size. Pick finished size (wall, lap, throw, bed) and note whether the pattern has size options (most free PDFs do). If you don’t want to download the PDF, choose a throw and use approximate yardages shown in the video.
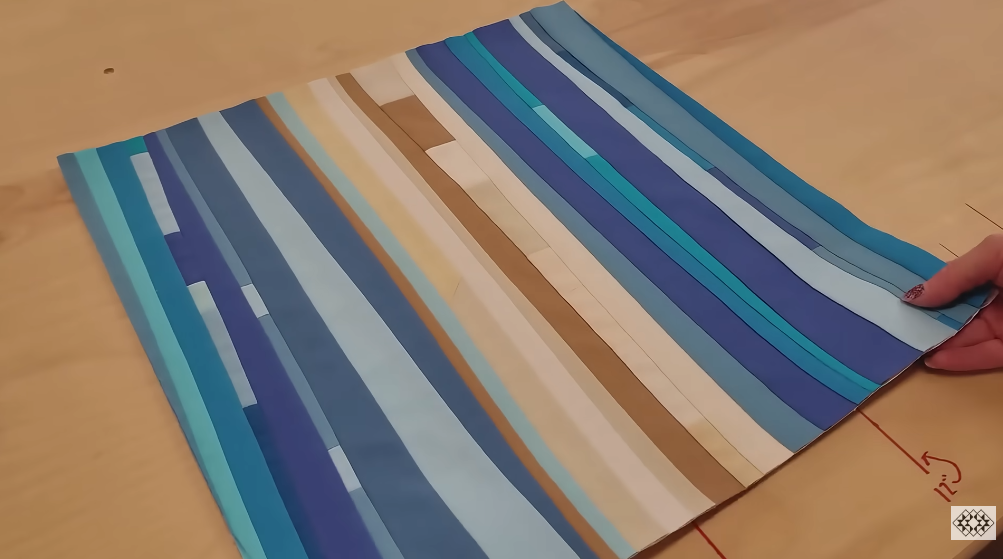
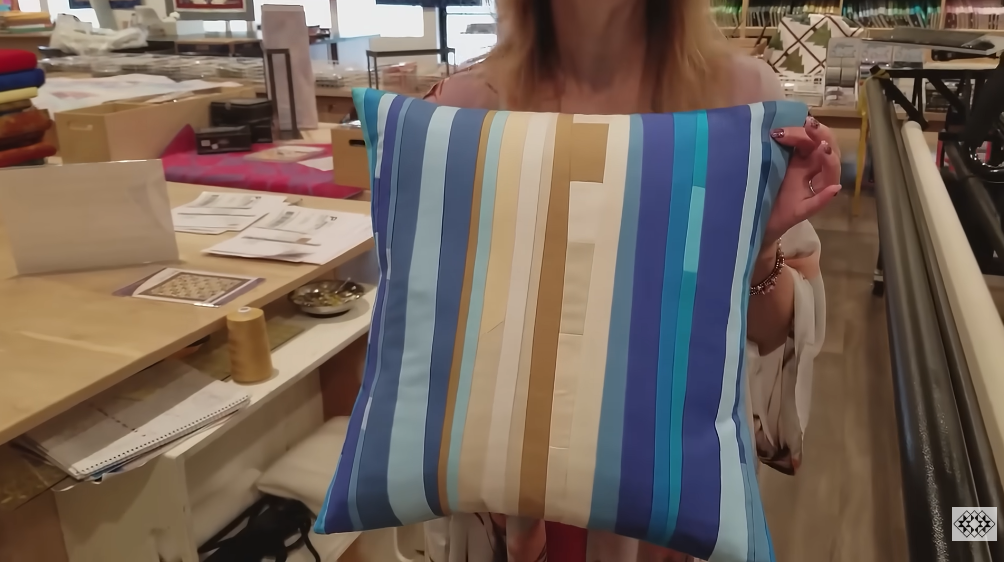
- Make strip sets in batches. Sew long strips together (strip-piecing) in the order you want them to read. Chain-piece many sets without cutting threads. This is Donna’s go-to speed method.
- Sub-cut stacked blanks. Cut the long strip sets into identical blanks while stacked to keep dimensions identical. Cut a few extras for trimming.
- Assemble sub-units to blocks. Work in batches — sew identical sub-units together into the block components the pattern calls for (4-patches, diamonds, strip blocks, flying-geese, etc.). Press consistently.
- Trim and square every block. Donna trims early and often — trim each block to the pattern’s block size before joining rows; this prevents cumulative error
- Lay out & balance. Layout blocks on a design wall/floor and adjust color balance before final sewing. The video emphasizes stepping back and moving units until the field reads right.
- Add setting triangles & borders. If the pattern is on-point you’ll need setting triangles; otherwise add sashing or simple borders. Cut setting pieces a little large if you prefer to trim later.
- Baste, quilt, bind. Baste with pins or spray. Choose quilting that complements the busy scrap field (all-over meander or gentle echoes are common in the demos).
2) Short pattern recipes (pick one and start sewing)
Below are compact, step-by-step recipes for the most frequently shown scrap patterns in Donna’s free collection (these appear across the compilation). Each recipe assumes you have scraps/jelly-rolls and will scale to throw size by repeating units.
Note: If you want the exact cut list for a particular finished size, download the free PDF for that pattern. The video links the free patterns in the Jordan Fabrics free patterns area.
A — Scrappy Lattice (use any size scraps — very forgiving)
- What it uses: lots of small scraps or 2½” strips and small squares. (Donna repeatedly shows this method for “no-scrap left” projects.)
- Cutting: sort 2½” strips and 2½” squares (or cut scraps to those widths). Cut background strips 2½” wide as well.
- Step sequence:
- Sew color 2½” strips to background 2½” strips to make strip sets.
- Sub-cut into 2½”×X blanks (stacked).
- Make small 4-patches or rectangular blocks from the blanks (color + background combinations).
- Trim units to uniform size, lay out to create lattice lines, sew rows, add narrow background sashing to create lattice channels.
- Add borders, baste, quilt (echo the lattice or use meander).
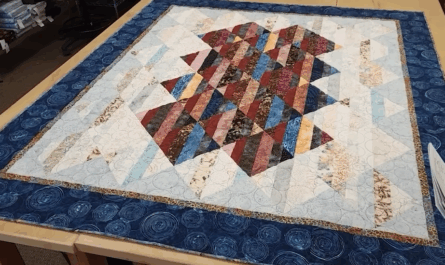
B — Harvest (strip + scrap, on-point medallion)
(You already saw a Harvest tutorial earlier in this conversation — use that exact flow.) The pattern is strip-pieced with 2½” strips; assemble strip sets, sub-cut, make blocks, set on-point with setting triangles, add borders, quilt.
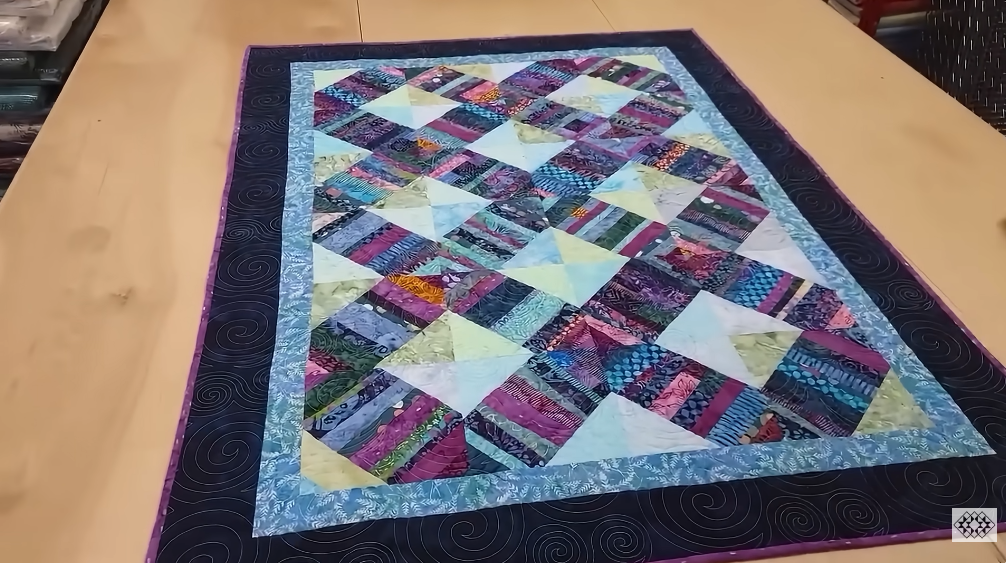
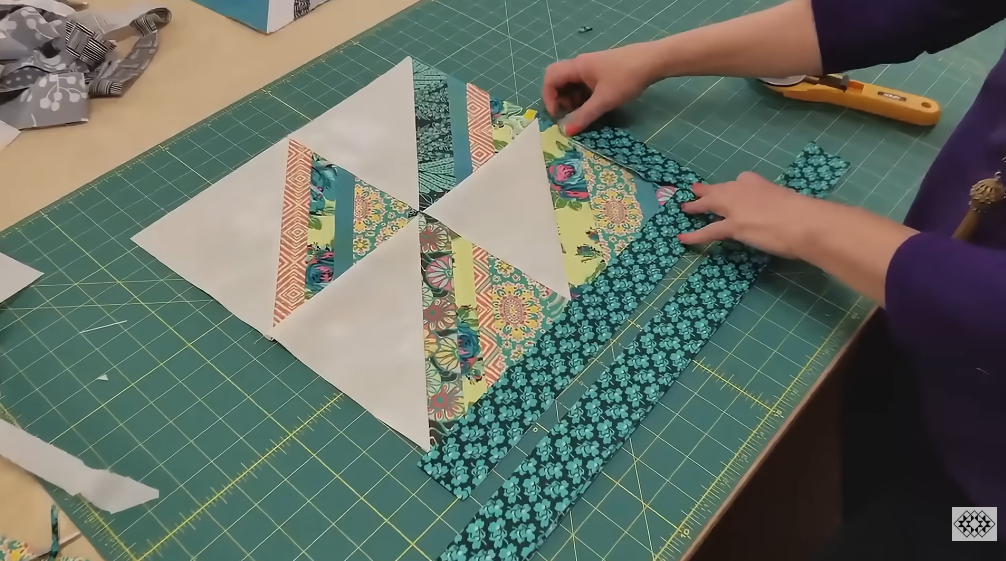
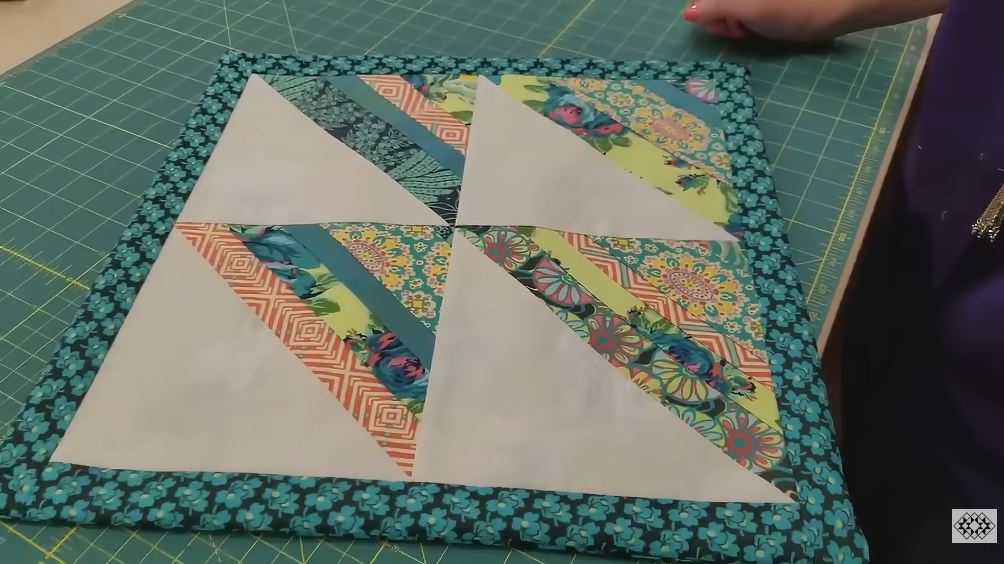
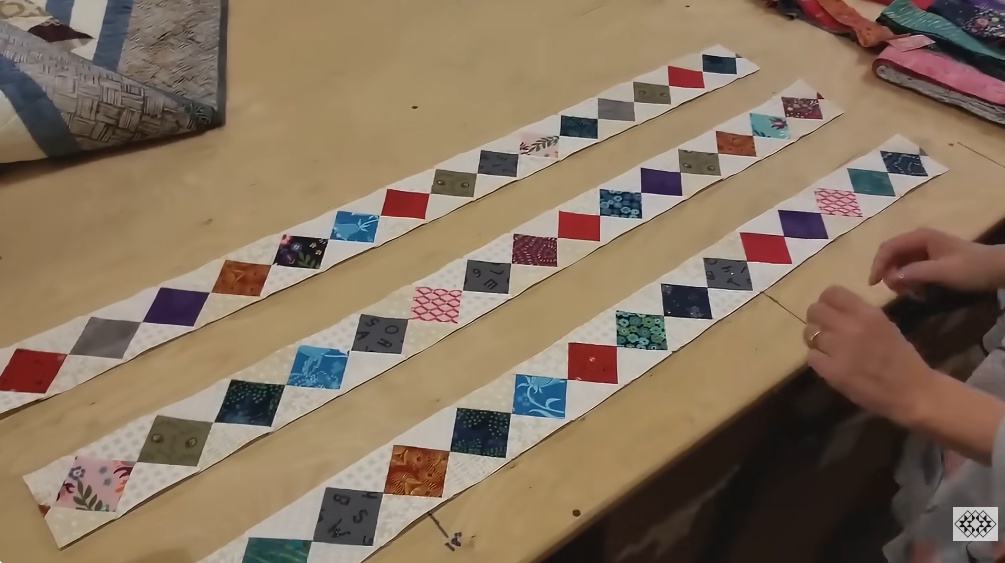
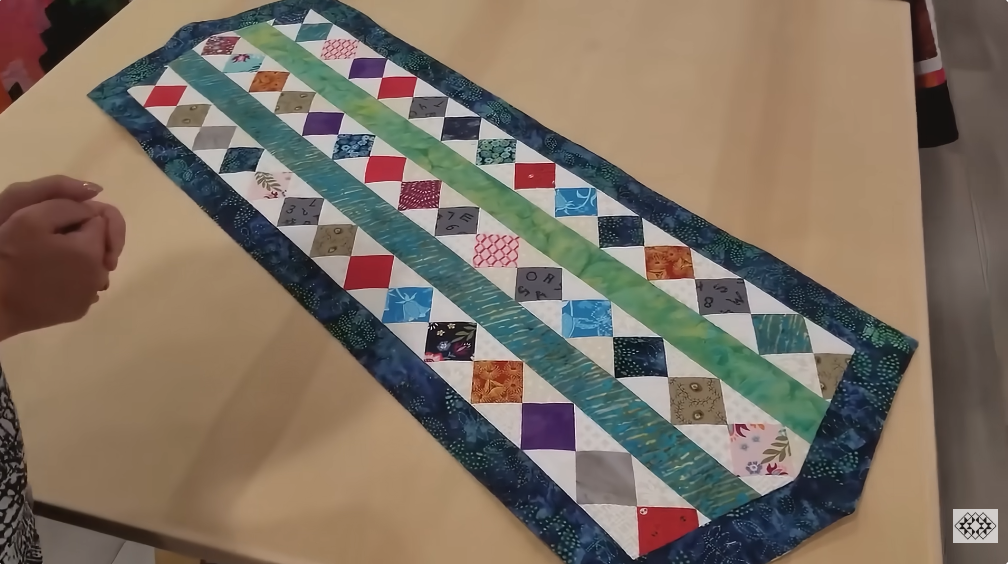
C — Drop Diamonds / Diamonds Squared style (strip → diamond → square block)
- What it uses: strip sets, sub-cut to diamonds (or square + cut on diagonal), then square and frame.
- Cutting: make long strip sets (3–5 strips depending on desired band width), sub-cut into squares that will be cut on the diagonal or into diamond blanks.
- Step sequence:
- Make strip sets → sub-cut into squares (all same size).
- Cut each square on diagonal to make triangles or use a diamond ruler to cut diamonds.
- Sew triangles/diamonds into diamond blocks, add small background corner triangles to make them square (this is the “squared” look).
- Trim, assemble blocks into rows, add borders, baste & quilt.
D — Abundance / No-Waste Abundance (leftovers friendly)
- What it uses: small scraps, layered cutting to use all bits.
- Cutting & steps:
- Make a large stack of small squares and rectangles from scraps (2½” is common).
- Use block templates in the pattern to chain-piece units (Donna demonstrates chain assembly to avoid waste).
- Join sub-units into blocks, square up, set with background rows, border, quilt.
E — Scrap Strips Diamond Trip (fast diamond/strip technique)
- What it uses: 2½” strips, strip-pieced centers cut into diamonds.
- Steps:
- Sew color strip + background strip + color strip to make band.
- Sub-cut into diamond blanks (square-and-cut on diagonal).
- Trim to diamond size, join diamonds into block groupings, set on-point or straight set depending on pattern.
- Add side triangles if on-point, border, baste, quilt.

3) Quick checklist before quilting
- Download the free PDF for the exact pattern you plan to make (each pattern in the compilation has its own PDF).
- Sort scraps by width and value.
- Chain-piece strip sets, sub-cut stacked blanks.
- Trim all units to uniform size before joining rows.
- Baste the sandwich evenly, choose quilting that supports the scrap texture (meander, echoes, or straight lines).
Finishing tips & advice pulled from the video
- Donna’s scrap patterns are intentionally forgiving — she often uses 2½” widths (jelly-roll friendly) so you can use jelly rolls, fat quarters, or scraps interchangeably.
- Chain-piecing and cutting stacked pieces is the recurring time-saving theme in the compilation — do everything in batches.
- If you want to reproduce an exact sample from the compilation, download that pattern’s PDF and follow the cut list — the video shows the hands-on demonstration but the PDF has the numeric cut list.
VIDEO: